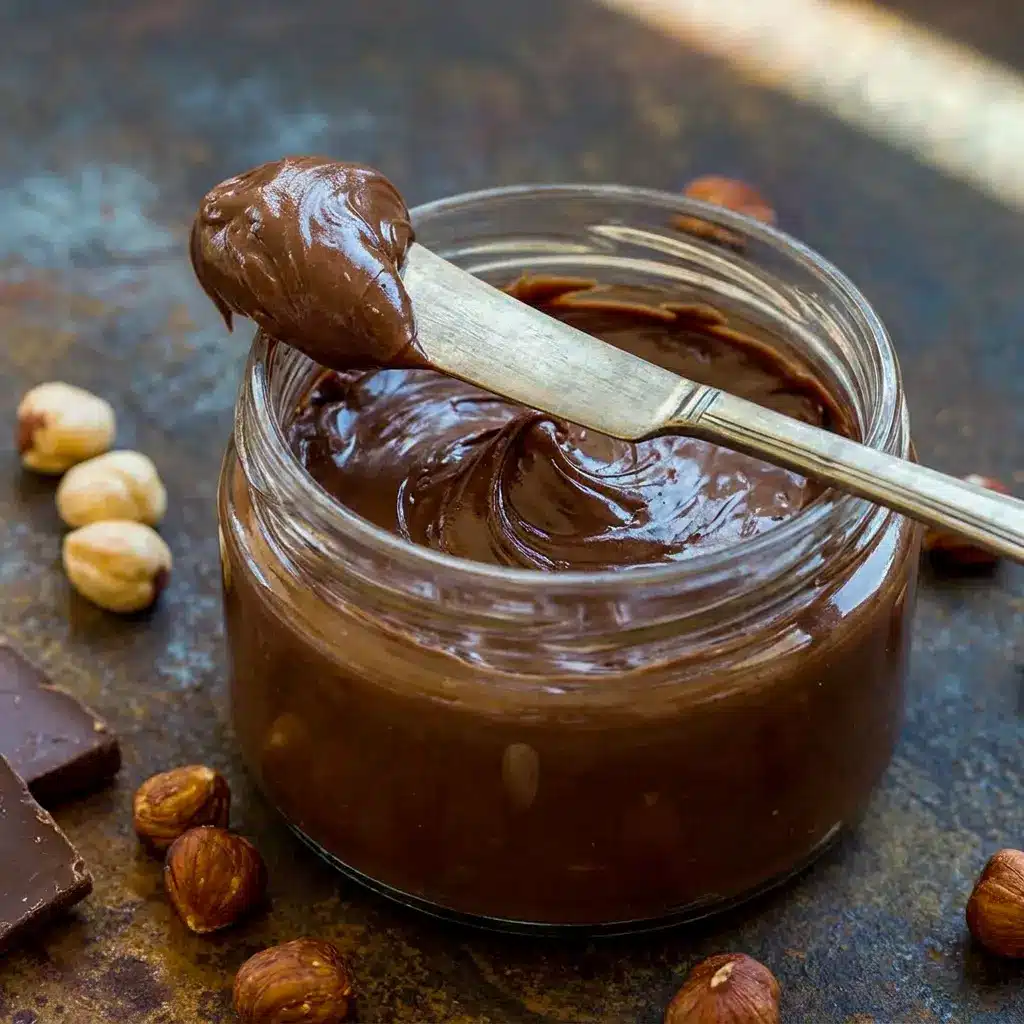
Homemade Nutella: The easy spread that disappears fast
Homemade Nutella has a way of turning a regular morning into a small celebration. One spoon tastes rich, creamy, and deeply chocolatey, but the story gets even better when you realize how simple it is to make at home. This version brings the same luxurious hazelnut-chocolate flavor you expect, only with a cleaner ingredient list, more control over sweetness, and a homemade feel that store-bought jars just cannot match.
The first time I made Homemade Nutella, I stood at the counter and kept sampling it “just to check the texture.” That turned into a few more taste tests than I care to admit. It was smooth, thick, glossy, and so good that I immediately understood why Nutella Recipes have such a loyal following. This is one of those Homemade Recipes that looks humble at first, then quietly steals the whole day.
What makes Homemade Nutella so special is the balance. The hazelnuts bring warmth and richness. The cocoa adds depth. The sweetener rounds everything out. A little vanilla softens the edges. The result feels indulgent, but it also fits neatly into a more thoughtful kitchen routine. That is why this recipe keeps showing up in Healthy Sweets, Healthy Sweets Recipes, Healthy Snacks Recipes, and even quick breakfasts that need a little excitement.
And yes, it absolutely belongs in the category of Homemade Snacks too. A spoonful on toast, a swipe on fruit, a dip for crackers, or a layer inside warm crepes can make an ordinary bite feel a lot more satisfying. Homemade Nutella brings that cozy, nostalgic flavor without forcing you to settle for a product you did not make yourself.
Table of Contents
Why you’ll love Homemade Nutella
There is a reason people keep returning to Homemade Nutella again and again. It tastes familiar enough to feel comforting, but it also feels fresher and more customizable than the jar on the shelf. You get to choose the sweetener. You get to decide whether to use milk or oil. You get to control the consistency. That alone makes Homemade Nutella a strong win.
This recipe also works beautifully for people who want a more plant-based spread. When you use nondairy milk, Homemade Nutella becomes naturally vegan, and it can also fit dairy-free, egg-free, gluten-free, and soy-free routines depending on your ingredient choices. That flexibility matters, especially when you want one spread that can work for different people at the table.
Another reason this recipe stands out is the flavor payoff. A lot of spreads promise decadence and then taste flat or overly sweet. Homemade Nutella does the opposite. It tastes layered and real. It has the roasted depth of hazelnuts, the richness of cocoa, and a sweetness you can tune to your preference. That makes it one of the easiest Healthy Snacks Recipes to keep on repeat.
It also stretches beyond breakfast. Homemade Nutella belongs on banana slices, apple wedges, waffles, pancakes, sandwiches, and yes, even inside Cookies Et Biscuits. That is the magic of a good homemade spread: it works hard without demanding much from you. A jar of Homemade Nutella can sit in the fridge or pantry and quietly solve snack time all week.
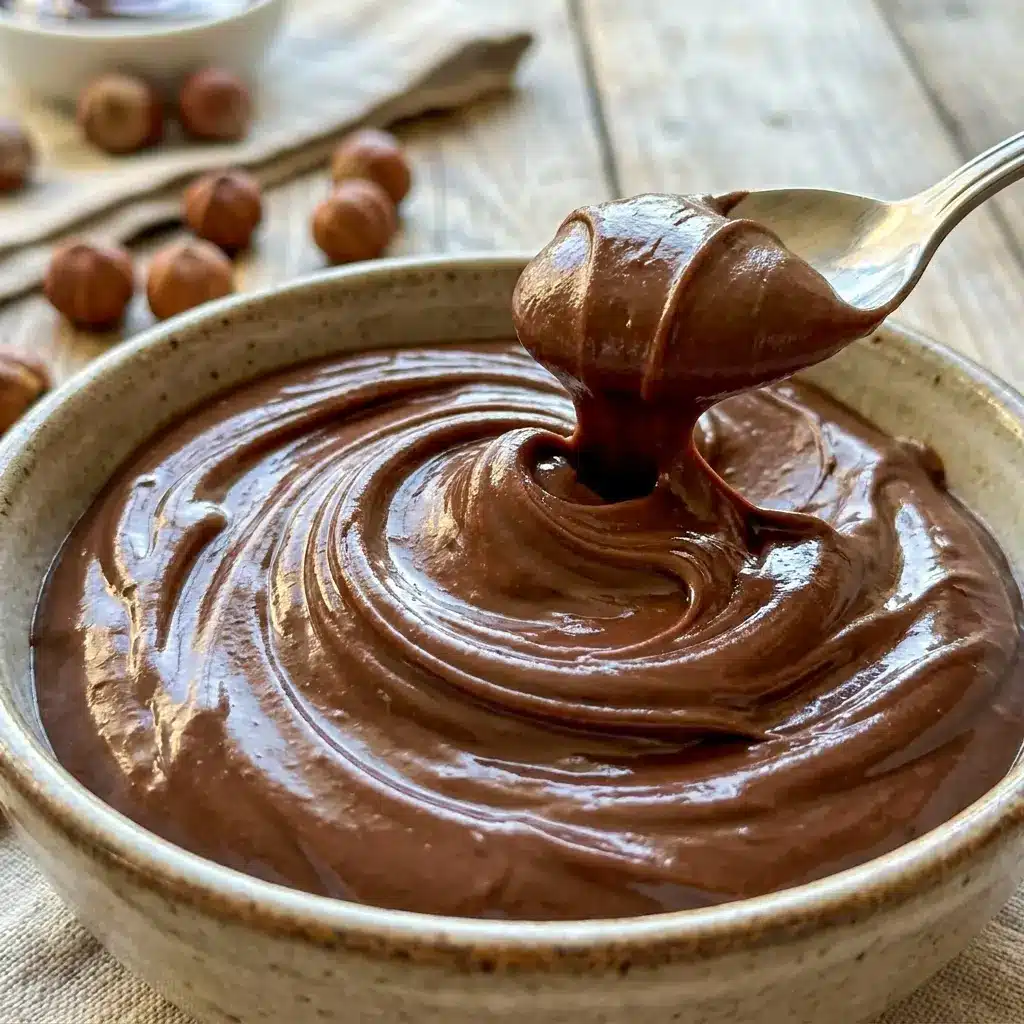
The Key Ingredients (and Why You Need Them)
Below I list the main ingredients without the amounts. The printable recipe card can hold the exact measurements, but this section shows what each ingredient does and why it matters in Homemade Nutella.
- Hazelnuts
These are the foundation of Homemade Nutella. When roasted and blended, they turn into a rich nut butter with a naturally sweet, toasty flavor. They give the spread its signature character. - Cocoa powder
Cocoa brings the chocolate flavor that makes Homemade Nutella taste like the classic version people know and love. Use a good-quality cocoa powder for the best result. - Sweetener of choice
This ingredient controls the sweetness and helps shape the final texture of Homemade Nutella. Granulated sugar, coconut sugar, date sugar, or a sugar-free option can all work depending on your goals. - Vanilla extract
Vanilla softens the chocolate and hazelnut flavors. It adds warmth and makes Homemade Nutella taste more rounded. - Salt
Salt sharpens the flavor and keeps the sweetness from feeling one-note. It is a small ingredient, but it matters a lot in Homemade Nutella. - Milk or oil, optional
This is your texture tool. Milk helps create a softer, more spreadable finish, while oil can also make Homemade Nutella smoother and easier to stir. Use what suits your needs best.
How to Make It
Making Homemade Nutella is simple, but patience matters. The hazelnuts need time to turn into a true butter before the rest of the ingredients go in. Once that happens, everything starts to come together fast.
- Roast the hazelnuts if needed
Start by heating the oven to 400°F. If your hazelnuts are raw, spread them on a parchment-lined baking sheet and roast them for about 6 to 8 minutes. Watch them closely. You want them fragrant and lightly browned, not overdone. Roasting deepens the flavor and helps Homemade Nutella taste rich instead of grassy or flat. - Remove as many skins as possible
After roasting, transfer the nuts to a clean kitchen towel or paper towel. Rub them together to loosen the skins. Do not worry if a few skins stay behind. A little skin will not ruin Homemade Nutella. The goal is simply to remove enough for a smoother texture and cleaner flavor. - Blend the hazelnuts into butter
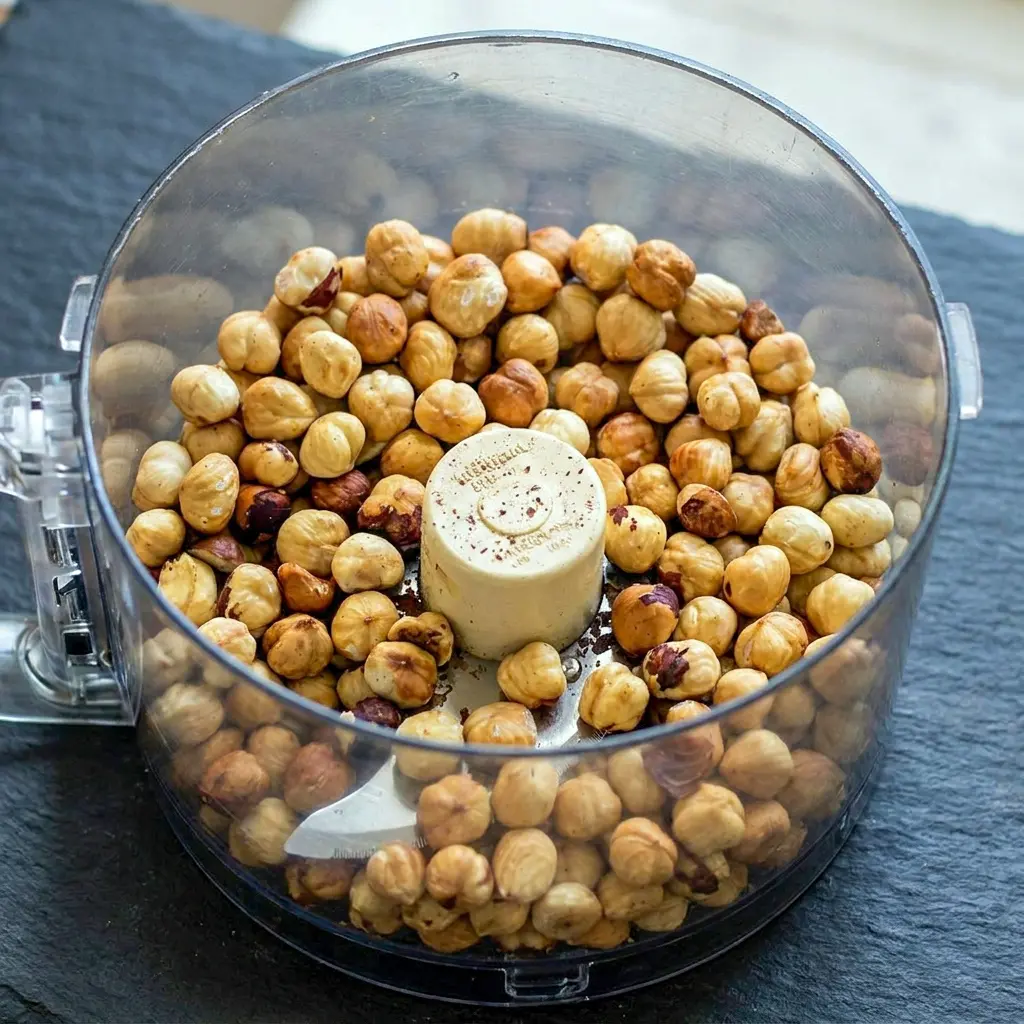
Put the roasted nuts into a high-speed blender or food processor. Blend until the nuts transform into hazelnut butter. This may happen fairly quickly in a strong blender, or it may take much longer in a standard food processor. Be patient. At first, the nuts will look crumbly. Then they will clump. Then they will release their natural oils and turn into a glossy nut butter. This step is the backbone of Homemade Nutella. - Add the remaining ingredients
Once the hazelnuts look like butter, add the cocoa powder, sweetener, vanilla, and salt. Blend again until the mixture becomes smooth and evenly chocolate-colored. Scrape down the sides as needed so every bit gets incorporated. At this stage, Homemade Nutella will start to look and smell like the real thing. - Adjust the texture
If you want a softer spread, add the milk or oil a little at a time and blend again. Keep going until Homemade Nutella reaches the consistency you like. Some people want it thick and spoonable. Others want it more pourable for drizzling. Both versions work. - Taste and fine-tune
Give it a taste before you stop. Add a touch more sweetener if needed, or a pinch more salt if the chocolate flavor needs a lift. This final adjustment is where Homemade Nutella becomes exactly how you want it. - Transfer and store
Spoon the finished spread into a clean jar or airtight container. Let it cool fully before sealing if the nuts were still warm. After that, Homemade Nutella is ready for breakfast, snacking, or any dessert moment that needs a chocolate upgrade.
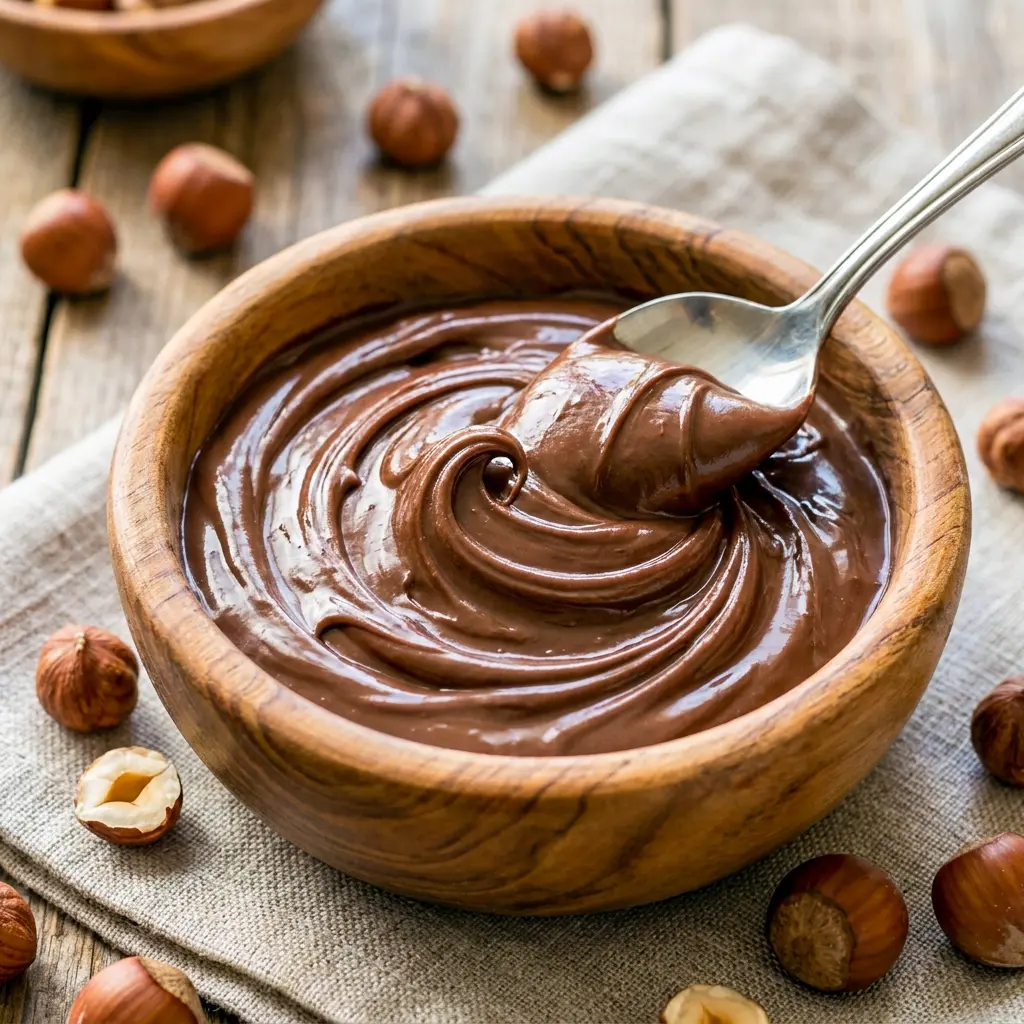
Pro tips for the smoothest Result
A few small details make a big difference with Homemade Nutella.
Use a strong blender if you can.
A powerful machine turns the nuts into butter faster and with less scraping. That gives Homemade Nutella a silkier finish.
Be patient with the blending stage.
This is not a five-second step. The hazelnuts need time to release their oils. If your machine looks like it is doing nothing for a while, keep going. That breakthrough moment always comes in Homemade Nutella.
Start with less liquid.
You can always add more milk or oil later, but you cannot take it back out. For the thickest, creamiest Homemade Nutella, add liquid slowly.
Taste before you stop.
Different cocoa powders and sweeteners behave differently. A quick taste helps you adjust the balance so your Homemade Nutella lands exactly where you want it.
Use roasted hazelnuts for deeper flavor.
Even if you buy nuts that are already roasted, they can still work beautifully. Roasting builds that classic toasty note that makes Homemade Nutella taste special.
Variations to try
One of the best parts of Homemade Nutella is how easy it is to customize.
For a naturally dairy-free version, use almond milk, coconut milk, or another nondairy milk. That keeps Homemade Nutella suitable for more people and still creamy enough for spreading.
For a lower-sugar version, use your preferred sugar-free sweetener. That makes Homemade Nutella fit better into more careful eating routines while still satisfying a chocolate craving.
For a different flavor, swap hazelnuts with almonds. The result will not taste identical, but it still gives you a delicious nut-chocolate spread and keeps the spirit of Homemade Nutella alive.
For a more dessert-style spread, add a tiny extra splash of vanilla or a bit more cocoa. That deepens the flavor and gives Homemade Nutella a richer chocolate profile.
For a softer texture, blend in a little more milk or oil. That makes Homemade Nutella easier to drizzle over pancakes, waffles, or fruit.
Best ways to serve
Homemade Nutella works in far more places than a breakfast toast. It can turn basic snacks into something people actually look forward to.
Spread it on warm toast, pancakes, waffles, or crepes. Use it as a dip for strawberries, banana slices, apple wedges, or pretzels. Swirl it into oatmeal or yogurt. Spoon it onto rice cakes for a quick snack. Tuck it into baked goods or sandwich it between crackers for an easy treat.
It also belongs right in the middle of Cookies Et Biscuits ideas. Sandwich it between two biscuits, swirl it into cookie dough, or serve it alongside a tray of baked treats. That is where Homemade Nutella really shows its range.
And because this spread tastes indulgent without requiring a trip to the store, it fits neatly into everyday Homemade Snacks planning. Keep a jar ready and suddenly snack time feels less random and more intentional.
Storage and leftovers
Storage matters with Homemade Nutella, especially because the ingredients can change depending on whether you use milk or oil.
If you use oil instead of milk, it stays shelf-stable enough to keep in a tightly sealed jar in a cool kitchen cabinet for up to two weeks. You can also refrigerate it for up to two months.
If you use milk, store it in the refrigerator. In that case, it should keep for about two to three weeks. The texture may firm up when chilled, so let it sit at room temperature for a few minutes before spreading.
For longer storage, you can freeze leftover. The texture will not stay quite as smooth after thawing, but the flavor still works well. That makes this one of the more practical Homemade Recipes to batch ahead.
FAQs
Is Homemade Nutella healthier than store-bought?
In many cases, yes. You control the sweetener, the fat source, and the texture. That means Homemade Nutella can skip some of the ingredients many people want to avoid.
Can I make it without hazelnuts?
You can use almonds instead. The flavor changes, but the process stays similar and still gives you a creamy chocolate spread.
Do I need a food processor?
A food processor works, but a high-speed blender can make it smoother faster. Either one can do the job if you give the nuts enough time.
Can I make this sugar-free?
Yes. Use a sugar-free sweetener such as erythritol or xylitol if that suits your needs. The texture and sweetness will change a bit, but it still works.
Can I use store-bought roasted hazelnuts?
Absolutely. That saves time and still gives you a great batch of Homemade Nutella.
What do I do if my spread seems too thick?
Blend in a little milk or oil until it loosens. It is very forgiving, so small adjustments go a long way.
Final thoughts
Homemade Nutella proves that a simple kitchen project can feel a little luxurious. It tastes rich, smooth, and familiar, but it also gives you more control than the store-bought version ever could. That alone makes it worth making.
This is the kind of recipe that earns a permanent place in your rotation of Nutella Recipes. It fits breakfast, snacks, desserts, and even late-night spoonfuls when you need something sweet and comforting. It also checks the boxes for Healthy Sweets, Healthy Sweets Recipes, and Healthy Snacks Recipes without feeling like a compromise.
Keep a jar of Homemade Nutella around, and you will always have a quick answer for toast, fruit, biscuits, and those moments when only chocolate will do. It is one of those Homemade Recipes that looks simple on paper and then quietly becomes indispensable in real life.
- Make one batch, and you will see why it keeps winning people over.
- It is creamy.
- It is rich.
- It is easy to customize.
- And it makes everyday snacking feel a whole lot more fun.
Follow me on Pinterest for daily new recipes.
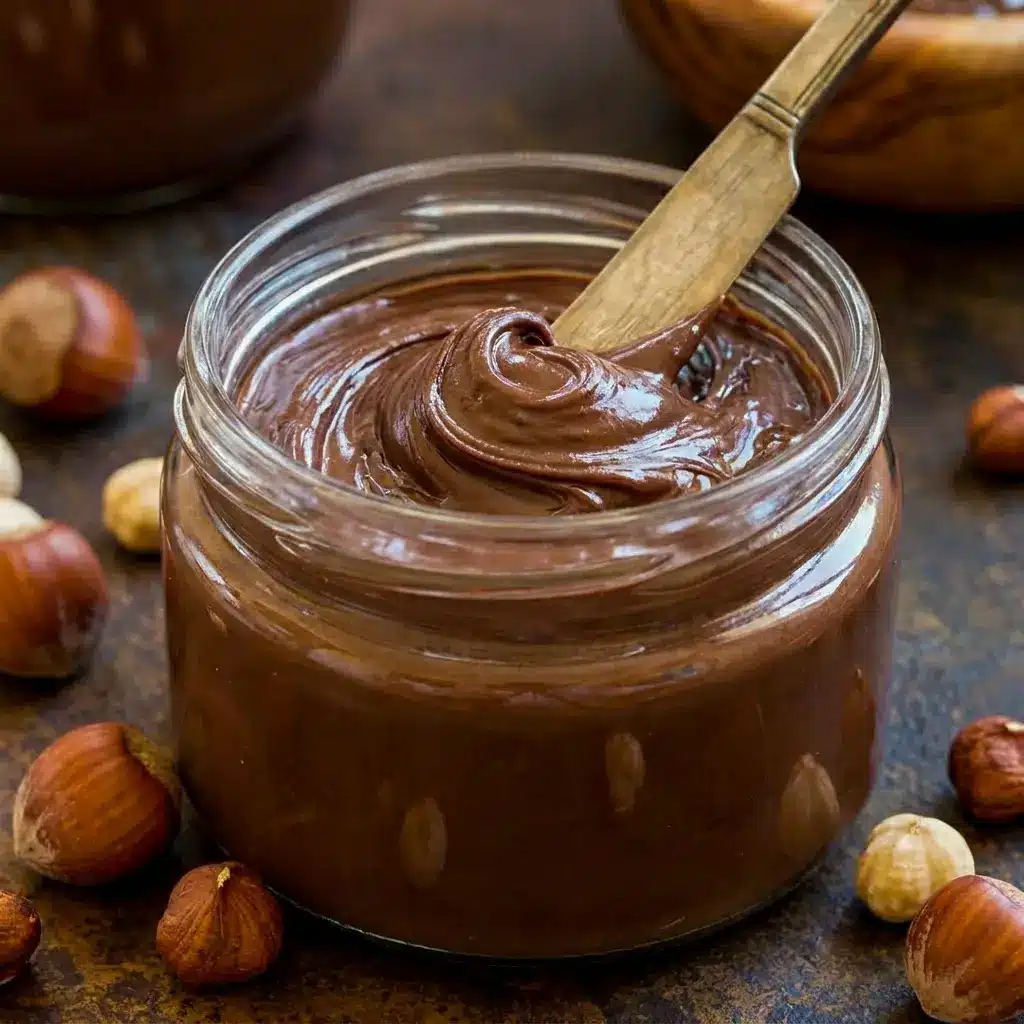
Easy Homemade Nutella Recipe for Healthy Snacks and Sweet Spreads
This Homemade Nutella recipe gives you a silky, chocolate-hazelnut spread with a simple ingredient list and a deep, roasted flavor. It works beautifully as a sweet spread, a dip, or a quick homemade treat you can keep on hand for everyday snacking.
- Prep Time: 7 minutes
- Cook Time: 8 minutes
- Total Time: 15 minutes
- Yield: 2 cups 1x
- Category: Dessert
Ingredients
- 2 cups hazelnuts
- 1/4 tsp pure vanilla extract
- 1/4 cup cocoa powder
- 1/3 cup sweetener of choice
- 1/4 tsp salt
- 1/2 cup milk of choice or 2 tbsp oil, optional
Instructions
- Begin by checking the hazelnuts. If they are already roasted, you can move ahead. If they are raw, set your oven to 400°F and line a baking sheet with parchment paper. Spread the hazelnuts out in a single layer and roast them for 6 to 8 minutes, just until they start to deepen in color and release a toasty aroma. Keep a close eye on them because nuts can go from perfectly roasted to too dark very quickly. Roasting gives Homemade Nutella that richer, more classic flavor, so do not skip this step unless your nuts are already roasted.
- Once the nuts come out of the oven, let them cool just enough to handle. Transfer them to a clean kitchen towel or a sturdy paper towel and rub them together to loosen the skins. Some skins will fall off easily, while others may cling stubbornly to the nuts. That is completely fine. You do not need every last bit removed for Homemade Nutella to turn out well. The goal is simply to remove most of the loose skin so the texture stays smoother and the flavor tastes cleaner.
- Add the hazelnuts to a high-speed blender or food processor. Blend them on high until they break down into a thick nut butter. At first, the mixture will look dry and crumbly. Keep going. Then it will start clumping together. After that, the natural oils in the nuts will release and the mixture will become shiny, creamy, and much more fluid. This can happen fairly quickly in a powerful blender, but it may take up to twenty minutes in a food processor, depending on the machine. Scrape down the sides as needed so every bit gets processed evenly. This stage is the foundation of a good batch of Homemade Nutella.
- When the hazelnuts have fully turned into butter, add the cocoa powder, sweetener, vanilla extract, and salt. Blend again until the color turns deep brown and the mixture looks evenly combined. Pause to scrape the sides if necessary so no dry pockets remain. The cocoa should disappear into the hazelnut base, and the vanilla should round out the flavor. At this stage, Homemade Nutella should already smell rich and chocolatey.
- Check the texture. If you want a thicker spread, leave it as it is. If you prefer a softer, more spoonable or drizzle-friendly consistency, add the milk or oil a little at a time. Blend after each addition so you can judge the texture before adding more. The milk creates a softer finish, while oil helps loosen the spread while keeping it smooth. Either option works well in Homemade Nutella, so choose the one that best matches how you plan to use it.
- Taste the spread and make any final adjustments. Add a little more sweetener if the chocolate flavor feels too bold, or a tiny pinch more salt if the sweetness needs balancing. Blend again briefly after each adjustment. This final tasting step matters because cocoa powders and sweeteners vary, and the best batch of Homemade Nutella is the one that suits your own taste.
- Once the spread reaches the texture and flavor you want, transfer it to a clean jar or airtight container. Let it cool completely before sealing if it is still warm from blending. Store it based on whether you used milk or oil, following the storage guidance above. After that, your Homemade Nutella is ready for toast, fruit, biscuits, or straight-from-the-jar spoonfuls.
Notes
- If you use oil instead of milk, the spread can stay in the pantry in a tightly covered container for a short period, or in the refrigerator for longer storage.
- If you use milk, refrigerate the spread and use it within a couple of weeks for the best texture and freshness.
- For the smoothest result, a high-speed blender works best, though a food processor still gets the job done with more time.
- You can use roasted hazelnuts to save time and skip the oven step.
- The recipe also works with almonds if hazelnuts are unavailable, though the flavor will be different.