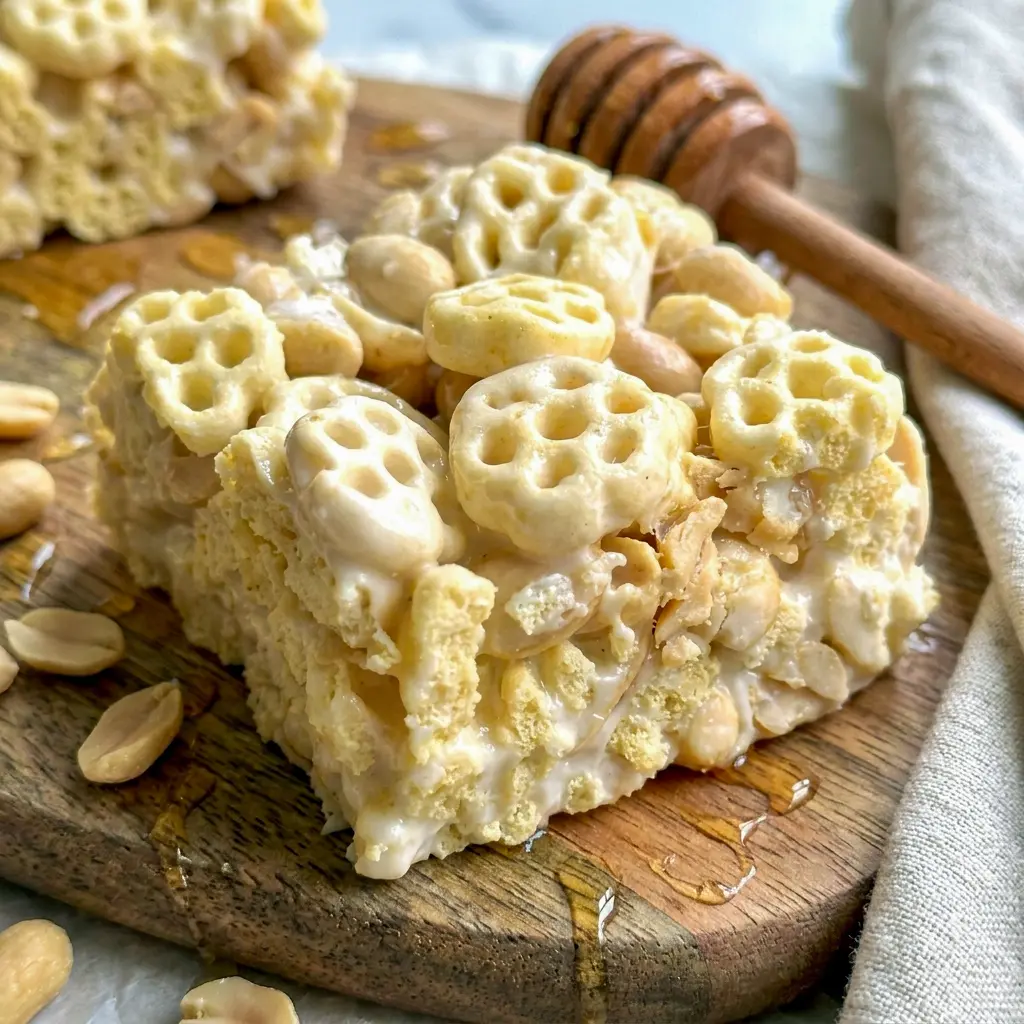
Nothing pulls my kids away from a video game faster than the smell of Honeycomb Marshmallow Treats coming together on the stove, and that’s saying something in our house. There’s a particular kind of chaos that happens the second that melted marshmallow smell hits the kitchen — footsteps thundering in, questions about how much longer, someone always asking to lick the spoon.
Marshmallows have a way of doing that to people, honestly. Is there any food that snaps you back to childhood faster? Roasted golden over a campfire, melted into a steaming mug of hot chocolate, or just eaten straight out of the bag one at a time — marshmallows carry a kind of nostalgia that’s hard to match. My kids play that classic marshmallow-on-a-string game at every birthday party, and watching them get just as obsessed with marshmallows as I was at their age is honestly one of the small joys of parenting.
As much as my kids love marshmallows, though, their love for Honeycomb cereal might actually run just as deep. That honey-sweetened, crunchy little cereal disappears from our pantry embarrassingly fast, which is exactly what got me thinking about combining the two into one treat in the first place. Honeycomb Marshmallow Treats were the obvious answer — take everything great about a classic marshmallow cereal bar, and build it around Honeycomb cereal instead of the usual crisped rice.
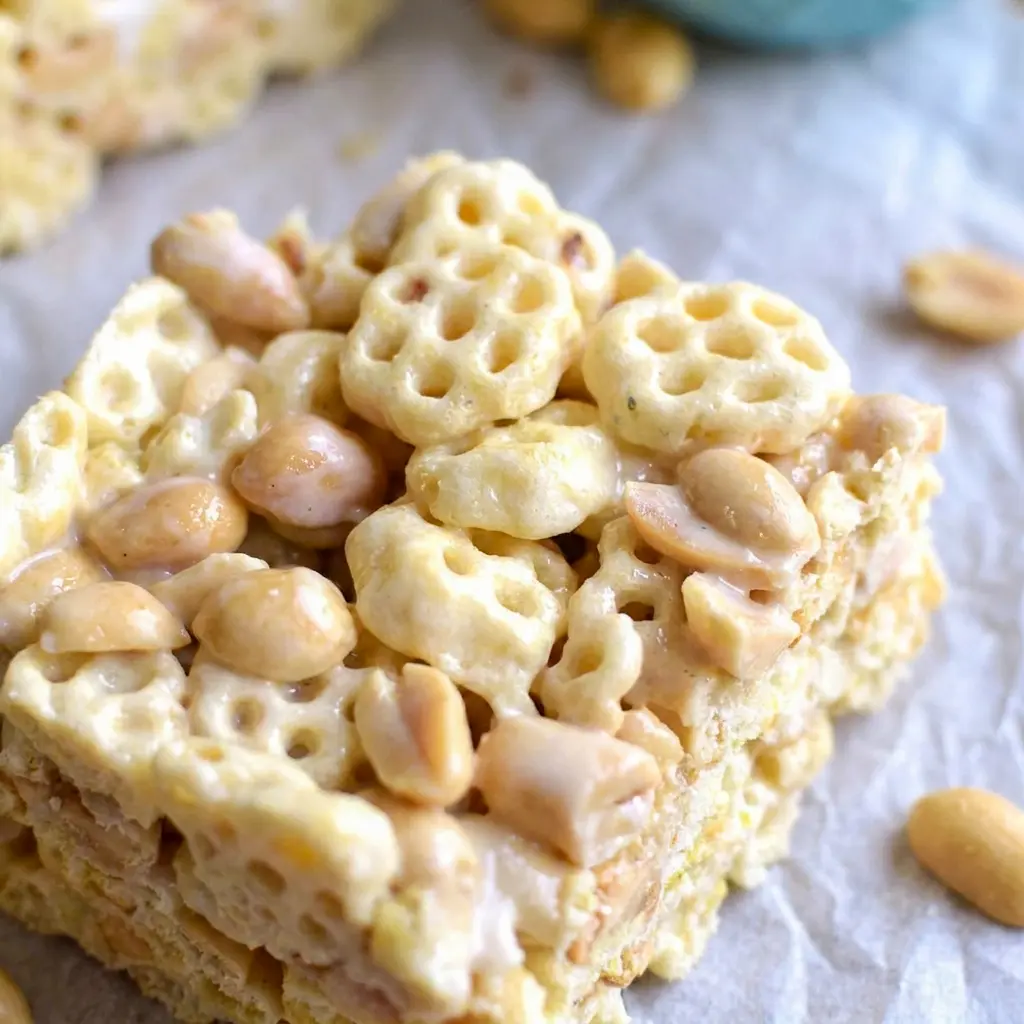
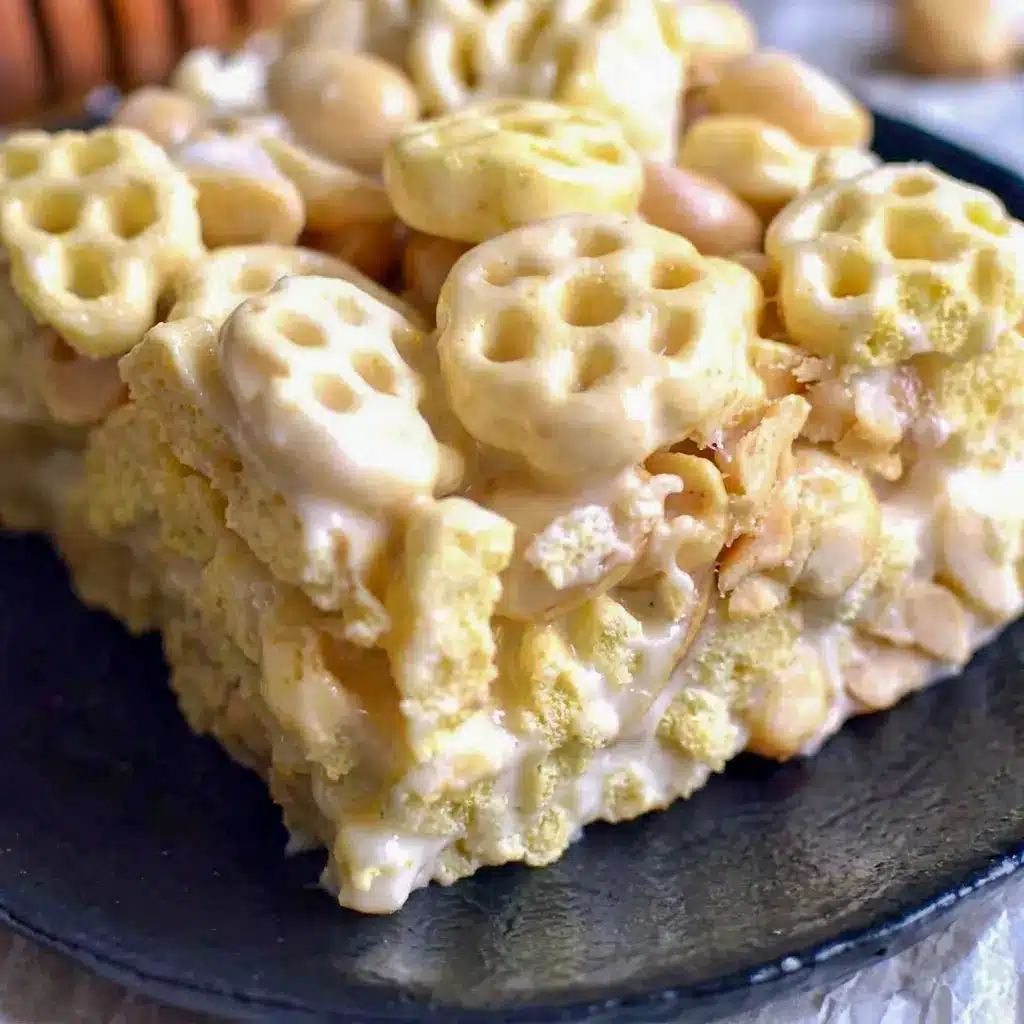
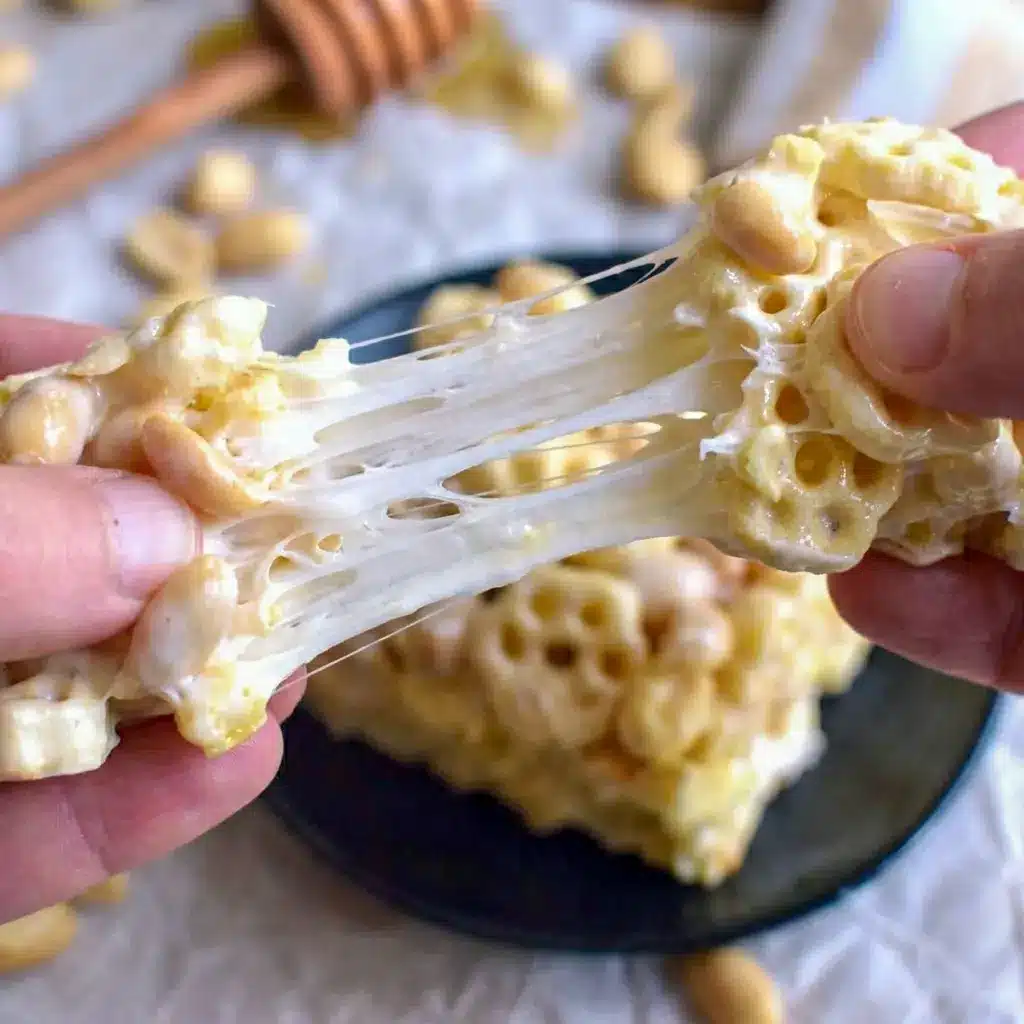
What really sets these apart, though, is the addition of salted peanuts and a touch of real honey. The peanuts bring a salty crunch that plays beautifully against all that sweet, gooey marshmallow, while the honey deepens and highlights the natural honey flavor already baked into the cereal itself. The end result is genuinely addictive — ooey, gooey, salty, sweet, crunchy, and chewy, somehow all at once in a single bite.
If you grew up on classic rice cereal treats, these Honeycomb Marshmallow Treats will feel instantly familiar, but with a flavor twist that makes them stand out from the usual version. Honeycomb cereal brings its own distinct crunch and honey sweetness that a plain crisped rice cereal just can’t replicate, and once you add peanuts and that extra drizzle of honey, it’s hard to imagine going back to the original.
These treats also happen to be about as low-effort as a homemade dessert can get. No oven required, no complicated technique, just a saucepan, a few minutes of stirring, and a quick press into a baking pan. That kind of simplicity makes Honeycomb Marshmallow Treats a genuinely reliable go-to whenever you need something quick for a bake sale, a lunchbox treat, or just an afternoon snack that disappears fast.
Whether you’re chasing a little nostalgia, looking for a fun twist on a classic treat, or just trying to use up a box of Honeycomb cereal before it goes stale, this recipe delivers on every front. One batch rarely lasts long in our house, and I have a feeling it won’t last long in yours either.
Table of Contents
Why You’ll Love These Honeycomb Marshmallow Treats
They’re a fun twist on a classic. Swapping in Honeycomb cereal instead of the usual crisped rice gives these Honeycomb Marshmallow Treats a honey-sweetened crunch that regular cereal treats just don’t have.
The salty-sweet combo is addictive. Salted peanuts against all that gooey marshmallow sweetness creates a flavor contrast that keeps you reaching for just one more square.
They come together fast. No oven, no complicated steps — just a quick stovetop process that has these ready in well under 30 minutes.
They’re a total nostalgia trip. Between the marshmallows and the cereal, these hit that same childhood-treat feeling that’s hard to replicate with anything overly fancy.
They’re endlessly easy to customize. Swap the mix-ins, adjust the honey, change up the toppings — this recipe flexes easily based on what you’re craving.
They travel and store well. Whether it’s a lunchbox, a bake sale, or an afternoon snack, these Honeycomb Marshmallow Treats hold up nicely outside the fridge for a while.
The Key Ingredients (and Why You Need Them)
Here’s a look at what goes into these treats without exact amounts attached — you’ll find the full measurements on the printable recipe card below. I’ll walk through what each ingredient contributes, so you understand how the recipe comes together and where you might have room to adjust it.
- Honeycomb cereal — the star of the show, bringing its signature honey-sweetened crunch and holding its shape well once mixed into the melted marshmallow. This is what turns a classic cereal treat into a true honeycomb cereal treats recipe rather than a standard version.
- Mini marshmallows — melted down into a smooth, gooey base that binds everything together and gives these treats their classic chewy texture.
- Salted peanuts — add crunch and a salty contrast that keeps the sweetness from feeling one-note.
- Unsalted butter — melted first, this helps the marshmallows melt evenly and keeps the whole mixture from sticking too aggressively to the pan.
- Honey — stirred in alongside the melted marshmallows, this extra touch of real honey highlights and deepens the honey flavor already present in the cereal itself.
How to Make It
For the exact ingredient amounts, check the printable recipe card below.
- Melt the butter. Warm the butter over low heat in a large saucepan.
- Melt the marshmallows. Stir in the marshmallows until they’re completely melted and smooth.
- Add peanuts and honey. Stir in the salted peanuts and honey until well combined.
- Add the cereal. Add the Honeycomb cereal to the pan and stir quickly to coat every piece evenly.
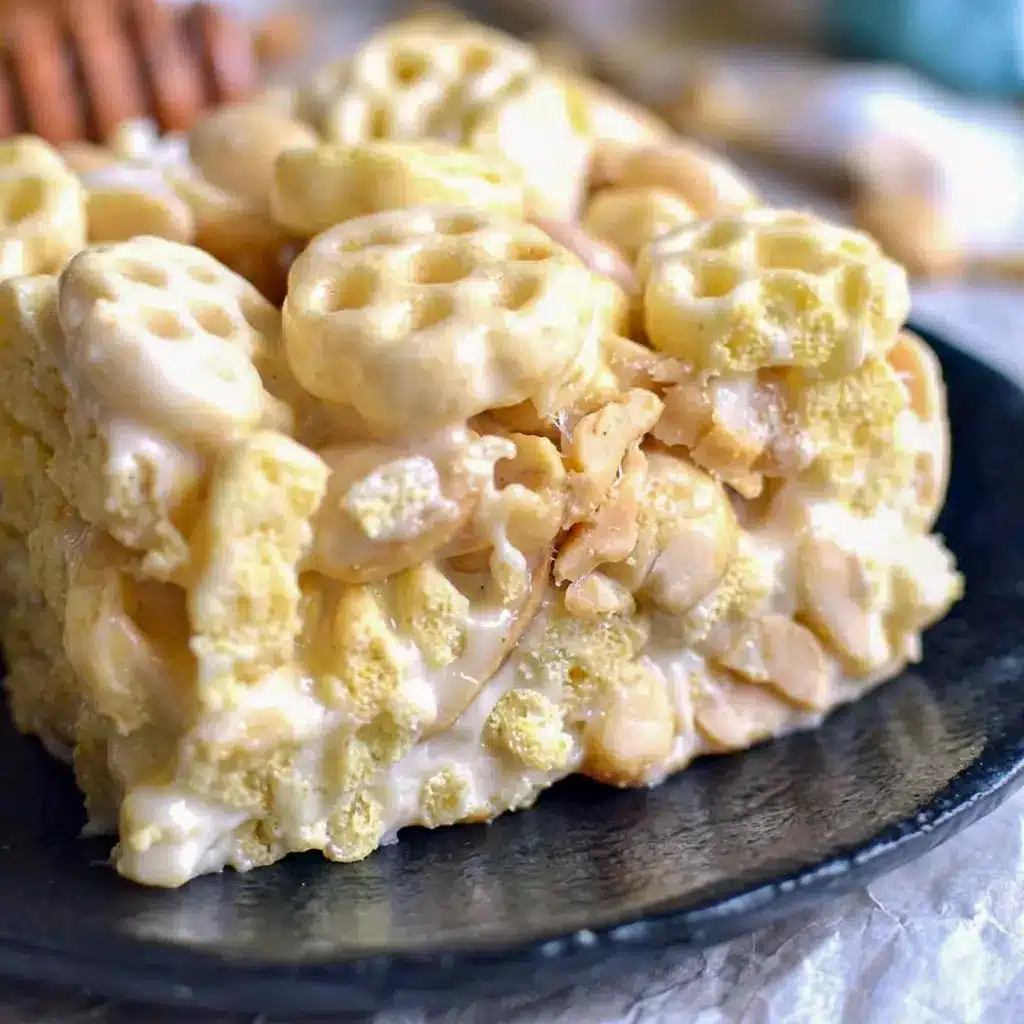
- Press into the pan. Immediately press the mixture into a prepared baking pan.
- Cool and set. Let the mixture cool and firm up before cutting.
- Slice and serve. Cut into squares and serve.
Pro Tips for Perfect Honeycomb Marshmallow Treats
Melt the butter and marshmallows over low heat. Rushing this step with higher heat risks scorching the marshmallows or making them turn stiff instead of staying smooth and gooey.
Work quickly once the cereal goes in. Honeycomb cereal can soften if it sits too long in the hot marshmallow mixture, so stir it in fast and get it into the pan right away.
Press firmly but gently. Pressing the mixture into the pan too aggressively can crush the cereal and make the finished treats dense instead of light and chewy.
Let them cool completely before cutting. Cutting into Honeycomb Marshmallow Treats too soon can leave you with a gooey, messy square instead of a clean-cut bar.
Add extra honey if you love that flavor. A little more honey drizzled in deepens the honey notes even further, so feel free to adjust based on your own taste.
Variations to Try
Add chocolate chips. Stirring in a handful of mini chocolate chips once the mixture has cooled slightly (but before it fully sets) adds an extra layer of sweetness.
Try different nuts. Cashews or almonds can stand in for peanuts if you want a different crunch or flavor profile.
Drizzle with melted chocolate. A quick drizzle over the top after cutting turns these into an even more dessert-worthy treat.
Make them nut-free. Simply leave out the peanuts for an easy allergy-friendly version that’s still just as gooey and satisfying.
Try other honey-sweetened cereals. If Honeycomb isn’t available, other honey-flavored cereals can work in a pinch, though the flavor and crunch will vary slightly. Either way, you’ll end up with your own version of these honeycomb rice krispie treats-style bars.
Best Ways to Serve Honeycomb Marshmallow Treats
As an afternoon snack. These are perfect for satisfying a sweet craving without much effort or planning.
Packed in a lunchbox. Their sturdy texture holds up well, making them an easy addition to any lunchbox rotation.
At a party or bake sale. These disappear fast among a crowd, making them a reliable pick whenever you need something people will actually eat.
Alongside a glass of milk. The classic pairing works just as well here as it does with any other marshmallow cereal treat.
Storage and Leftovers
How should I store Honeycomb Marshmallow Treats? Keep them in an airtight container at room temperature, where they’ll stay fresh and chewy for several days.
Can I freeze them? Yes. Wrap individual squares tightly and store them in a freezer-safe container for a couple of months, then thaw at room temperature before eating.
How do I keep them from drying out? Storing them in a tightly sealed container is key — leaving them uncovered can cause the marshmallow to dry out and turn hard faster than you’d like.
Do they need to be refrigerated? No, these are perfectly fine stored at room temperature, and refrigeration can actually make them firmer than they’re meant to be.
Honeycomb Marshmallow Treats FAQ
Can I use regular marshmallows instead of mini ones?
Yes, though mini marshmallows melt faster and more evenly, which makes the process a bit quicker and smoother overall.
Can I make these without peanuts?
Absolutely. Simply leave them out for a nut-free version, or swap in a different mix-in like chocolate chips or a different type of nut.
Why did my treats turn out too hard?
This usually means the marshmallow mixture was cooked a bit too long, or the treats were pressed too firmly into the pan. A lighter hand while pressing helps keep them soft and chewy.
Can I double this recipe?
Yes, doubling works well — just use a larger pan, like a 9×13, to keep the thickness similar to the original recipe.
How long do these stay fresh?
Stored in an airtight container at room temperature, they typically stay fresh and chewy for about 3 to 4 days.
Can I use a different cereal?
Yes, though the flavor and texture will change depending on what you use. Honeycomb cereal is what gives this recipe its signature honey flavor and crunch, so swapping it out will shift the final result.
Final Thoughts
Honeycomb Marshmallow Treats take everything nostalgic about a classic marshmallow cereal bar and give it a genuinely delicious upgrade with honey-sweetened cereal, salty peanuts, and a touch of real honey. They’re quick enough for a weeknight craving, sturdy enough for a lunchbox, and crowd-pleasing enough for any party or bake sale. Once you’ve made a batch of these Honeycomb Marshmallow Treats, don’t be surprised if they become the treat your kids start requesting by name.
Follow me on Pinterest for daily new recipes.
Honeycomb Marshmallow Treats – Better Than Rice Krispie Treats
Melted marshmallows, honey-sweetened Honeycomb cereal, and salted peanuts come together in this quick, no-bake treat, finished with a touch of real honey for a salty-sweet, ooey-gooey bite that’s ready in minutes.
- Prep Time: 10 minutes
- Total Time: 10 minutes
- Yield: 12 servings 1x
- Category: Dessert
Ingredients
- 4½ cups Honeycomb cereal
- 1 (10 oz) bag mini marshmallows
- 1 cup roasted salted peanuts
- ¼ cup unsalted butter
- 2 tablespoons honey (add more for a stronger honey flavor)
Instructions
- Place a large saucepan over low heat and add the unsalted butter, letting it melt completely and evenly across the bottom of the pan. Keeping the heat low here helps prevent scorching in the next step.
- Once the butter has fully melted, add the mini marshmallows to the saucepan. Stir continuously and patiently over the low heat until the marshmallows melt down completely into a smooth, glossy mixture with no lumps remaining.
- Add the roasted salted peanuts and the honey directly into the melted marshmallow mixture. Stir everything together thoroughly until the peanuts and honey are evenly distributed throughout.
- Add the Honeycomb cereal to the saucepan all at once. Working quickly, stir the cereal into the marshmallow mixture, making sure every piece gets evenly coated. Move efficiently during this step, since the cereal can start to soften if it sits too long in the hot mixture.
- Immediately transfer the coated cereal mixture into an 8×8-inch baking pan that has been lined with parchment paper or lightly coated with non-stick spray. Using a piece of parchment paper, the back of a spatula, or lightly greased hands, press the mixture evenly and firmly into the pan, being careful not to press so hard that you crush the cereal pieces.
- Let the pan sit undisturbed at room temperature until the mixture has fully cooled and set, firming up enough to hold its shape when cut.
- Once completely cooled, lift the set mixture out of the pan using the parchment paper overhang if you used one, then cut it into squares. Serve and enjoy.
Nutrition
- Serving Size: 1grams
- Calories: 237kcal
- Sugar: 21g
- Sodium: 125mg
- Fat: 10g
- Carbohydrates: 35g
- Fiber: 2g
- Protein: 4g
- Cholesterol: 10mg