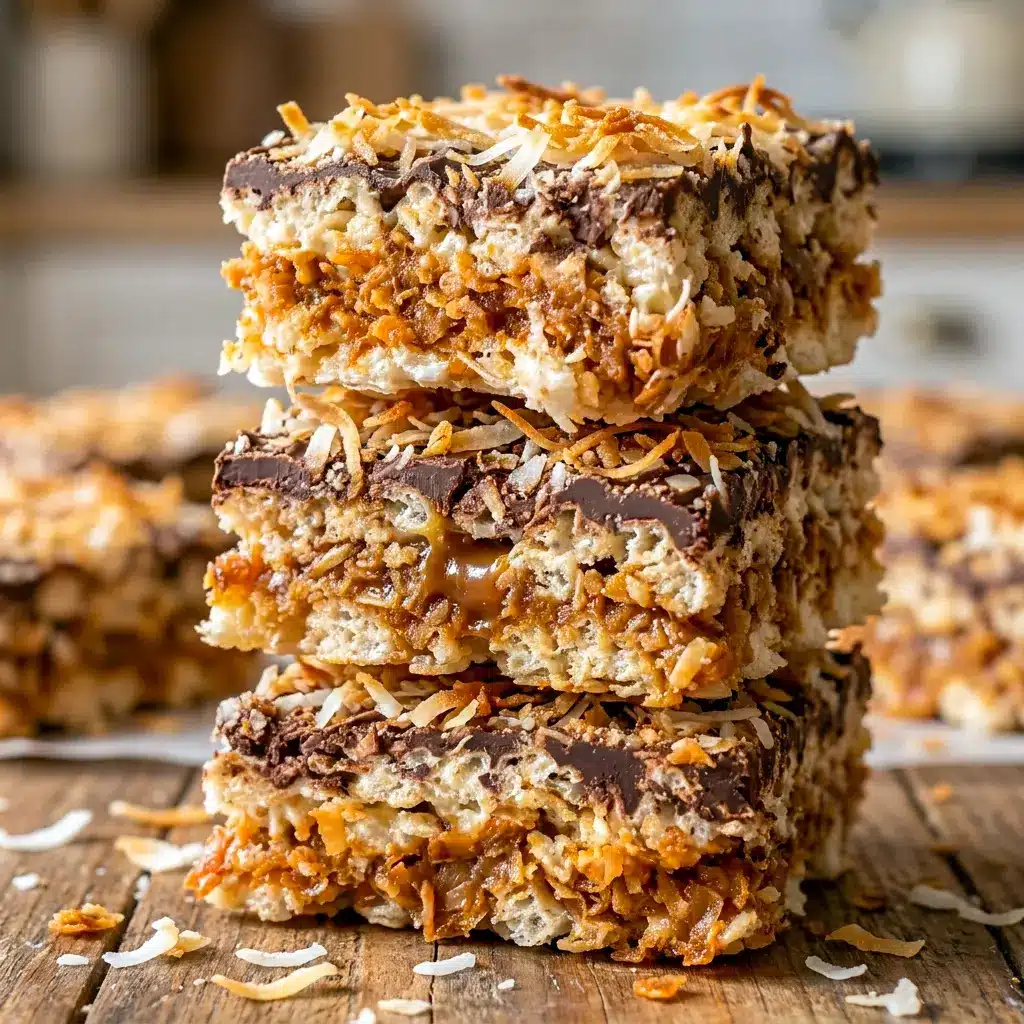
Samoa Rice Krispies are what happens when a nostalgic childhood treat decides to dress up like a Girl Scout cookie and absolutely steal the show. They bring together toasted coconut, gooey caramel, marshmallow cereal bars, and a layer of chocolate that makes the whole thing feel a little dramatic in the best possible way.
These are not ordinary cereal bars. Samoa Rice Krispies taste like the love child of a classic marshmallow square and the famous Samoa cookie, which means every bite gives you crunch, chew, sweetness, and a little bit of toasted coconut magic. They hit that rare dessert sweet spot where they feel familiar and exciting at the same time.
What makes Samoa Rice Krispies especially fun is that they feel a little fancy without requiring a pastry degree. You toast coconut, melt marshmallows, layer caramel in the middle, and finish with chocolate. That is it. The process sounds impressive, but the steps stay simple enough for a weeknight baking mood or a weekend kitchen project.
The first time I made Samoa Rice Krispies, I realized quickly that this recipe belongs in the category of Amazing Rice Krispie Treats. Not because it is complicated. Not because it uses hard-to-find ingredients. It is amazing because it takes a basic pantry dessert and turns it into something people actually talk about after the plate is empty.
If you are the kind of person who gets excited by Different Kinds Of Rice Crispy Treats, this one will make you very happy. It feels playful and familiar, but the caramel coconut filling gives it a richer, more layered flavor than standard treats. It is also one of those Baked Treat Ideas that looks like you spent way more time on it than you actually did.
Table of Contents
Why You’ll Love These Samoa Rice Krispies
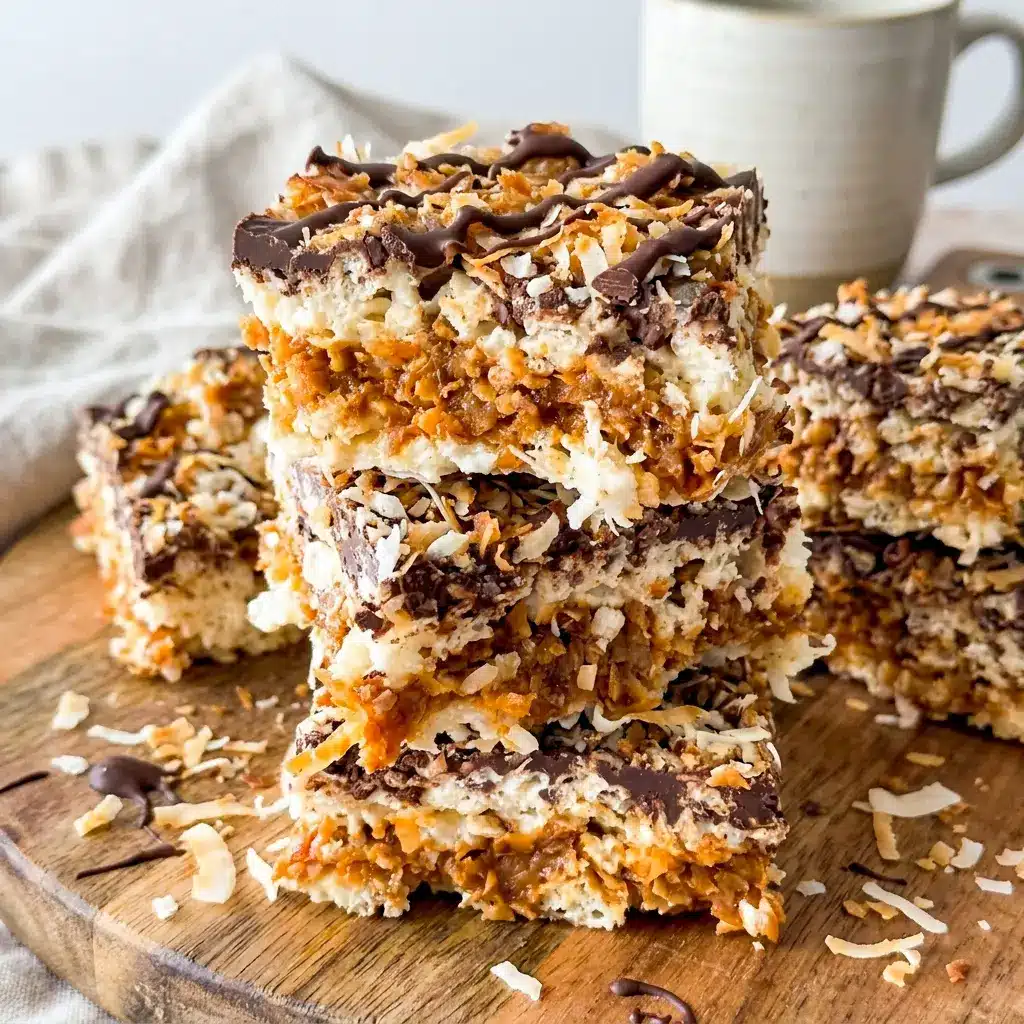
Samoa Rice Krispies deliver the kind of dessert payoff that keeps people coming back for “just one more piece.” The texture does a lot of the heavy lifting here. You get a crisp cereal base, a soft marshmallow pull, creamy caramel coconut in the center, and a thin chocolate finish on top.
They also taste like a childhood memory and a bakery dessert at the same time. That is a dangerous combination. Samoa Rice Krispies are sweet enough to feel indulgent, but they still keep the fun, casual charm of a no-bake treat.
Another reason to love Samoa Rice Krispies is how well they fit into dessert situations where you need something easy, shareable, and crowd-pleasing. Potlucks, bake sales, school events, holiday trays, game nights, and random Tuesday evenings all benefit from a pan of these bars.
This recipe also plays well with people who already love Samoa Rice Krispie Treats and want something a little more layered. It is not just a basic bar with coconut dumped on top. The filling goes in the middle, which makes every square feel intentional and extra satisfying.
And yes, this is one of those recipes that makes you look like a genius without much effort. That is the whole point. Samoa Rice Krispies bring big flavor, visual appeal, and nostalgic charm, which is exactly the kind of dessert magic that works on Pinterest and in real life.
The Key Ingredients (and Why You Need Them)
Below I list the main ingredients without amounts here, since the printable card has those. I’ll explain what each one does so you can understand how to work with the recipe and tweak it if needed.
- Mini marshmallows
These create the soft, chewy base that holds everything together. They also bring the classic flavor that makes Samoa Rice Krispies feel like real Rice Krispie treats. - Butter
Butter adds richness and helps the marshmallows melt smoothly. It also gives the bars a more rounded flavor. - Rice Krispie cereal
This is the backbone of the recipe. It gives the bars their signature crunch and light texture. - Sweetened shredded coconut
The coconut brings the toasted Samoa-inspired flavor. Toasting it deepens the taste and adds that irresistible nutty, caramel-like aroma. - Milk
A small amount helps thin the dulce de leche so it spreads more easily. - Dulce de leche
This is the creamy caramel center that makes Samoa Rice Krispies feel special. It adds richness and turns the treat into something much more layered than a basic cereal bar. - Semi-sweet chocolate
Chocolate finishes the bars with that classic Samoa-cookie look and taste. It balances the sweetness and makes the top feel polished.
Why These Samoa Rice Krispies Stand Out
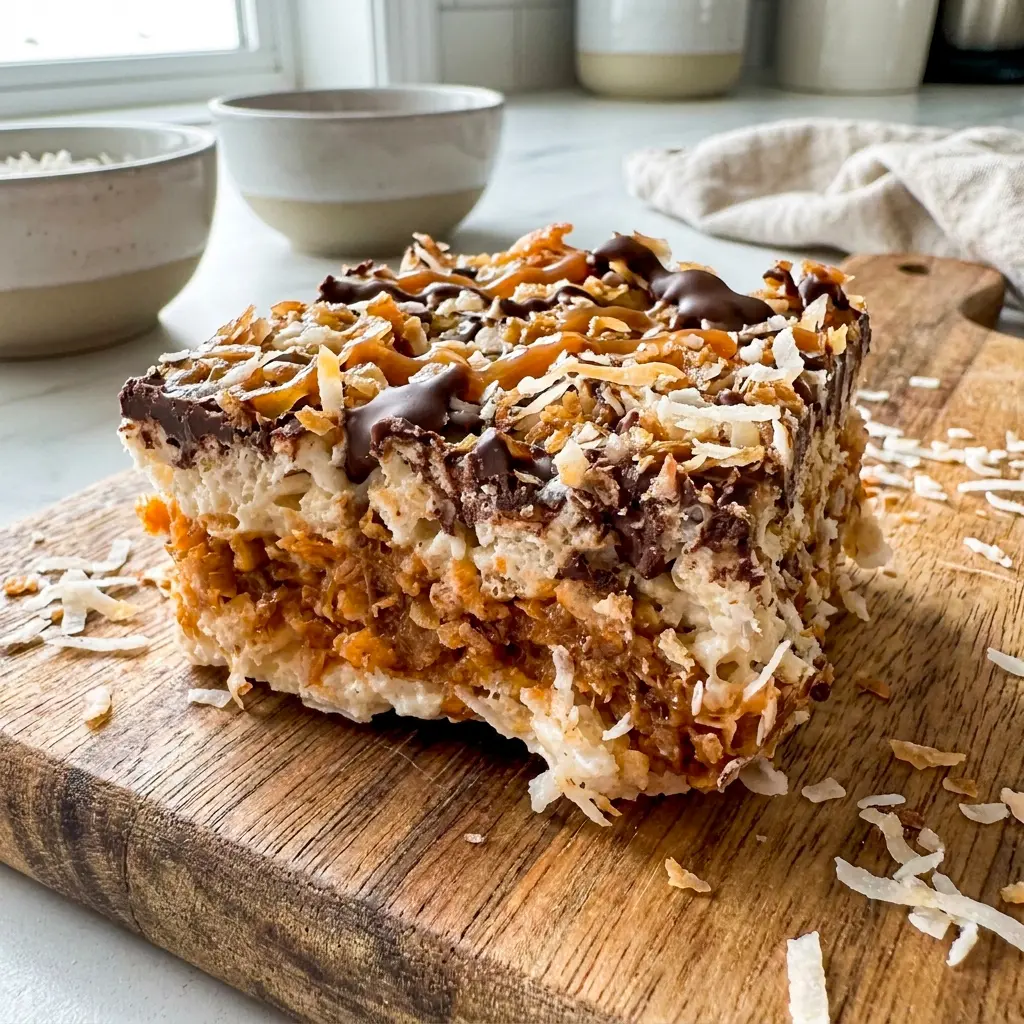
The trick with Samoa Rice Krispies is balance. You are not just mixing flavors together and hoping for the best. You are building layers that each do something important.
The toasted coconut adds depth. The caramel center adds softness and richness. The marshmallow cereal layer keeps things chewy and familiar. The chocolate on top pulls everything together. That balance is what turns this into one of those Samoa Rice Krispie Treats Recipe ideas people remember.
It is also worth saying that these bars taste like a mash-up of dessert favorites. They borrow the best parts of Cooking With Marshmallows, the fun of cookie-inspired bars, and the nostalgia of after-school treats. That combination gives the recipe a strong homemade-dessert feel without becoming fussy.
How to Make It
Making Samoa Rice Krispies is straightforward, but each step matters. Take your time with the coconut and the layering. That is where the flavor really develops.
- Toast the coconut first.
Pour the entire bag of shredded coconut into a large sauté pan. Cook it over medium-high heat while stirring constantly. Keep flipping and moving it so the coconut browns evenly. It should turn a deep golden color and smell warm and nutty, almost like buttered popcorn. Do not walk away. Coconut can go from toasted to burnt very fast. Once most of it looks nicely browned, remove the pan from the heat and keep stirring for about 2 more minutes. The residual heat will continue to toast it a little more. - Set aside some coconut for the finish.
After toasting, measure out about half a cup of coconut and save it for the top. This gives Samoa Rice Krispies that pretty final garnish and reinforces the coconut flavor. - Warm the dulce de leche.
Place the dulce de leche and milk in a microwave-safe bowl. Heat it for about 1 1/2 minutes, or until it loosens up and becomes easier to stir. You want a smooth, spreadable filling. If it stays too thick, it will not layer well in the bars. - Mix the caramel coconut filling.
Stir the warmed dulce de leche together with the toasted coconut that you did not set aside. Make sure everything gets coated evenly. This creates the gooey center that makes Samoa Rice Krispies taste so much like the classic cookie flavor everyone loves. - Make the marshmallow base.
In a large microwave-safe bowl, melt the butter and marshmallows together. On most microwaves, this takes about 2 minutes, but timing may vary. Stir until the mixture is smooth and fully combined. This is the chewy foundation of the bars. - Add the cereal.
Pour in the Rice Krispie cereal and mix well so every piece gets coated with the marshmallow mixture. Work quickly but thoroughly. The mixture sets up faster than you think. - Build the layers in the pan.
Grease an 8×12 pan well. Spread half of the cereal mixture into the bottom and press it down gently. Then add the caramel coconut filling in an even layer across the center. Top with the remaining cereal mixture and press it down to cover the filling completely. A light spray of cooking spray on your hands helps prevent sticking and makes pressing much easier. - Finish with chocolate and coconut.
Melt the semi-sweet chocolate and spread it over the top layer. While the chocolate is still warm, sprinkle the reserved toasted coconut over the surface. This final step gives Samoa Rice Krispies their signature look and flavor. - Let them set before cutting.
Allow the chocolate to harden completely before slicing. Once it sets, cut the bars into squares and serve.
Pro Tips for Perfect Results
Watch the coconut carefully. That is the step most likely to go wrong. Stir constantly and stay close to the stove.
Toast until golden, not dark brown. The coconut will keep cooking a bit after you remove it from the heat.
Press the layers gently. If you pack the bars too tightly, they can become dense instead of chewy.
Spray your hands before pressing the cereal. That small trick saves a lot of frustration.
Let the chocolate fully set before slicing. Clean cuts make the bars look much better.
Use a pan that fits the batch well. An 8×12 pan gives you a nice balance of thickness and structure. A different pan size will work too, but the bars will change in height.
Variations to Try
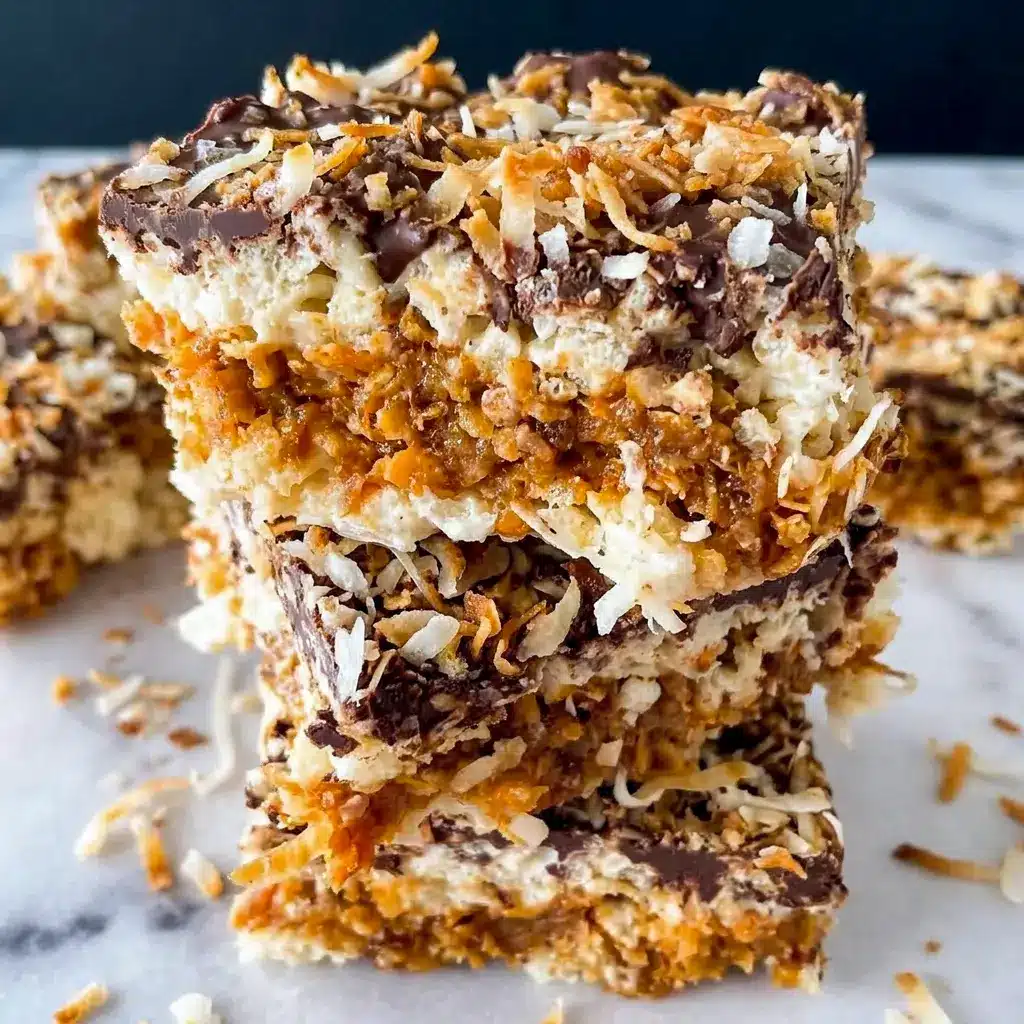
Samoa Rice Krispies are already fun, but there are a few ways to customize them.
- Add a thicker chocolate layer if you want a more dramatic finish.
- Use dark chocolate for a slightly less sweet version.
- Swap in a little cream cheese flavor if you are drawn to Cream Cheese Rice Krispie Treats, though this will change the Samoa profile.
- Make smaller bars or squares for party trays and dessert boards.
- Add extra coconut if you want more toasted flavor in every bite.
- Turn them into holiday bars by cutting them into smaller pieces and drizzling extra chocolate on top.
Best Ways to Serve
These bars shine all on their own, but they also fit into a few different serving moments. Samoa Rice Krispies work beautifully on dessert platters, bake sale tables, and holiday trays. They also make a great casual after-dinner sweet when you want something easy and nostalgic.
If you want to dress them up a little, serve them with coffee or cold milk. The chocolate and caramel flavors pair especially well with both. For parties, cut them into smaller squares so guests can grab one without committing to a giant piece.
Quick Tips for Storage and Leftovers
Samoa Rice Krispies are best the day they are made. Like most Rice Krispie treats, the texture softens a bit after the first day, so plan to enjoy them sooner rather than later.
Store leftovers in an airtight container at room temperature. Keep them away from heat so the chocolate does not melt. If you need to stack them, place parchment paper between layers.
These are not the kind of bars you want to make too far in advance. They still taste great later, but the crispness is best on day one. That is why this recipe is one of those Samoa Rice Krispie Treats Recipe ideas you make when you know they will disappear quickly.
Frequently Asked Questions
What size pan should I use?
An 8×12 pan works well for Samoa Rice Krispies and gives a good bar thickness. A smaller pan makes thicker bars, while a larger pan makes thinner ones.
Can I make these ahead of time?
You can, but Samoa Rice Krispies are best the same day. The texture softens as time passes.
Can I toast the coconut in the oven?
Yes. You can toast it in the oven if you prefer, but watch it very closely because it can burn quickly.
Can I use store-brand cereal?
Yes. The cereal brand does not make a big difference here, so store-brand cereal works fine.
What makes these different from regular Rice Krispie treats?
The caramel coconut center and chocolate topping give Samoa Rice Krispies a much richer, more layered flavor than standard bars. They feel closer to a candy-bar dessert than a plain cereal square.
Final Thoughts
Samoa Rice Krispies are one of those desserts that feel playful, nostalgic, and just a little bit indulgent. They start with a familiar cereal treat base, then add toasted coconut, creamy caramel, and chocolate to create something far more exciting than a standard marshmallow square.
That is why Samoa Rice Krispies belong in the category of Amazing Rice Krispie Treats. They are fun to make, beautiful to serve, and impossible to ignore once they hit the table. If you love cookie-inspired desserts, Samoa Rice Krispie Treats deliver everything you want in one pan.
The best part is how they capture the flavor of the classic Girl Scout Samoa cookie while still feeling like a cozy homemade treat. Whether you call them Samoa Rice Krispies Bars or your new favorite Samoa Rice Krispie Treats Recipe, they are the kind of dessert that disappears fast and earns repeat requests.
One batch of Samoa Rice Krispies and suddenly your simple cereal treat has turned into a dessert people remember.
Follow me on Pinterest for daily new recipes.
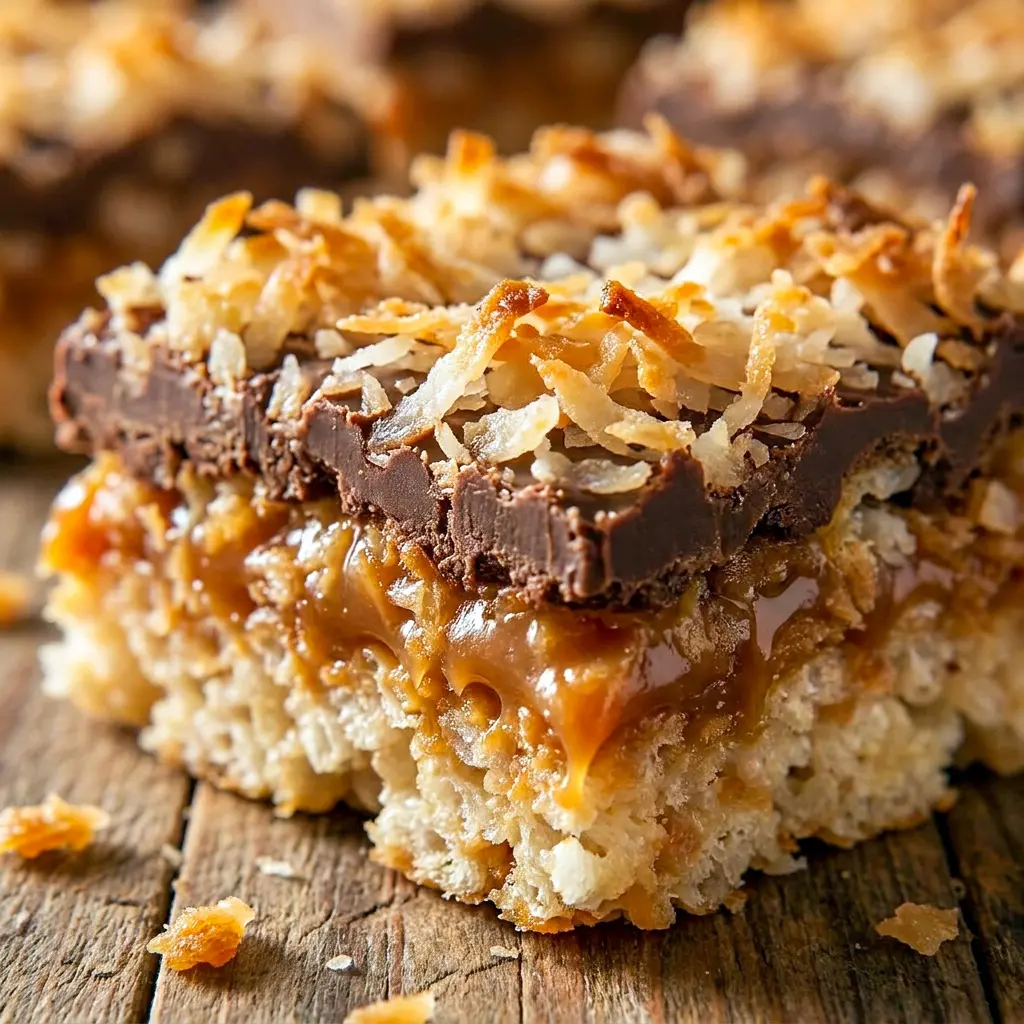
Samoa Rice Krispies | Chewy Marshmallow Bars with Coconut Caramel
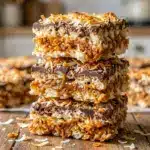
These Samoa Rice Krispies are inspired by the classic Girl Scout cookie and layer toasted coconut, dulce de leche, marshmallow cereal, and chocolate into one chewy, irresistible bar.
- Prep Time: 20 minutes
- Total Time: 20 minutes
- Yield: 16 servings 1x
- Category: Dessert
Ingredients
- 5 cups mini marshmallows
- 3 tablespoons butter
- 6 cups Rice Krispie cereal
- 1 (14 oz) bag sweetened shredded coconut
- 2 tablespoons milk
- 1 (13.4 oz) can dulce de leche
- 6 oz semi-sweet chocolate, melted
Instructions
- Toast the coconut.
Add the full bag of shredded coconut to a large sauté pan and place it over medium-high heat. Stir the coconut constantly so it browns evenly. Keep turning it and moving it around the pan so it does not scorch in one spot. You want most of the coconut to become a deep golden brown. The aroma will turn rich and nutty as it toasts. Stay close, because coconut can darken very quickly once it starts to color. When most of it looks toasted, remove the pan from the heat but keep stirring for about 2 more minutes. The residual heat in the pan will continue the toasting process, so this extra stirring helps prevent burning. - Reserve some coconut for the top.
After the coconut is toasted, remove 1/2 cup and set it aside. You will use this later as a garnish for the finished bars. - Thin the dulce de leche.
Place the dulce de leche and the 2 tablespoons of milk into a microwave-safe bowl. Warm the mixture for about 1 1/2 minutes, or until it loosens and becomes easier to stir. This step helps the caramel layer spread smoothly inside the bars instead of clumping up. Stir it well until the mixture looks creamy and pourable. - Combine the caramel and coconut.
Add the toasted coconut that you did not set aside into the warm dulce de leche mixture. Stir until the coconut is evenly coated and fully combined. This is the rich filling that gives Samoa Rice Krispies their signature Samoa-cookie flavor. - Melt the marshmallows and butter.
In a large microwave-safe bowl, add the butter and mini marshmallows together. Microwave until melted, which usually takes about 2 minutes in most microwaves. Remove the bowl carefully and stir until the mixture is smooth and fully blended. The marshmallows should look glossy and evenly melted into the butter. - Mix in the cereal.
Pour the Rice Krispie cereal into the melted marshmallow mixture. Stir until every piece is coated and the cereal is evenly distributed. Work fairly quickly, since the mixture will begin to set as it cools. - Assemble the layers.
Grease an 8×12 pan well so the bars release easily later. Spread half of the cereal mixture into the bottom of the pan and press it down into an even layer. Add the coconut-caramel filling on top and spread it out carefully so it covers the layer beneath. Then spoon the remaining cereal mixture over the filling and press it down gently to form the top layer. Spraying your hands with a little cooking spray can help keep the sticky cereal from clinging to you while you press. - Add the chocolate topping.
Melt the semi-sweet chocolate and spread it over the top of the bars. While the chocolate is still soft, sprinkle the reserved 1/2 cup toasted coconut over the surface. This gives the bars their finished Samoa-style look and adds an extra layer of flavor and texture. - Cool and slice.
Allow the chocolate to harden completely before cutting. Once set, slice the bars into squares and serve.
Notes
- Pan size: This recipe was originally made in a 7×11 pan, but an 8×12 pan works well for a more common option. The pan size mainly changes the thickness of the bars.
- Best texture: These bars are at their best the day they are made. Like most Rice Krispie treats, they soften a little by the next day.
- Toasting coconut in the oven: You can toast the coconut in the oven if you prefer, but watch it constantly so it does not burn.
- Storage: Keep leftovers in an airtight container at room temperature.