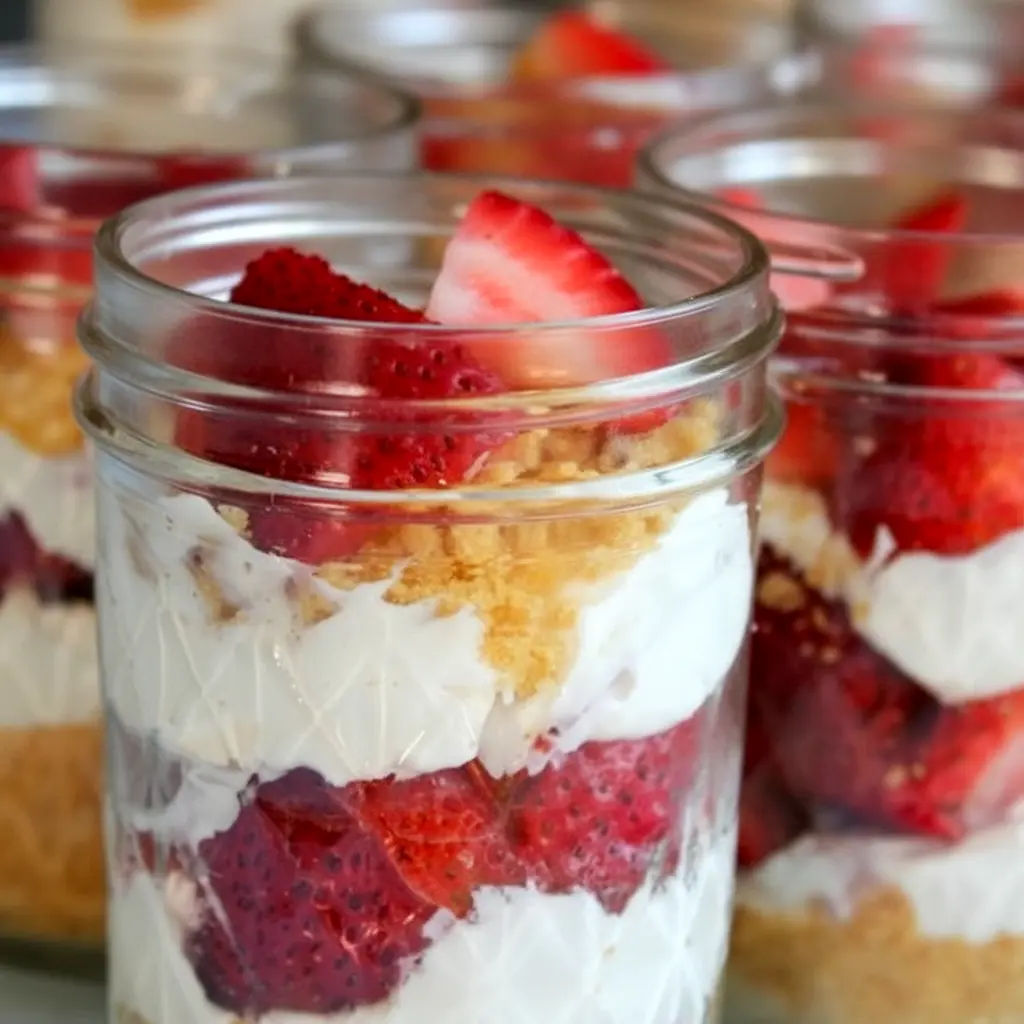
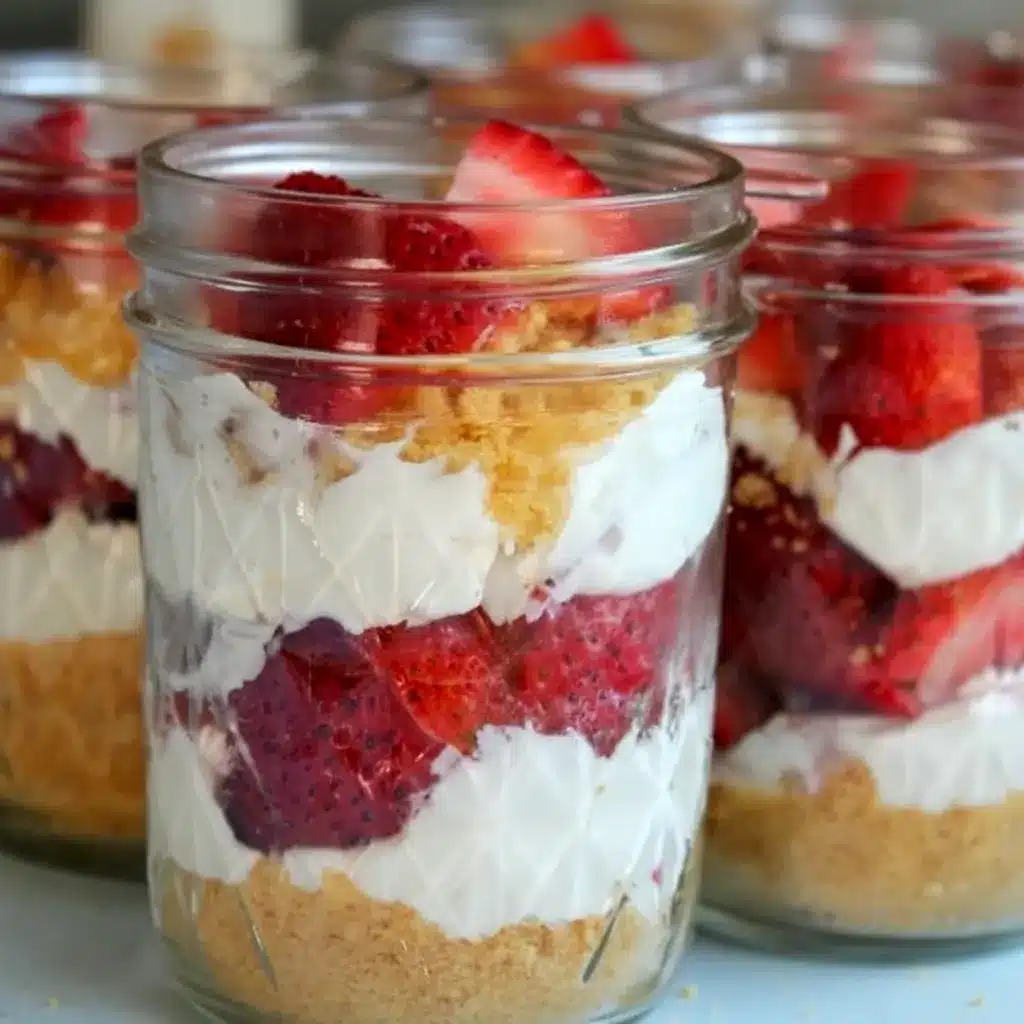
If you’re craving a Healthy No-Bake Strawberry Cheesecake, these yogurt-packed jars are the easiest, most satisfying answer. Lightened-up cheesecake filling, crunchy vanilla-cookie crumbs, a kiss of lemon, and fresh strawberries—stacked into mason jars for perfect portion control and maximum summer vibes.
Short description: a fridge-ready, no-oven dessert that layers a tangy, protein-forward cheesecake filling with vanilla wafer crumbs and fresh berries. It’s picnic-proof, party-ready, and — dare I say — guilt-manageable.
Table of Contents
Brief introduction to the recipe
Who says dessert can’t be sensible? These jar desserts give you all the cheesecake feelings without the oven, the long chill times, or the temptation to slice a “just a sliver” off a full cake. Instead, you get individual portions, so you know exactly what you’re eating. Fancy? Yes. Practical? Also yes.
This is my go-to when the weather warms up and I want something sweet that doesn’t melt into a puddle the moment I step outside. Want to bring something to a potluck or spoil a weekday lunch? Pop a few of these in the fridge and call it a win.
Why you’ll love this recipe
- No-bake = no oven heat, no babysitting, no drama.
- Portion-controlled jars keep you honest (and cute).
- Health-forward swaps—Greek yogurt and reduced-fat cream cheese add protein and cut fat without sacrificing creaminess.
- Make-ahead friendly—assemble the night before and relax.
- Versatile—use gluten-free cookies, swap berries, or make a crunchy crumble topping.
Ask yourself: do you want dessert that feels decadent but behaves? This is it.
The Key Ingredients (and Why You Need Them)
Below I list the main ingredients (no amounts here — the recipe card has those). I’ll explain what role each plays so you understand how and why to tweak things.
- Reduced-fat cream cheese (Neufchâtel) — gives that classic cheesecake tang and smooth texture but with less fat. It’s the backbone of the filling.
- Greek yogurt — adds protein, tang, and a lighter texture. It also helps the filling set without lots of heavy dairy.
- Granulated sugar — a little sweetness goes a long way; used sparingly here to keep the dessert balanced.
- Vanilla extract — rounds the flavor and plays nicely with strawberries and lemon.
- Fresh strawberries — choose ripe, deep-red berries for the best flavor; they bring freshness and natural sweetness.
- Lemon (zest + juice) — brightens the filling and balances the sweetness—tiny amounts pack big punch.
- Whipped natural topping (Truwhip or similar) — keeps the filling airy and stable while avoiding high-fructose nasties.
- Vanilla wafer crumbs — they provide the crunchy, cookie-like base. Use organic or gluten-free wafers if desired.
- Butter — binds the crumbs and gives them a toasty note when chilled.
These parts work together to produce a Healthy Jar Dessert that tastes indulgent but behaves like a sensible snack.
How to Make It
Here’s the fast, friendly method—written so you can glance and get to layering.
- Make the crumb base. Pulse vanilla wafers in a food processor until fine. Pour in melted unsalted butter and pulse until the mixture clumps slightly. Spoon a couple of tablespoons of crumbs into each 8-ounce jar and gently press down. Pop the jars into the fridge to firm the base while you mix the filling.
- Whip the filling. In a large bowl, beat the softened reduced-fat cream cheese with Greek yogurt and a small amount of sugar until smooth. Add vanilla extract, a touch of lemon zest, and a little lemon juice; mix until everything is silky. Fold in chilled whipped topping for lift and a cloud-like texture. Finally, stir in some chopped strawberries to give pockets of juice and color.
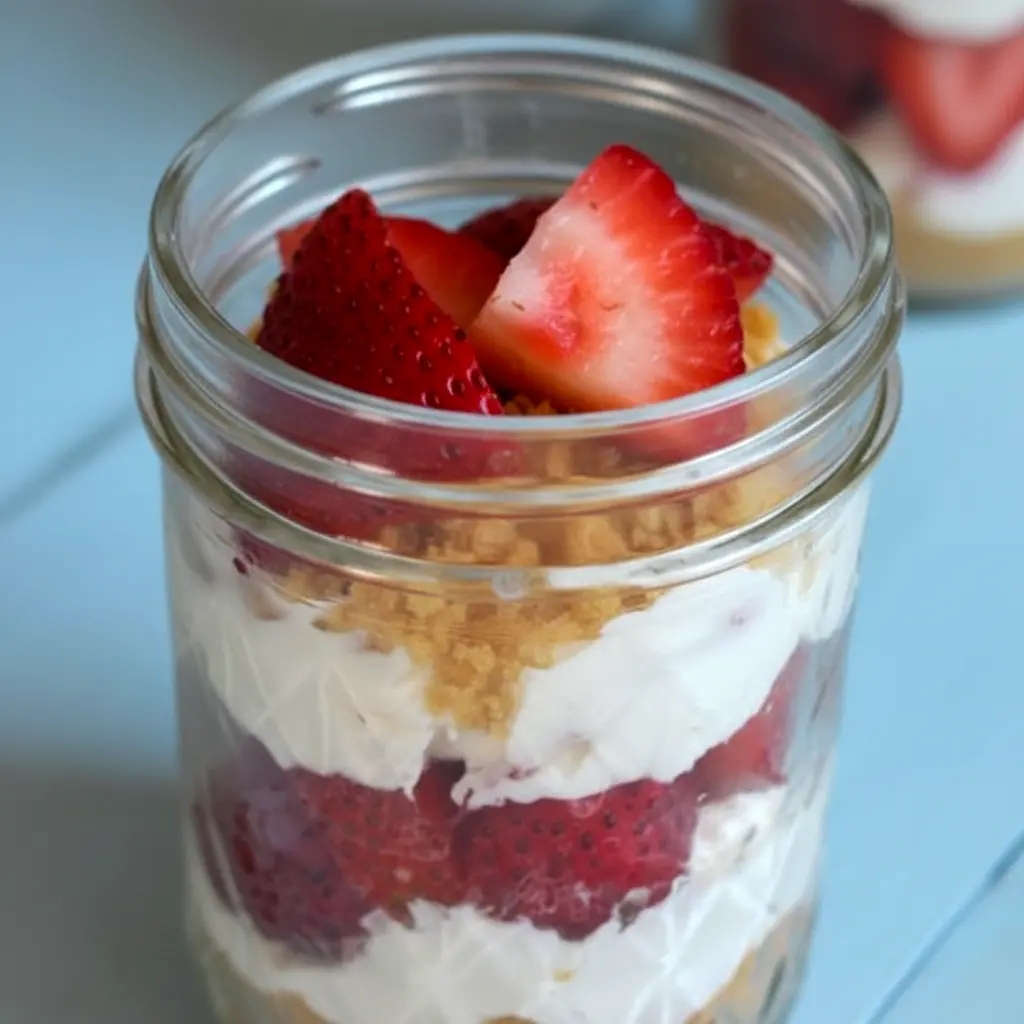
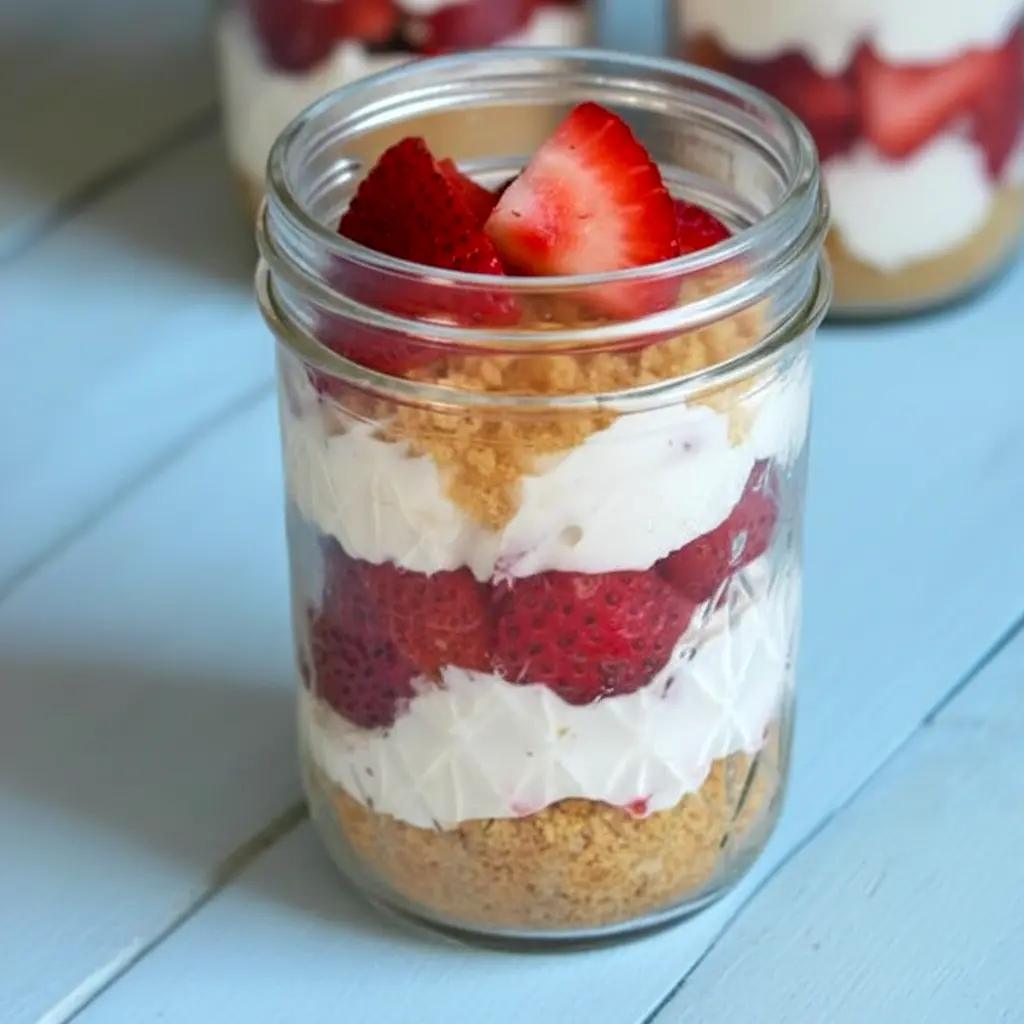
- Assemble the jars. Spoon a layer of the cheesecake mixture over the chilled crumbs (about 2–3 tablespoons per jar), then add a small spoonful of chopped strawberries. Repeat with another layer of filling and a final sprinkle of crumbs or fresh berries on top.
- Chill. Seal the jars with lids and refrigerate for at least 1–2 hours. Overnight gives the best texture and flavor meld.
- Serve cold. Garnish with extra strawberry slices or a little lemon zest. Enjoy straight from the jar with a spoon.
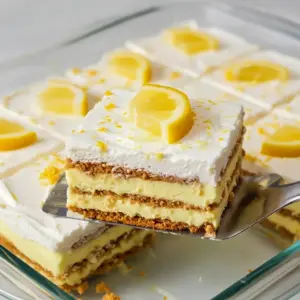
Note: If you prefer one big dessert, press crumbs into a pie plate, pour in the filling, and chill as a whole cheesecake. Same flavors, different presentation.
Pro tips for perfect results
- Keep ingredients cold. Chill the Greek yogurt and whipped topping before mixing—this helps the filling set.
- Don’t overdo the lemon. A little zest brightens; too much will dominate.
- Strain watery yogurt. If your Greek yogurt looks loose, drain it in a mesh sieve for 15–30 minutes to avoid a runny filling.
- Pack crumbs lightly. Press crumbs just enough to form a base—don’t compact like a heavy crust.
- Clean-cut layers. Wipe the spoon or spatula between dollops for neat layers inside the jar.
- Make-ahead bonus: these get better after a few hours as flavors settle—chill overnight if you can.
Bold tip: If you want an ultra-stable filling for hot climates, use a stabilized whipped cream or a small amount of gelatin dissolved into the yogurt mixture. (Not necessary for most people, but handy if you’ll be leaving jars outdoors.)
Variations to try
Get creative. This basic formula loves tweaks.
- Berry swap: Use raspberries, blackberries, or mixed berries instead of strawberries.
- Chocolate-hybrid: Stir in a spoonful of cocoa to the filling or add chocolate chips to the crumbs.
- Tropical twist: Substitute crushed pineapple and toasted coconut for a beachy vibe.
- Nutty crunch: Mix crushed almonds or pecans into the crumb base for texture.
- Vegan option: Use dairy-free cream cheese, coconut yogurt, dairy-free whipped topping, and vegan cookies.
These jars adapt to seasonality, taste, and dietary needs—so go wild (but not too wild).
Best ways to serve
- On-the-go: Close the lids and toss a few in your picnic basket.
- At a party: Line them up on a tray with tiny spoons—mason-jar chic.
- For kids’ lunchboxes: Portion-controlled and usually a hit with little eaters.
- As a dessert flight: Offer three small jars with different toppings—strawberry, chocolate, and lemon.
Serve chilled, always. A warm jar ruins the vibe.
Quick tips for storage and leftovers
- Refrigerate jars for up to 5 days—they hold well thanks to the dairy and chilled structure.
- Freeze individual jars for up to 3 months; thaw in the fridge before serving. Texture changes slightly, but still tasty.
- Keep lids tight to prevent flavor pickup from other fridge items.
- Label jars with the date if you’re stashing more than a couple in the fridge. Trust me—you’ll forget.
FAQs
What’s the difference between baked and no-bake cheesecakes?
Baked cheesecakes use eggs and need oven time to set; no-bake versions rely on chilling, thick dairy, and sometimes stabilizers to firm up. No-bake is quicker and perfect for heat.
Why is my jar cheesecake too soft?
Likely too much liquid—drain wet yogurt, pat berries dry, and give it more chill time. If needed, add a little more cream cheese or use stabilized whipped topping.
Can I use frozen strawberries?
Fresh works best. Frozen berries release more juice and can water down the filling. If frozen is your only option, cook them into a sauce and use that as a topping instead.
How many jars does this make?
Using 8-ounce jars, expect about 8–10 servings depending on how generous you are.
Can I swap the vanilla wafers for graham crackers?
Absolutely. Graham crumbs give a more classic cheesecake crust flavor.
Final thoughts
These Healthy Mason Jar Dessert beauties hit the sweet spot: bright, creamy, and delightfully portable. They let you enjoy a cheesecake-like treat while keeping portion sizes friendly and ingredient quality high. Whether you call them a Healthy Cheesecake In Jars or a Strawberry Yogurt Cheesecake In Jars, they deliver bold strawberry flavor with a lightened texture that’s perfect for warm months.
Make them for picnics, potlucks, or your own fridge stash—just don’t be surprised when people ask for the recipe. (And FYI, making two batches is a very reasonable life decision.)
Follow me on Pinterest for daily new recipes.
Healthy No-Bake Strawberry Cheesecake Yogurt Jars
A light, no-oven strawberry cheesecake layered in individual mason jars — crisp vanilla-cookie crumbs, a tangy yogurt-cheesecake filling, and fresh berries. Portable, portion-controlled, and perfect for warm-weather entertaining.
- Prep Time: 30 minutes
- Cook Time: 2 hours
- Total Time: 2 hours 30 minutes
- Yield: 8 servings 1x
- Category: Dessert
- Cuisine: American
Ingredients
- 8 oz high-quality vanilla wafers
- 3 tbsp unsalted butter, melted
- Eight 8-oz mason jars (or similar small jars)
- 8 oz reduced-fat cream cheese, softened
- ½ cup plain Greek yogurt (about one 5.3-oz container)
- ¼ cup granulated sugar
- ½ tsp vanilla extract
- Zest of 1 lemon
- 1 tsp lemon juice
- 1 ½ cups high-quality whipped topping (I use Truwhip), chilled
- 4 cups hulled strawberries, quartered (divided)
Instructions
Make the crumb base. Blitz the vanilla wafers in a food processor until they form fine crumbs. Pour in the melted butter and pulse briefly until the crumbs hold together when pressed.
Portion the crust. Spoon roughly 2 tablespoons of the crumb mix into the bottom of each jar and press lightly with the back of a spoon to form a loose base. Chill the jars while you prepare the filling.
Whip the filling. In a large bowl, beat the softened cream cheese with the Greek yogurt and sugar until smooth. Add vanilla, lemon zest, and lemon juice; blend until fully incorporated.
Fold in lightness. Gently fold the chilled whipped topping into the cream-cheese mixture, then stir in one cup of the chopped strawberries for flecks of fruit throughout.
Layer the jars. Remove the chilled jars. Add about 2–3 tablespoons of the cheesecake filling into each jar, then a spoonful of the remaining strawberries. Repeat with another layer of filling and finish with a few berries or a sprinkle of crumbs on top.
Chill to set. Seal the jars and refrigerate for 1–2 hours at minimum; overnight gives the best texture and flavor melding. Serve cold.
Notes
Quick Tips & Tricks
Keep dairy cold. Make sure the Greek yogurt and whipped topping are well chilled — this helps the filling thicken properly.
Drain if needed. If your yogurt looks watery, drain it in a fine mesh strainer for 15–30 minutes to avoid a loose filling.
Gentle folds only. When combining the whipped topping with the cream cheese base, fold gently to preserve airiness.
Jar size matters. These amounts fit 8-ounce jars nicely; larger jars will increase portion size (and calories).
Want gluten-free? Swap in gluten-free cookies for the vanilla wafers.
Save leftover crumbs. Extra crumb mix freezes well and works for future crusts or toppings.
Pro tip: chill the jars after adding the crumb base — a cold base helps prevent the filling from softening the crumbs too quickly.
Storage
Store sealed jars in the refrigerator for up to 5 days. For longer keeping, freeze individual jars (well wrapped) for up to 3 months and thaw in the fridge before serving.
Nutrition
- Serving Size: 1g
- Calories: 323kcal
- Sugar: 24g
- Sodium: 355mg
- Fat: 17g
- Saturated Fat: 11g
- Carbohydrates: 37g
- Fiber: 2g
- Protein: 3g
- Cholesterol: 28mg