If you want a show-stopping little dessert that practically makes itself, No-Bake Cheesecake Bites are your new best friend. Tiny, creamy, and endlessly customizable, these one-bite treats pull double duty as Yea Party Snacks and elegant High Tea Dessert Idea options — all without turning on the oven.
Short, punchy, and fun — that’s the vibe here. Below I’ll walk you through why these little cups are perfect for parties, how the ingredients work together, step-by-step instructions, smart variations, storage advice, and answers to every question your guests might ask. Ready? Let’s dig in.
Table of Contents
Brief introduction to the recipe
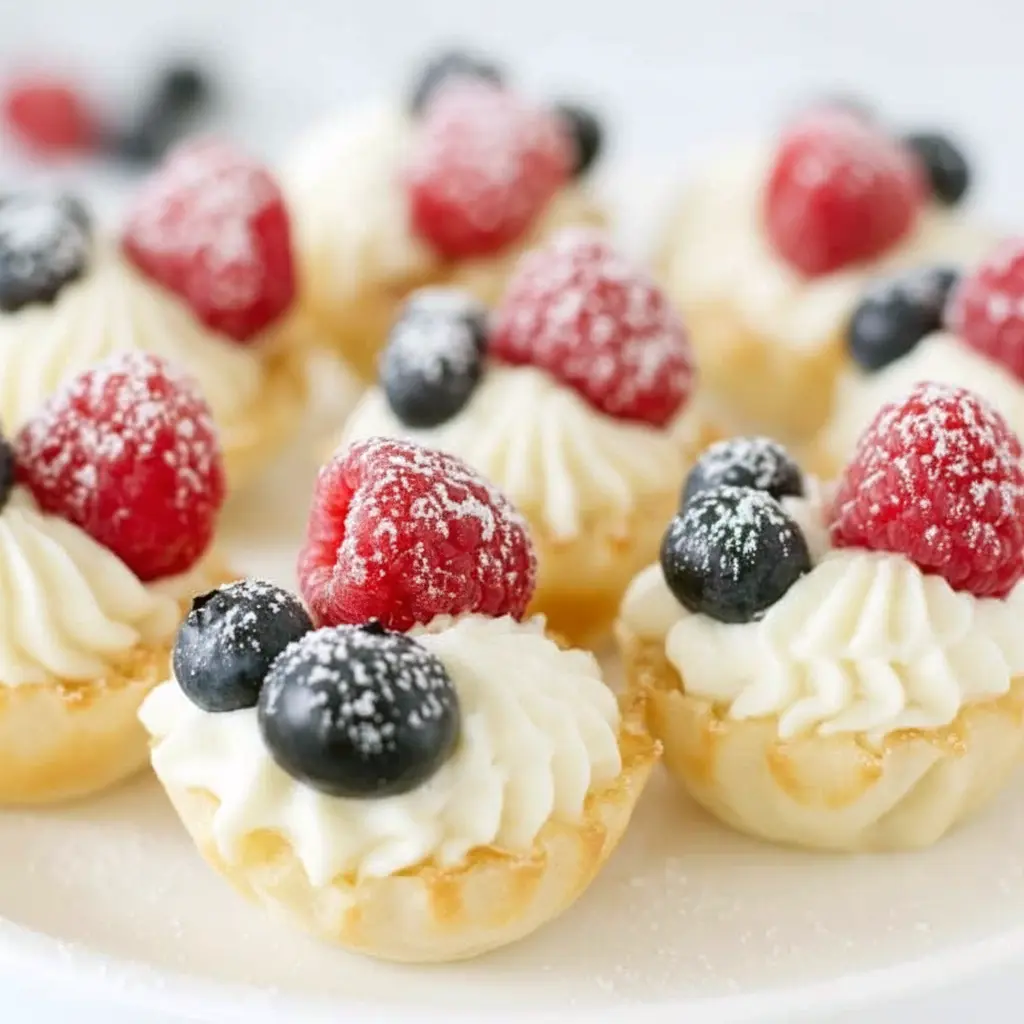
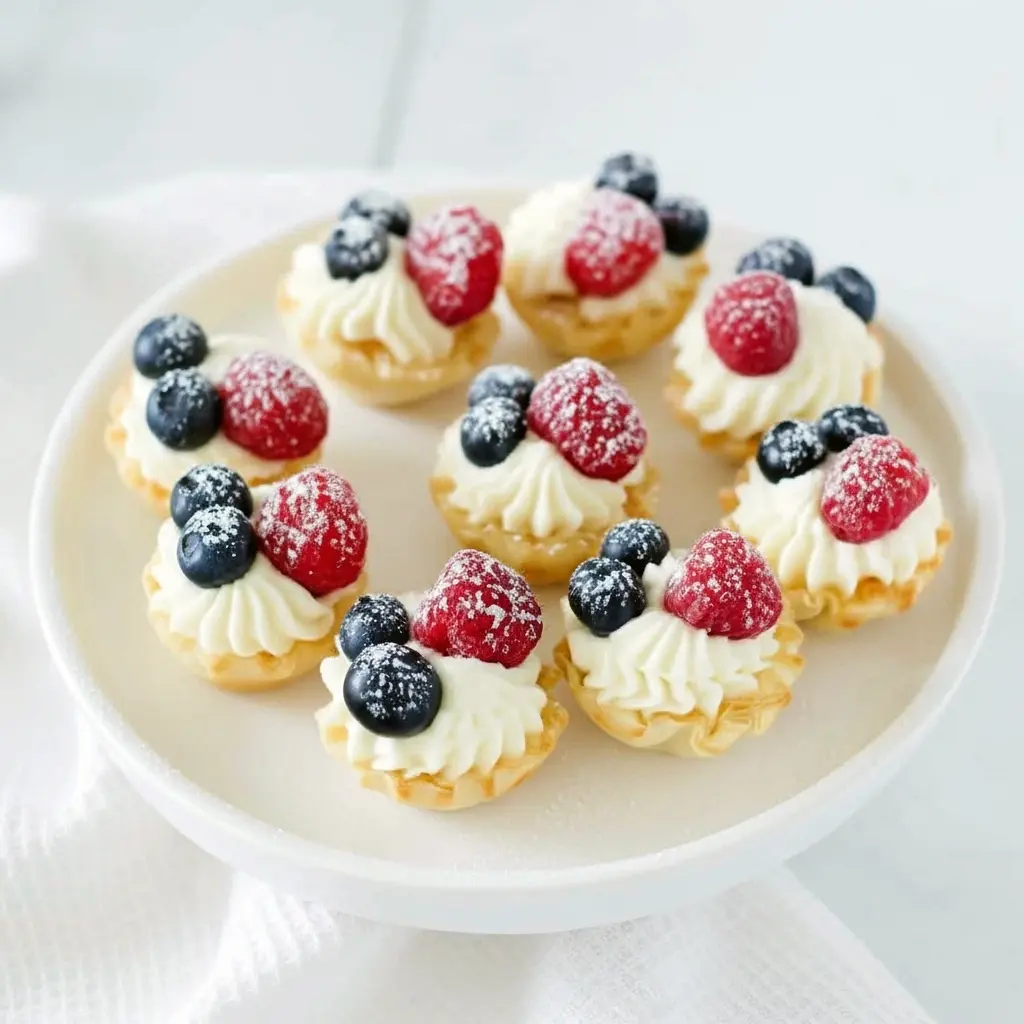
Think classic cheesecake, but mini, portable, and ready in minutes. The filling blends whipped cream and softened cream cheese into a pillowy, lightly sweet mixture that you pipe into crispy mini shells. Top with fresh berries, a dusting of powdered sugar, or go wild with chocolate — there’s no wrong way to make these. They’re ideal as an Easy Party Fingerfood Idea or a darling Baby Girl Baby Shower Food Idea.
Why these work so well: the contrast of crunchy shell + silky filling + bright fruit is irresistible. Plus, because they’re bite-sized, they vanish fast — which is perfect if you’re on the hunt for Easy Cup Desserts For Parties that don’t require plated service.
Why you’ll love this recipe
- Fast and stress-free. No baking, no water baths, no cracked tops. Just mix, pipe, and chill.
- Scales perfectly. Need 30 or 300? Multiply the mix and you’re golden.
- Customizable. Go classic with berries, or make them decadent with salted caramel.
- Great for events. Cute, portable, and fancy enough for a Sweets For Tea Party.
- Beginner-friendly. If you can whip cream, you can nail these.
Pro tip: Make the filling a day ahead to save time on party day. It keeps beautifully in the fridge.
The Key Ingredients (and Why You Need Them)
Below I list the main ingredients (no amounts here — the printable card has those). I’ll explain what role each plays so you understand how and why to tweak things.
- Cream cheese — The foundation. It gives the filling structure and that unmistakable cheesecake tang. Use full-fat for the creamiest results.
- Heavy whipping cream — Whips to soft peaks and lightens the dense cream cheese into a billowy mousse that pipes beautifully.
- Sugar — Sweetens the mix and balances the tang of cream cheese. Powdered sugar can help keep the texture silky.
- Vanilla extract — Adds warmth and depth; a little goes a long way.
- Mini shells (fillo cups or graham cracker cups) — Provide crunch and a delightful vehicle for the filling. Fillo shells are light and crisp; graham cups give a buttery, toasty flavor.
- Fresh fruit or toppings — Berries, citrus curd, chocolate chips, or caramel finish the flavors and add color, texture, and a visual wow-factor.
These ingredients are simple, pantry-friendly, and flexible — ideal if you need Yea Party Dessert options that don’t demand a trip to three stores.
How to Make It
This is the easy, dependable method I use when I’m prepping a big batch for guests.
- Whip the cream. Chill the mixing bowl and beaters briefly. Whip the heavy cream until soft peaks form — it should hold shape but still be soft enough to fold.
- Make the cheesecake base. Beat room-temperature cream cheese with sugar and vanilla until smooth and lump-free. Scrape the bowl so it’s silky.
- Fold in the cream. Gently fold whipped cream into the cream cheese mixture until uniformly light and fluffy. Don’t overmix — preserve that airy texture.
- Fill shells. Transfer the filling to a piping bag (or zip-top bag with a corner snipped) and pipe into mini shells. Fill to just below the rim.
- Top and chill. Add your chosen garnish — berries, drizzle, or a sprinkle — then refrigerate until set (usually an hour or two). If you want the shells extra-crisp, wait to fill them until shortly before serving.
Speed hack: If you’re racing the clock, pre-fill shells without garnish and add toppings right before serving. These are perfect Easy Party Fingerfood Idea heroes.
Pro tips for perfect results
- Use room-temp cream cheese. Cold cream cheese gives lumpy filling; soften it to room temp for silky texture.
- Don’t over-whip the cream. If it’s grainy, you’ve gone too far. You want soft peaks that fold gently.
- Pipe, don’t spoon. Piping gives a clean, professional look and ensures every shell gets the right amount.
- Chill to set. A brief chill firms the filling and makes them easier to transfer.
- Keep shells crisp. If you crave extra crunch, store shells separately and fill right before serving. This keeps the crunch intact.
- Taste the filling. Adjust sugar or vanilla to your liking — this is your dessert, not a rulebook. FYI: a tiny pinch of salt amps sweetness.
IMO, the single best trick? Make the filling the day before—it saves time and the flavors meld beautifully overnight.
Variations to try
Want to switch things up? These tweaks keep things interesting and pair perfectly with different occasions.
- Oreo crunch: Fold finely crushed Oreos into the filling or use mini Oreo crumbs as a topping. Instant crowd-pleaser.
- Chocolate lovers: Stir in melted and cooled dark chocolate for a ganache-style filling. Top with mini chocolate chips.
- Lemon curd swirl: Add lemon zest and a dollop of curd on top for a tart, bright bite. Great for spring events.
- Salted caramel: Drizzle salted caramel over each bite right before serving for a luxe finish.
- Cookie dough: Fold in edible cookie dough pieces for a kids’ party twist.
- Tropical: Top with diced mango and toasted coconut for a sunny twist.
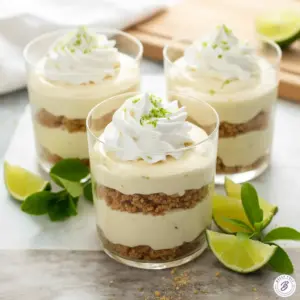
- No crust? Spoon into mini glasses for an elegant, crustless version.
These variations make the recipe a champion for Baby Girl Baby Shower Food Idea menus and help you match themes easily.
Best ways to serve
- On a dessert platter: Arrange on a tiered tray for weddings, showers, or High Tea Dessert Idea spreads.
- Grab-and-go stations: Use labeled trays for guests to pick their favorites — perfect for casual parties.
- Fundraiser-friendly: Plate into small boxes or paper trays for easy sale or distribution — a killer Easy Food To Sell For Fundraiser option.
- Tea party: Arrange with scones and finger sandwiches — these little bites pair perfectly with tea and are a classic Sweets For Tea Party item.
Serving tip: Always offer a small spoon or napkin since some fillings can be soft — keeps things tidy and classy.

Quick tips for storage and leftovers
- Refrigerate: Store filled bites in an airtight container for up to 3 days. Cover tightly to prevent odors.
- Freeze the filling, not the assembled bites. Freeze the filling in a bag or container for up to a month; thaw and pipe fresh into shells. (If you freeze assembled shells, they lose crunch.)
- Transporting: Use a shallow box and freeze the filled tray briefly to set the topping before traveling; this reduces sloshing.
- Make ahead: Prep filling and shells separately. Fill the shells ~1–2 hours before serving for crisp shells, or fill earlier if you prefer slightly softer shells.
Important: Never leave cream-based desserts out for more than about two hours. Food safety first — but honestly, these won’t last that long at a party.
FAQs
Do these need to stay refrigerated?
Yes. Keep these chilled until serving to maintain texture and food safety.
Can I make them a day ahead?
Absolutely. Make the filling ahead and store it in the fridge. Pipe into shells when you’re ready to serve for the freshest crunch.
Can I freeze these?
Freeze the filling only. Assemble fresh after thawing so the shells stay crisp.
How long do they last?
Filled, refrigerated bites last 3–4 days. The filling can be frozen for up to a month.
Any kid-friendly versions?
Yes — mini chocolate chips, sprinkles, or cookie crumbs win kids over fast. These are great Finger Sweets Dessert choices.
Final thoughts
No-Bake Cheesecake Bites check all the boxes: quick, beautiful, customizable, and crowd-pleasing. Whether you aim to wow guests with an elegant High Tea Dessert Idea, stock a table of Easy Party Fingerfood Idea options, or sell treats at a bake sale as Easy Food To Sell For Fundraiser, these little cups deliver.
They’re also a perfect Baby Girl Baby Shower Food Idea when you dress them up in pink berries or edible flowers. Hosting a tea? Throw them on a tiered tray with other dainty treats — total Sweets For Tea Party vibes.
So here’s the challenge: make a batch this week and try one unexpected topping. Salted caramel? Candied nuts? Mini brownie pieces? Tag me in your creation — I want to see which remix becomes your party’s MVP.
Bold move: double the recipe. Trust me — you’ll want extras.
Follow me on Pinterest for daily new recipes.
Easy No-Bake Cheesecake Bites — Creamy, Bite-Sized Treats

Tiny, creamy, and totally fuss-free — these no-bake cheesecake bites come together in minutes and make the perfect grab-and-go dessert for parties, showers, or afternoon tea. Crisp mini shells meet a light, dreamy cheesecake filling and a pop of fresh berries on top. Ready? Let’s fill some cups.
- Prep Time: 20 minutes
- Total Time: 20 minutes
- Yield: 30 servings 1x
- Category: Dessert
Ingredients
- ¾ cup heavy whipping cream
- 8 oz cream cheese, softened
- ½ cup granulated sugar
- ½ tablespoon vanilla extract
- 30 mini fillo (or graham) tart shells
- Fresh raspberries and blueberries for topping
Instructions
Whip the cream. Chill your bowl if you can, then beat the heavy cream until it holds stiff peaks. Set aside.
Blend the base. In a separate bowl, beat the softened cream cheese with the sugar and vanilla until smooth and lump-free. Scrape the sides so it’s silky.
Fold gently. Add the whipped cream to the cream-cheese mixture and fold with a spatula until evenly combined — keep it airy.
Pipe or spoon. Transfer the filling to a piping bag (or a zip-top bag with the corner snipped) and fill each mini shell. Aim for a neat, generous dollop.
Top with berries. Press a raspberry or a couple of blueberries onto each filled shell for color and brightness.
Chill before serving. Refrigerate the assembled bites for at least 30–60 minutes so the filling firms up.
Notes
Make-ahead & storage
Prep tip: You can make the filling a day in advance. Store it in the fridge in an airtight container (or keep it in the piping bag). Pipe into shells just before serving to keep them crisp.
Freezing: Freeze the filling (not the filled shells) in a freezer bag for up to a month. Thaw in the fridge before piping.
Hold time: Once filled, keep refrigerated and serve within 2–3 days.
Quick tip: If you’d like crunchier shells, fill them moments before guests arrive. FYI — these vanish fast, so maybe make extra.
Nutrition
- Serving Size: 1g
- Calories: 74kcal
- Sugar: 4g
- Sodium: 33mg
- Fat: 5g
- Carbohydrates: 6g
- Protein: 1g
- Cholesterol: 14mg