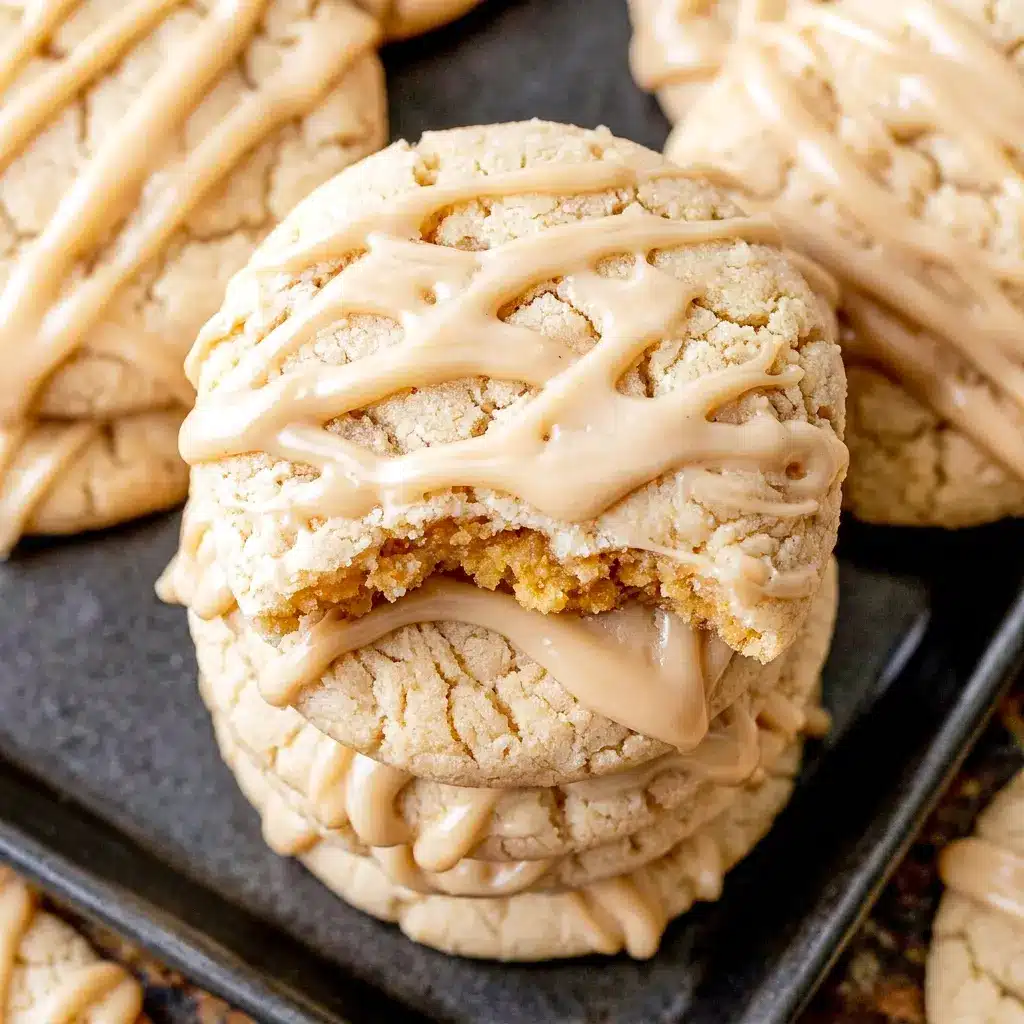
Picture pulling a tray out of the oven and catching that first waft of warm maple syrup curling up before you even spot the golden edges — that’s the exact moment Soft Maple Sugar Cookies were built for. Forget the cookies you’ve made a hundred times before. This is the batch that makes your kitchen smell like a sugar shack in October, and it takes almost no extra effort to get there.
I didn’t set out to reinvent the sugar cookie. I set out to fix the one thing that always bugged me about them: they’re often flat, a little bland, and gone from memory five minutes after you eat one. Soft Maple Sugar Cookies solve that problem by leaning on brown sugar for chew, real maple syrup for depth, and maple extract for a flavor that actually survives the oven. Then a maple icing goes on top, because a cookie this good deserves a proper finish.
There’s a reason maple shows up in so many fall kitchens beyond pancakes and oatmeal — it’s one of the few flavors that reads as both rich and comforting without ever tasting heavy. Bring that into a cookie, and you get something that feels like a hug in dessert form. That’s really the whole appeal of Soft Maple Sugar Cookies: familiar enough that nobody hesitates to grab one, different enough that everyone asks what makes them taste so good.
Table of Contents
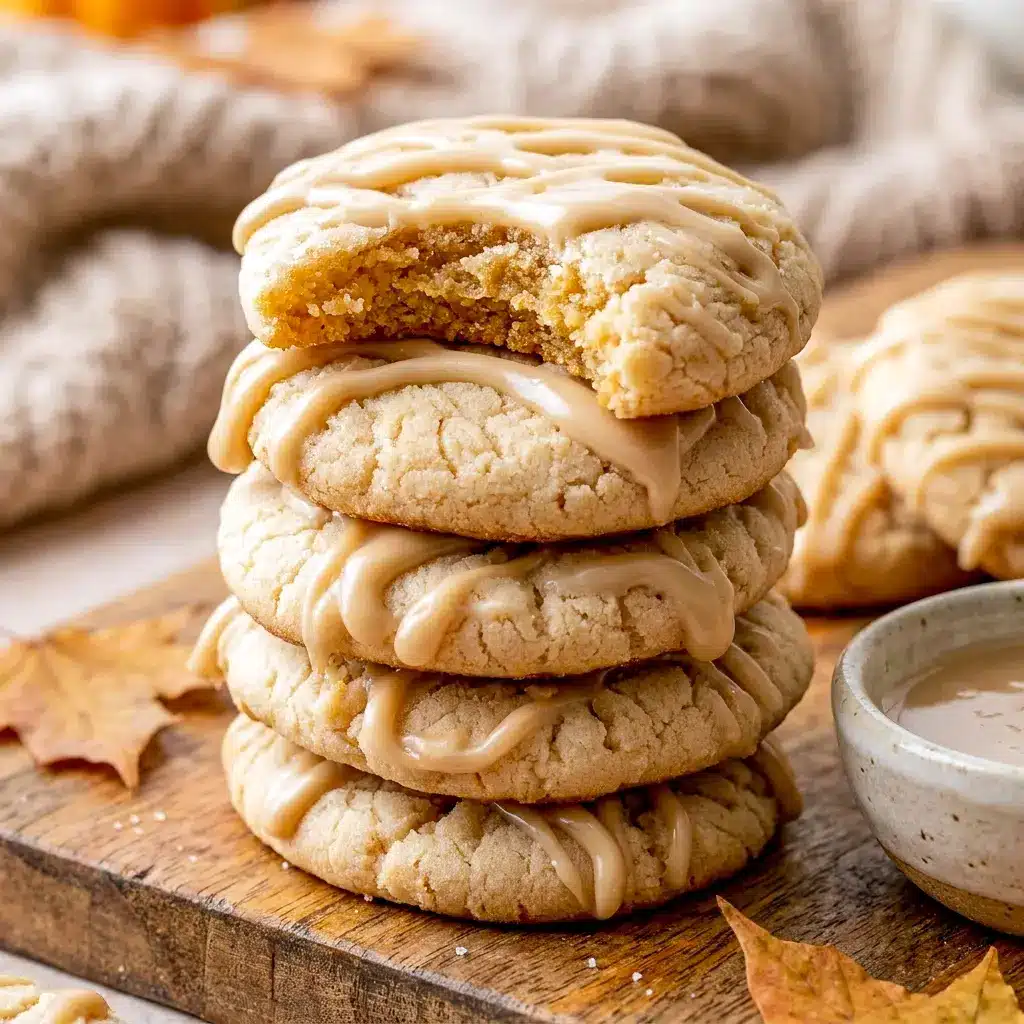
Why You’ll Love These Soft Maple Sugar Cookies
They taste like nothing else in your cookie rotation. Most sugar cookies rely on vanilla and butter alone. This one swaps in the deep, caramel-edged sweetness of sugar maple syrup, so every bite carries warmth instead of plain sugar.
They’re genuinely easy. One bowl for the dry mix, one bowl for the wet, a scoop, a pan, and you’re baking. No chilling required, no rolling out dough, no cutters. If you want food to make on a weeknight without a long ingredient hunt, this is it.
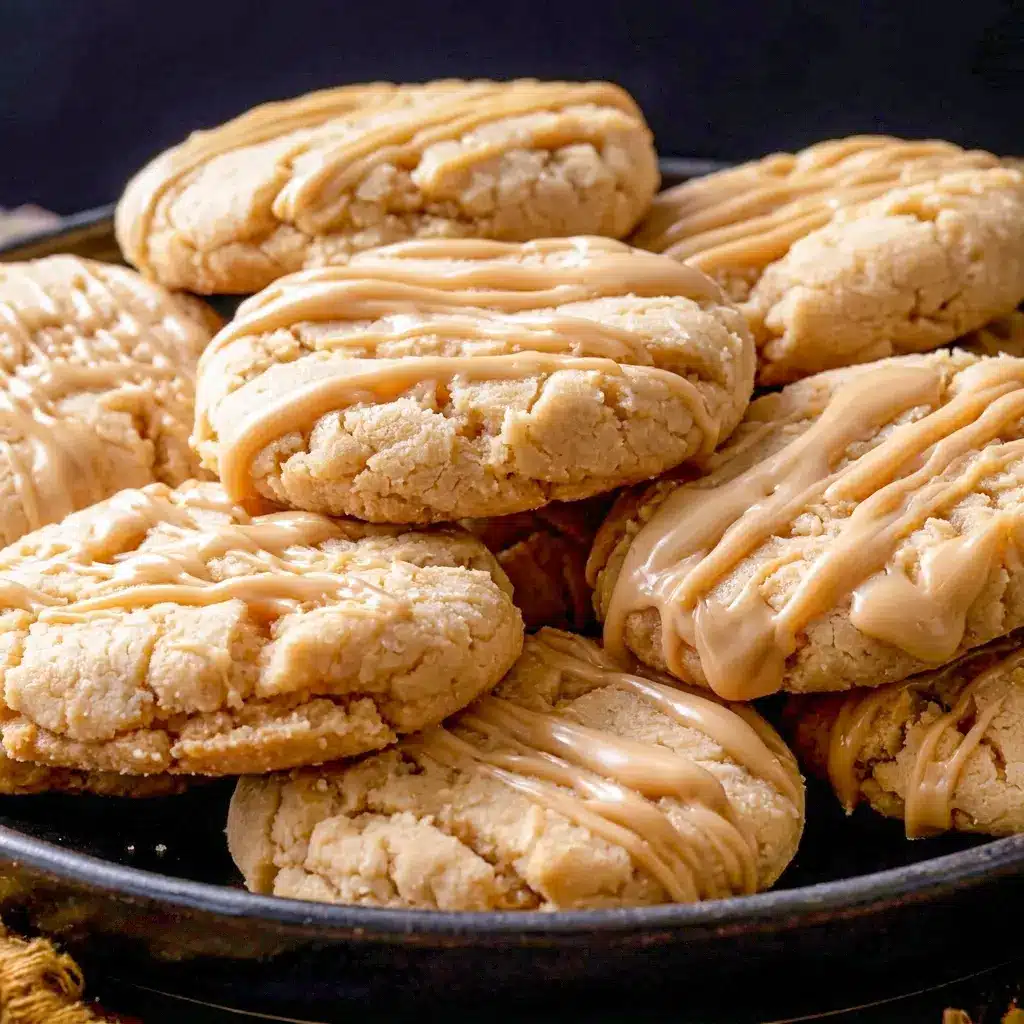
The texture is the whole point. Soft Maple Sugar Cookies stay soft and slightly chewy in the center because of the brown sugar and the short bake time. Pull them at the right moment and you get a cookie that’s tender for days, not just the first hour out of the oven.
They fit almost any occasion. Holiday cookie trays, fall bake sales, a Sunday baking project with kids, or a simple afternoon treat with coffee — Soft Maple Sugar Cookies work everywhere because maple flavor reads as both cozy and a little bit special.
The icing seals the deal. A thin, smooth maple glaze sets over the top and adds a second wave of flavor. It’s not overly sweet, and it firms up enough that the cookies still stack and travel well.
They scale down beautifully. Roll the dough smaller and you’ve got bite size cookies perfect for parties, lunchboxes, or cookie platters where guests want to sample more than one flavor without committing to a full-size treat.
There’s zero guesswork. Every step in this recipe is written to be foolproof, so even if this is your first time making Soft Maple Sugar Cookies, you’ll end up with a batch that looks and tastes like you’ve made it a dozen times before.
They keep well, which matters. Some soft cookies turn stale or greasy by day two. These hold their texture for days in an airtight container, which makes them a smart pick anytime you need food to make ahead of a gathering.
Put it all together and you get a cookie that tastes like more effort than it actually requires — which, honestly, is the best kind of recipe to have on hand.
The Key Ingredients (and Why You Need Them)
Below, I’ve broken down the main players in this dough and icing — no amounts here, since the printable recipe card has those. Instead, I’ll walk through what each ingredient actually does, so you understand the “why” behind Soft Maple Sugar Cookies and can make smart swaps later if you need to.
- Unsalted butter — softened until it’s cool to the touch but gives easily when pressed. It creams with the sugar to trap air, which gives the cookies their tender crumb.
- Light brown sugar — the backbone of the chew. Its molasses content adds moisture and a light caramel note that plays beautifully with maple.
- Pure maple syrup — the star ingredient. It brings authentic maple character and extra moisture to the dough, and it’s also what makes the icing taste like real maple instead of an artificial stand-in.
- Maple extract — syrup alone tends to mellow out once it bakes, so the extract locks the maple flavor in place. This is the difference between a cookie that “kind of” tastes like maple and one that unmistakably does.
- Vanilla extract — a background note that smooths out the maple and brown sugar so nothing tastes one-dimensional.
- Egg — binds everything together and adds richness, helping the dough hold its shape while staying soft inside.
- All-purpose flour — gives the dough enough structure to form thick, bakery-style cookies that don’t spread thin or flatten out.
- Baking soda — a gentle leavener that helps the cookies rise slightly and spread just enough for that classic sugar cookie shape.
- Kosher salt — don’t skip it. Salt sharpens the maple flavor and keeps the whole cookie from tasting flat or overly sweet.
- Confectioners’ sugar — the base of the icing, whisked until smooth so it sets into a clean, glossy finish.
- Melted butter (for the icing) — adds richness and helps the glaze spread easily without turning grainy.
Every one of these plays a specific role, which is exactly why Soft Maple Sugar Cookies taste as balanced as they do — nothing here is filler. Once you see how each piece contributes to the final bite, it’s easy to understand why swapping or skipping ingredients changes the result more than you’d expect.
The Maple Combination That Makes This Recipe Work
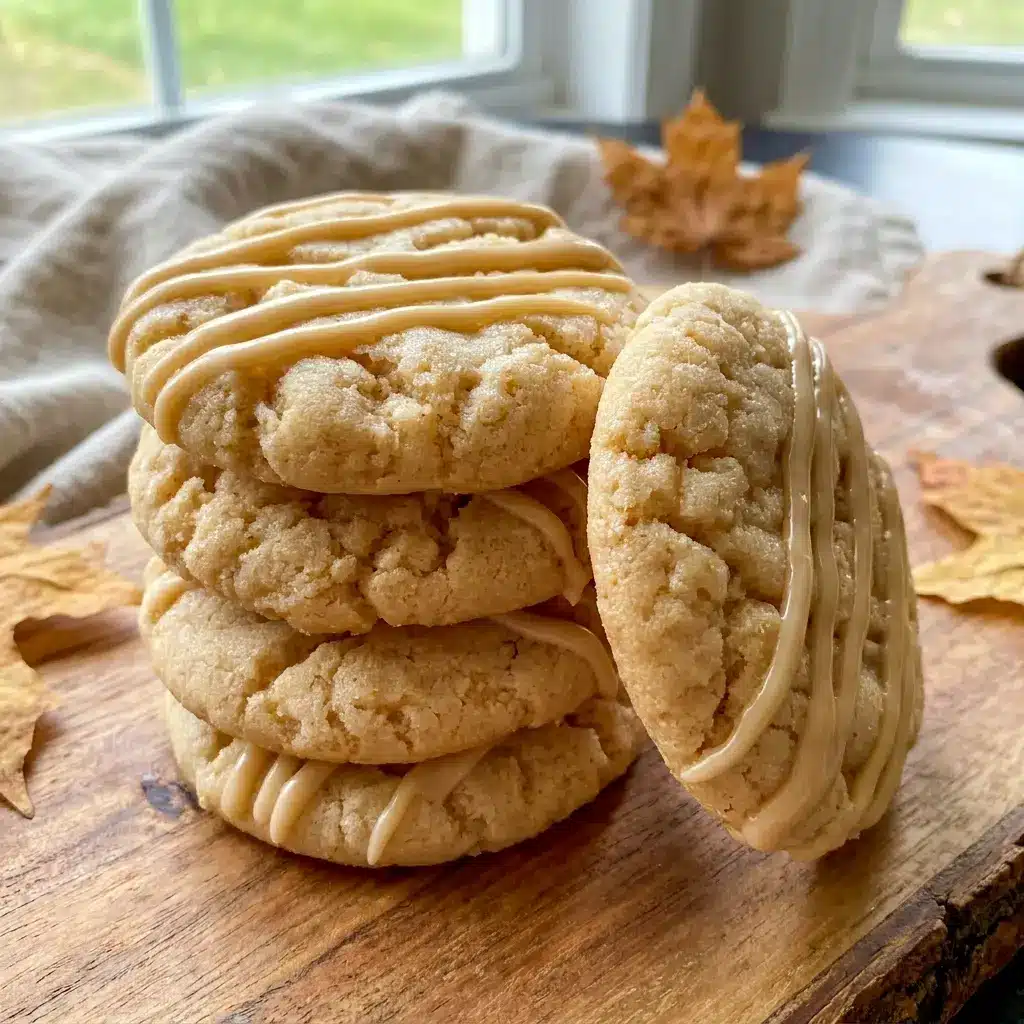
A lot of “maple” desserts taste like maple for the first bite and then quietly fade into plain sweetness. That fade happens because maple syrup, while flavorful raw, mellows out significantly once it hits oven heat. Soft Maple Sugar Cookies avoid that letdown by pairing syrup with maple extract, so the flavor holds strong from the first bite through the last crumb.
Brown sugar plays a supporting role here too. Its molasses undertones don’t compete with maple — they echo it, which is part of why this combination feels so intentional rather than like two flavors fighting for attention. The result is a cookie that tastes distinctly like sugar maple syrup rather than a vague, generic “fall spice” flavor. It’s a small technical choice, but it’s the difference between a good cookie and one people specifically request again.
How to Make It
Making this dough doesn’t require any special equipment or techniques, just a little attention to timing. Here’s the full walkthrough:
- Prep first. Turn your oven to 350°F (175°C) and line two large baking sheets with parchment. Getting this ready before you mix means you can portion the dough the second it’s done, while it’s still easy to work with.
- Whisk the dry ingredients. In a medium bowl, combine the flour, baking soda, and kosher salt. Whisk well — this spreads the baking soda evenly so every cookie bakes and spreads at roughly the same rate instead of some spreading more than others.
- Cream the butter and sugar. Beat softened butter with the packed brown sugar for about 1 to 2 minutes, until it turns pale, smooth, and slightly fluffy. This step builds the air pockets that keep the cookies soft.
- Add the egg. Mix in the room-temperature egg just until it disappears into the batter. Overmixing here can toughen the dough, so stop as soon as it’s combined.
- Bring in the maple flavor. Pour in the maple syrup, vanilla extract, and maple extract. Scrape the bowl’s sides and bottom so nothing sits unmixed at the base.
- Combine wet and dry. Add the flour mixture and mix on low speed only until the streaks of flour vanish. This is the single most important tip for Soft Maple Sugar Cookies: stop mixing the moment the dough comes together, since overworked dough bakes up firmer and less tender.
- Portion the dough. Scoop about 2 tablespoons per cookie, roll gently into balls, and space them roughly 2 inches apart on your prepared sheets.
- Bake. Slide the trays in for 8 to 9 minutes. You’re looking for lightly golden edges while the centers still look a touch underdone — that’s exactly what you want.
- Let them rest on the pan. Leave the cookies on the hot baking sheet for about 5 minutes before moving them. This carryover time finishes setting the centers without drying them out.
- Cool completely. Transfer to a wire rack and let the cookies cool all the way before icing. Warm cookies will melt the glaze right off.
- Mix the icing. Stir sifted confectioners’ sugar with maple syrup, cooled melted butter, maple extract, and a small pinch of salt until smooth and thick enough to drizzle, but still pourable.
- Finish and set. Drizzle the icing over the cooled cookies and let it sit undisturbed until it firms up before serving or stacking.
That’s the entire process — no chilling, no special pans, just a straightforward path from mixing bowl to finished Soft Maple Sugar Cookies.
Pro Tips for Perfect Soft Maple Sugar Cookies
- Watch your butter temperature. Butter around 70°F creams evenly. Butter that’s too soft or nearly melted will make the dough spread too much in the oven.
- Pull them early, not late. The centers should look slightly underbaked when you take the tray out. Carryover heat finishes the job during the resting period.
- Cool before you ice. This one’s non-negotiable. Icing on a warm cookie slides right off instead of setting into that clean, glossy layer.
- Measure your flour carefully. Scoop-and-level, or better yet, spoon flour into the measuring cup before leveling it off. Too much flour makes for a drier, less soft cookie.
- Don’t skip the salt in the icing. A small pinch keeps the glaze from tasting flat against all that maple sweetness.
Fun Variations to Try
- Nutty crunch: Fold in chopped toasted pecans or walnuts for texture that plays well against the soft crumb.
- Warm spice twist: Add a pinch of cinnamon or nutmeg to the dry ingredients for a cozier, fall-forward flavor.
- Mini party batch: Scoop smaller portions and shorten the bake time slightly to turn this into bite size cookies perfect for dessert tables and cookie swaps.
- Chocolate drizzle: Swap half the maple icing for a thin dark chocolate drizzle for a sweet-and-rich combo.
- Maple-cream cheese icing: Stir a tablespoon of softened cream cheese into the glaze for a tangier, richer topping.
- Sandwich cookies: Bake a slightly smaller batch of bite size cookies and sandwich a thin layer of maple buttercream between two for a two-bite dessert that feels extra special.
- Sea salt finish: Sprinkle a few flakes of flaky sea salt over the wet icing right after drizzling for a sweet-salty contrast that makes the maple flavor pop even more.
Best Ways to Serve Soft Maple Sugar Cookies
A mug of coffee is the natural partner here — its slight bitterness balances the sweetness of the maple icing perfectly. Black tea works well too, since its lighter profile lets the maple and brown sugar stay front and center instead of competing with a bolder flavor.
For a dessert spread, set these cookies alongside crisp apple slices. The tart, fresh crunch contrasts nicely with the soft, sweet cookie without adding another heavy element to the plate. They’re also a natural fit anytime you’re rounding out easy meals with something sweet to finish the night — no extra prep required beyond what’s already baked and cooling on the counter.
If you’re putting together a dessert board for guests, arrange Soft Maple Sugar Cookies next to a bowl of vanilla ice cream or a small pitcher of extra warm maple syrup for drizzling. The combination of textures — crisp edges, soft centers, cold ice cream — turns a simple cookie into a plated dessert without any additional recipe needed.
Storage Tips for Soft Maple Sugar Cookies
Once the icing has fully set, store the cookies in an airtight container at room temperature. If you’re stacking them, slide a sheet of parchment between layers so the glaze doesn’t stick or smear.
Stored this way, Soft Maple Sugar Cookies stay soft and enjoyable for several days. For longer storage, freeze the baked cookies in a sealed container, ideally with parchment between layers, and let them thaw at room temperature before serving. If you’re planning ahead, freeze the cookies without icing and add a fresh batch of glaze after they’ve thawed — it sets cleaner that way.
Reheating isn’t necessary, but if you like a warmer, slightly softer bite, briefly warm an un-iced cookie only. Never reheat an iced cookie, since the glaze will melt and turn sticky rather than staying glossy.
Frequently Asked Questions About Soft Maple Sugar Cookies
Why do my cookies spread too much?
This usually happens when the butter is too warm or nearly melted before mixing. Stick with softened butter that still holds its shape, measure your flour accurately, and make sure your oven is fully preheated before the first tray goes in.
Can I make the dough ahead of time?
Yes. Cover it tightly and refrigerate for a short period before baking. Since chilled dough firms up, let it sit out briefly so it’s easy to scoop and roll without forcing it.
Can I skip the maple extract and use only syrup?
You can, but the maple flavor will come through much more mildly. Syrup brings real maple character, yet a good amount of that intensity fades during baking. The extract reinforces it without adding extra liquid that could throw off the dough’s texture.
How do I know when they’re done?
Check the edges, not the centers. Once the edges turn lightly golden — usually around 8 to 9 minutes — pull the tray, even if the middle still looks a little soft. They’ll firm up as they rest on the hot pan.
How long does the maple icing need to set?
It depends on your kitchen’s temperature and how thick you drizzle it, but let it sit until the surface no longer looks wet. If you plan to stack or store the cookies, wait until the glaze feels firm to a light touch.
Can I turn this into bite size cookies for a party?
Absolutely. Scoop the dough into smaller portions, space them the same 2 inches apart, and shave a minute or so off the bake time. Bite size cookies bake faster because there’s less dough to set, so start checking the edges a little earlier than the full-size version.
Do I need a stand mixer to make Soft Maple Sugar Cookies?
Not at all. A hand mixer or even a sturdy whisk and some elbow grease will get the butter and sugar creamy enough. Just make sure your butter is properly softened first, since that’s what makes hand-mixing manageable.
Final Thoughts on Soft Maple Sugar Cookies
At the end of the day, this recipe earns its spot in regular rotation because it delivers big flavor without asking much of you. One bowl, one scoop, one bake, one drizzle — and you’re left with a tray of Soft Maple Sugar Cookies that taste like they took far more effort than they did. Whether you’re stocking a holiday cookie tin, looking for a new fall baking project, or just want something a little different from the usual sugar cookie, this one is worth putting on repeat. Once that maple icing sets and you take the first bite, you’ll understand exactly why this batch never lasts long on the counter.
Follow me on Pinterest for daily new recipes.
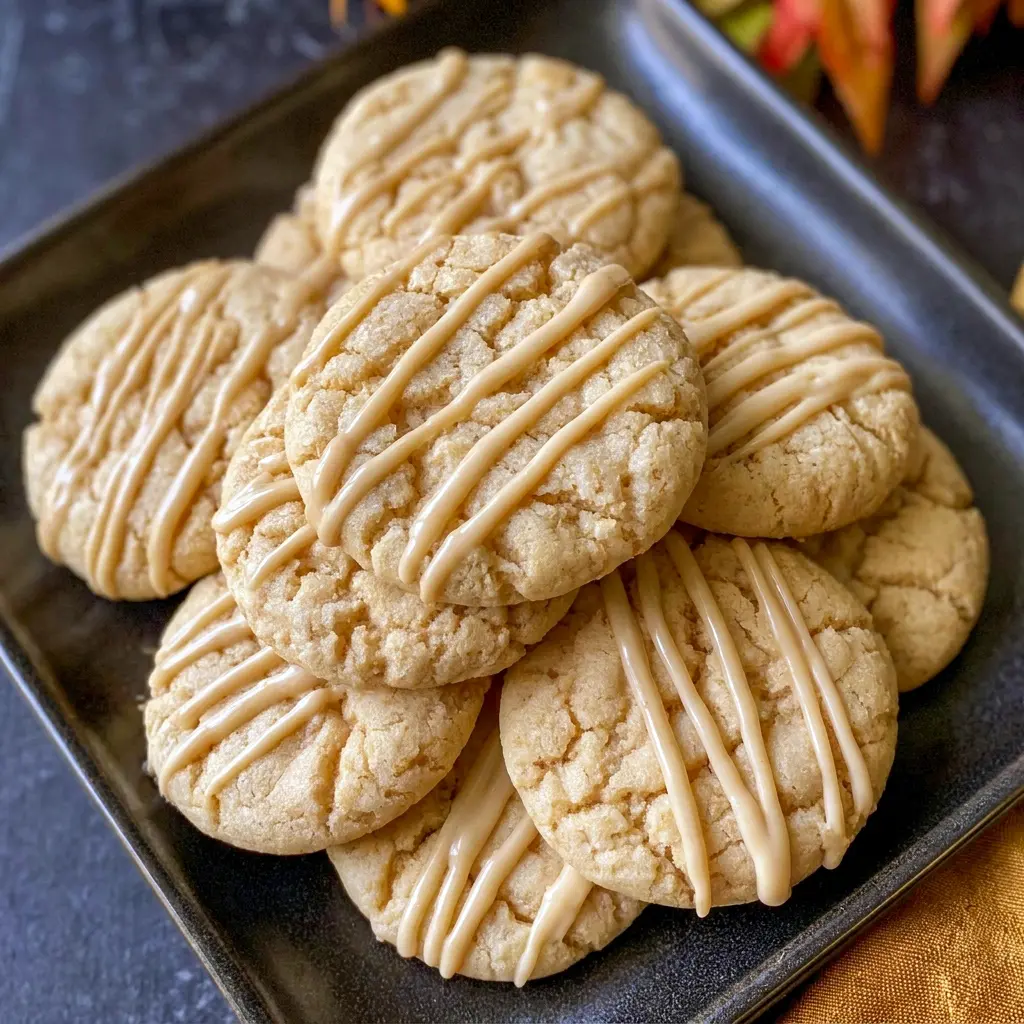
Soft Maple Sugar Cookies – Easy Bite-Size Sugar Cookies with Maple Syrup Icing
Soft, chewy sugar cookies built on a brown sugar base and layered with real maple flavor from both maple syrup and maple extract, then finished with a smooth maple glaze that sets into a glossy, sweet topping.
- Prep Time: 20 minutes
- Cooling Time: 20 minutes
- Cook Time: 9 minutes
- Total Time: 49 minutes
- Category: Dessert
Ingredients
For the cookies
- Light brown sugar, firmly packed
- Baking soda
- One large egg, brought to room temperature (about 70°F)
- Pure vanilla extract
- All-purpose flour
- Pure maple syrup (Grade A amber or dark recommended for a stronger maple taste)
- Kosher salt
- Maple extract
- Unsalted butter, softened to roughly 70°F
For the maple glaze
- Unsalted butter, melted and cooled to room temperature
- A pinch of kosher salt
- Maple extract
- Confectioners’ sugar, sifted until smooth
- Pure maple syrup
Instructions
- Set your oven to 350°F (175°C) and line two large baking sheets with parchment paper. Set them nearby so the shaped dough has somewhere to go right away.
- In a medium mixing bowl, combine the all-purpose flour, baking soda, and kosher salt. Whisk them together well so the leavening agent and salt are fully and evenly worked through the flour before it meets the wet ingredients.
- In the bowl of a stand mixer fitted with the paddle attachment, combine the softened unsalted butter and the packed light brown sugar. Beat on medium speed for roughly 1 to 2 minutes, until the mixture turns pale, smooth, and creamy in texture.
- Add the room-temperature egg to the butter and sugar mixture. Continue mixing until the egg is completely absorbed and no streaks remain visible.
- Pour in the pure maple syrup along with the vanilla extract and maple extract. Beat on high speed until everything is fully and evenly combined, pausing as needed to scrape down the sides and bottom of the bowl so nothing is left unmixed.
- Add the flour mixture you prepared earlier directly into the bowl. Mix on low speed only until the flour is fully absorbed and no dry patches remain visible in the dough. Stop as soon as this happens — mixing beyond this point will make the baked cookies denser and less tender than intended.
- Using a cookie scoop that holds about 2 tablespoons, portion out the dough and roll each piece gently between your palms into a smooth ball. Place the shaped dough onto your parchment-lined sheets, leaving about 2 inches of space between each one to allow for spreading.
- Bake for 8 to 9 minutes, until the edges take on a light golden-brown color while the centers still look slightly soft and underbaked. This is exactly the stage you want to catch them at.
- Leave the finished cookies on the hot baking sheets for about 5 minutes after removing them from the oven. This resting period allows the centers to finish setting gently through carryover heat. Once rested, carefully move the cookies to a wire cooling rack and let them cool completely before moving on to the icing.
- While the cookies cool, combine the sifted confectioners’ sugar, pure maple syrup, cooled melted butter, maple extract, and a small pinch of kosher salt in a medium mixing bowl.
- Stir the mixture until it becomes completely smooth and reaches a consistency that’s thick but still pourable. If needed, add the maple syrup a little at a time to control exactly how thick or thin the finished glaze turns out.
- Once the cookies have cooled fully, drizzle the maple glaze evenly across the top of each one.
- Let the glaze rest undisturbed until it sets fully before serving the cookies or packing them away for storage.
Notes
- For the smoothest, most even creaming, bring both the butter and the egg to roughly 70°F before you start mixing.
- Choosing a Grade A amber or dark maple syrup will give you a noticeably fuller, more pronounced maple flavor than a lighter grade.
- Be careful not to overwork the dough once the flour is added — mixing just until combined is what keeps these cookies soft and tender rather than dense.
- Kept in an airtight container, the baked and iced cookies will stay fresh for several days at room temperature.