Why Apple Butter Pie Deserves a Spot on Your Fall Table
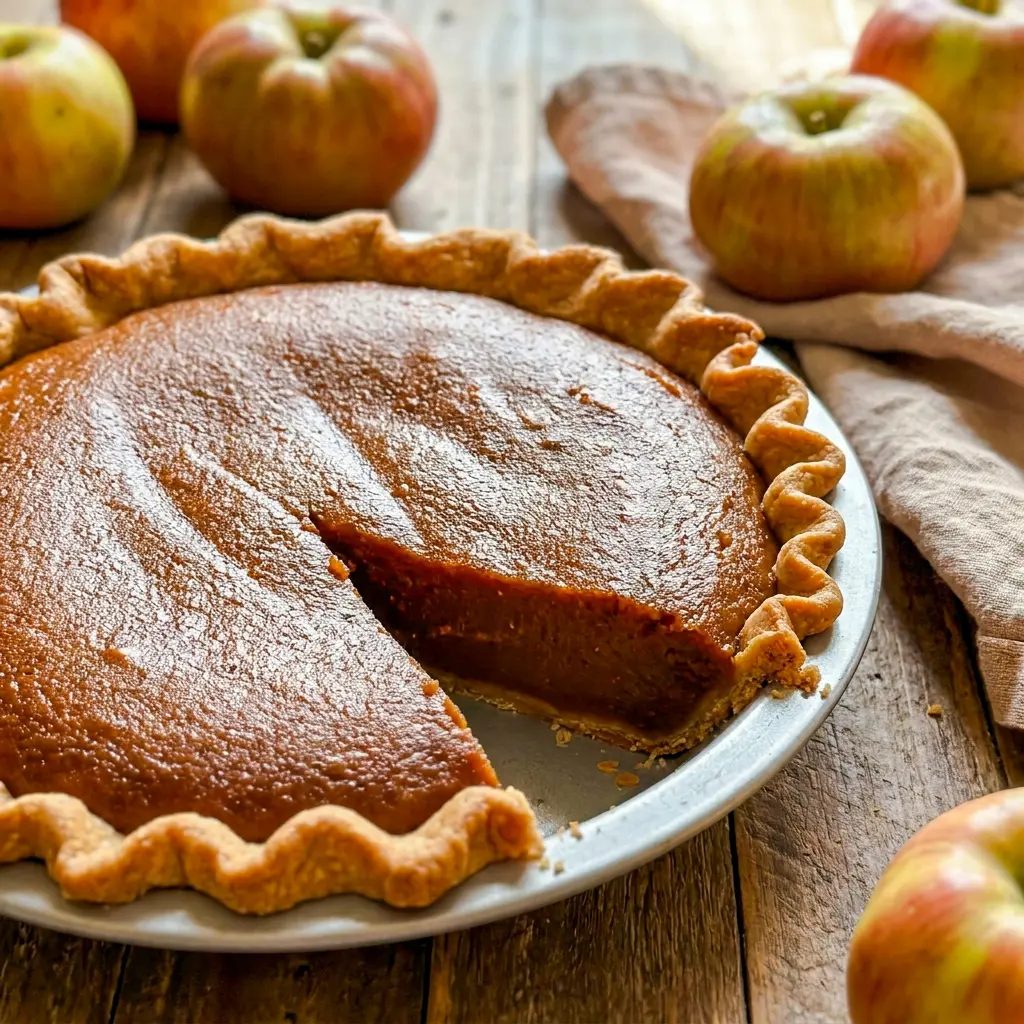
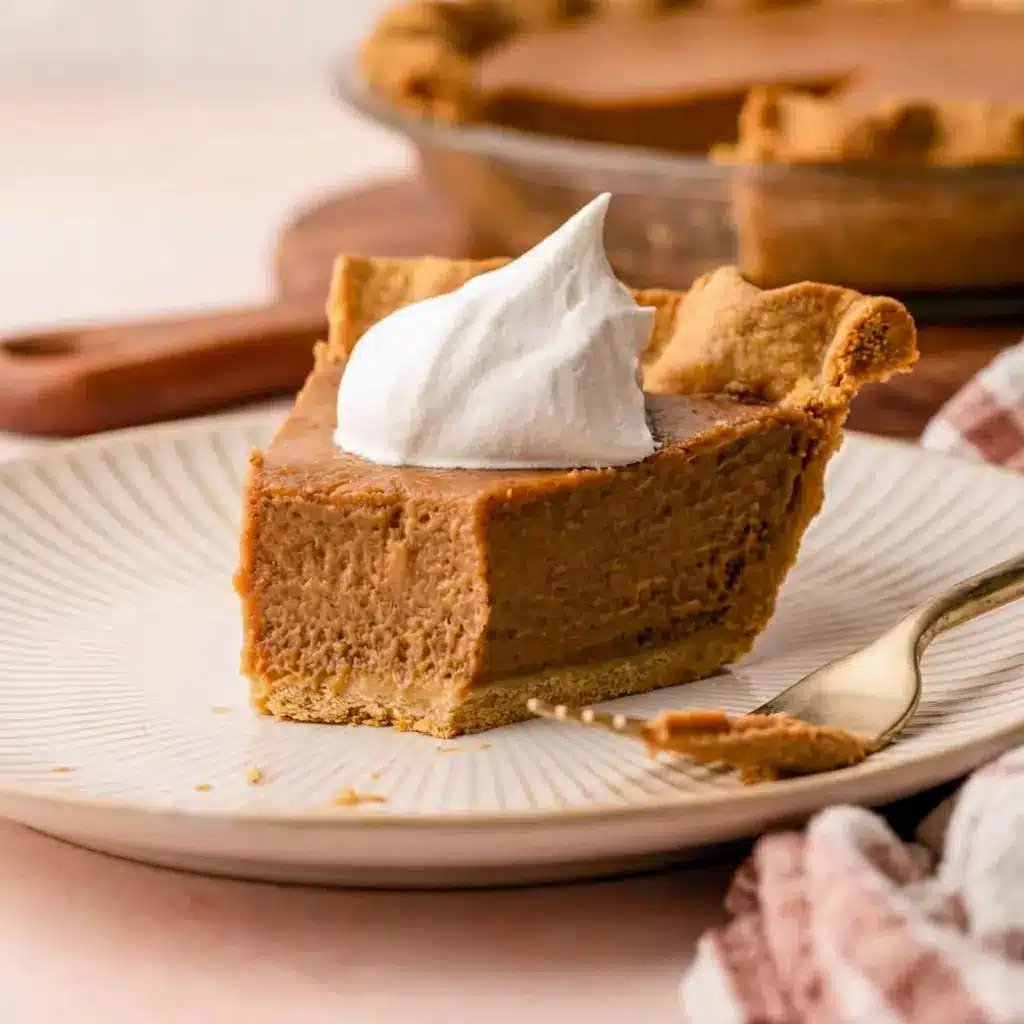
Apple Butter Pie tastes like autumn went full-on elegant. It looks rich and familiar at first glance, almost like a pumpkin pie, but the first bite changes the story. The filling is silky, warmly spiced, and deeply apple-forward in a way that feels bold without being loud.
That is the charm of Apple Butter Pie. It gives you all the cozy comfort of Fall Baking without leaning on the usual suspects. It feels special enough for guests, but it stays easy enough for a regular Tuesday when you just want a good Pie Dessert without a production.
This pie also checks the box for Delicious Pies that make people stop talking for a second and ask, “What is in this?” That is a good sign. It means the flavor did its job.
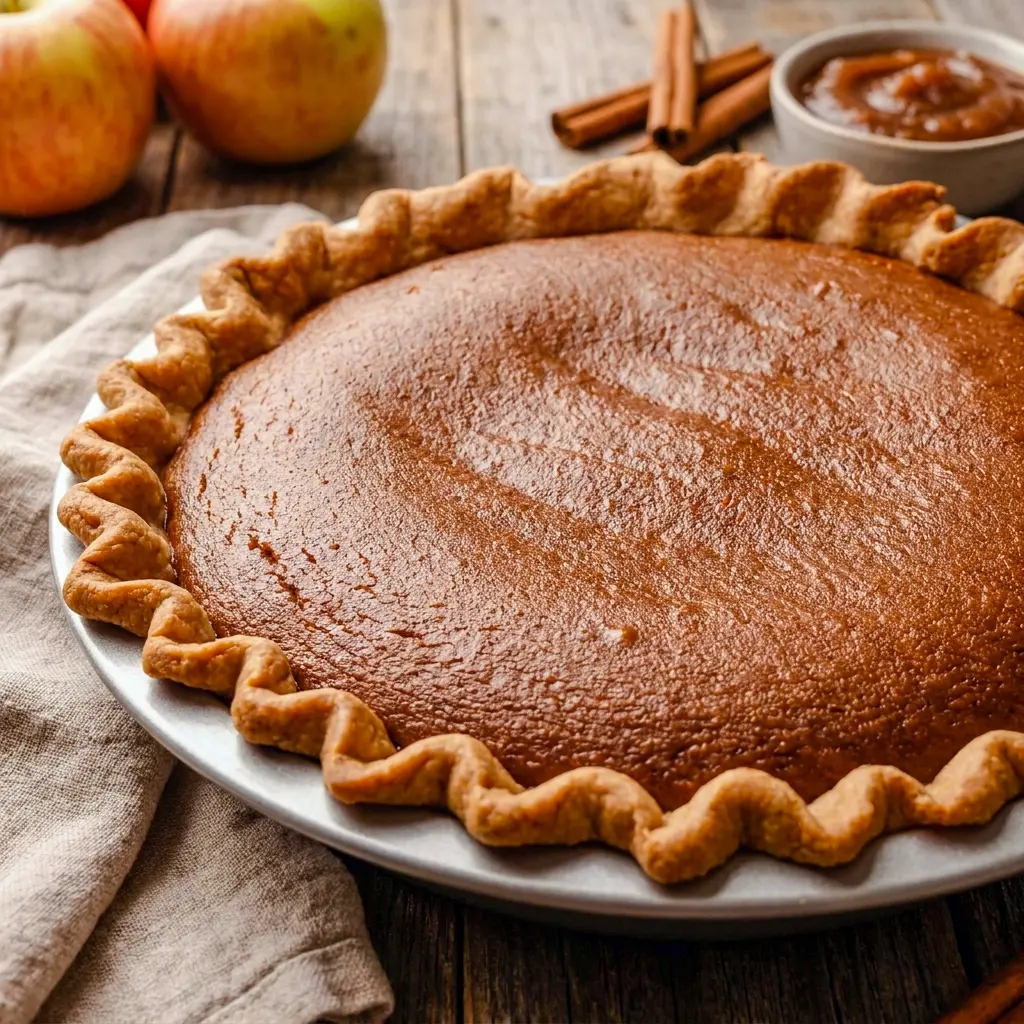
At its core, Apple Butter Pie takes a familiar idea and gives it a smarter twist. Apple butter brings concentration, depth, and that slow-cooked orchard flavor people love in Apple Recipes. Add cream, eggs, sugar, and spice, and you get a filling that lands somewhere between custard and velvet.
This is the kind of dessert that works for cool-weather dinners, potlucks, and the kind of family gatherings where everyone wants a second slice before the table gets cleared. It also plays well with other Holiday Desserts, which makes it a strong choice when you want something memorable but not fussy.
Table of Contents
Why You’ll Love This Apple Butter Pie
Apple Butter Pie is easy to love because it does a lot with very little effort. You whisk, pour, bake, chill, and serve. That is it. No complicated technique. No long ingredient list. No weird steps that make you question your life choices.
Here is why this Apple Butter Pie stands out:
- It uses Apple Butter as the flavor base, so the filling tastes rich and layered.
- It makes a beautiful, creamy slice that feels bakery-worthy.
- It works well for both casual dinners and special occasions.
- It brings a fresh spin to classic fall baking.
- It fits beautifully into a table full of Sweets Treats.
This Apple Butter Pie is also ideal when you want to Eat Dessert without making a giant mess of your kitchen. The filling comes together in one bowl, and the crust does most of the heavy lifting once it has been blind baked.
The best part is texture. A good Apple Butter Pie should set softly, not turn rubbery. It should hold its shape, but still wobble a little in the center when it comes out of the oven. That is the sweet spot.
If you like desserts that taste nostalgic but still feel fresh, this Apple Butter Pie gives you exactly that. It is familiar enough to comfort people and unique enough to spark conversation.
The Key Ingredients (and Why You Need Them)
Below I list the key ingredients with no amounts here — the printable recipe card has those. I’ll explain what each one does so you understand the role it plays and how to tweak the pie if needed.
- Pie crust: This gives the Apple Butter Pie structure and contrast. A crisp crust balances the creamy filling.
- Apple butter: This is the flavor engine. It brings concentrated apple taste, deep color, and natural warmth.
- Heavy cream: It softens the filling and gives the Apple Butter Pie that smooth, custardy finish.
- Eggs: They set the filling so the pie slices cleanly after chilling.
- Brown sugar: It adds sweetness and a caramel-like depth that works beautifully with apple.
- Cinnamon: It gives the pie a warm, familiar fall profile.
- Nutmeg: A little goes a long way here. It adds complexity and lifts the apple flavor.
- Clove: Use a small amount for a subtle spiced edge.
- Kosher salt: This sharpens the flavor and keeps the pie from tasting flat.
The crust choice matters too. A Apple Butter Pie can sit in a more traditional pastry shell, or you can lean into a whole-grain crust if you want a deeper flavor.
Apple Butter Pie Crust Options
A good crust can change the personality of Apple Butter Pie without changing the filling at all.
My favorite choice is a Spelt Pie Crust. It has a hearty flavor, handles easily, and brings a rustic, wholesome texture that works beautifully with the creamy filling. It also adds a subtle sweetness that plays nicely with the spices.
If you want a different feel, here are other solid choices:
- Pâte Sablée for a shortbread-like, tender crust
- Pâte Sucrée for a sweet, delicate pastry crust
- Cinnamon butter pie crust for extra warmth
- Biscoff pie crust for a bold, spiced cookie base
- Graham cracker crust for a simpler, softer style
Each one changes the vibe of Apple Butter Pie a little. Pick the crust that matches the mood you want at the table.
How to Make It
Making Apple Butter Pie is straightforward, but the sequence matters. Custard pies reward patience, not speed.
- Roll out and shape the crust.
Roll the dough into about an 11-inch circle so it has enough room to settle into a 9-inch pie plate. Press it gently into the bottom and sides. Crimp the edge however you like. Then prick the bottom with a fork so steam can escape during baking. - Chill the crust briefly.
Place the pan in the freezer for about 15 minutes. That quick chill helps the dough hold its shape when it hits the oven. It is a small step, but it helps the Apple Butter Pie crust bake cleaner and more evenly. - Preheat the oven and prepare the racks.
Set the oven to 375°F and position one rack in the middle and one in the lower third. This setup gives the crust a strong start and helps the pie bake evenly later. - Blind bake the shell.
Remove the pie shell from the freezer and line it with parchment paper. Fill it with pie weights, dry beans, rice, or lentils, and push the weights toward the edges so the crust stays flat. Bake on the lower rack for 20 minutes. - Finish the crust.
Take out the parchment and weights carefully, then return the shell to the oven for 5 more minutes. This helps the bottom dry out and keeps the Apple Butter Pie from turning soggy. Set the crust aside while you make the filling. - Lower the oven temperature.
Turn the oven down to 325°F. The filling needs a gentler bake, and this lower temperature helps the custard stay smooth. - Mix the filling.
In a large bowl, whisk together the apple butter, heavy cream, eggs, brown sugar, cinnamon, nutmeg, salt, and cloves until everything blends fully. The mixture should look smooth and well combined. This is where the magic of Apple Butter Pie really starts to show. - Fill the crust.
Pour the filling into the blind-baked shell and smooth the top with a spatula if needed. Try not to over-handle it. The pie already has enough personality. - Bake until just set.
Place the pie on the middle rack and bake for 45 to 55 minutes, or until the edges puff slightly and the center still has a gentle wobble. Do not wait for the center to look completely firm in the oven. Apple Butter Pie continues setting after it comes out. - Cool and chill.
Transfer the pie to a wire rack and let it cool fully. Then refrigerate it for at least 6 hours so the filling can firm up completely. That chill time is not optional if you want clean slices.
Pro Tips for the Best Apple Butter Pie
A few smart habits make a huge difference.
- Do not over-bake. The center should wobble a little when the pie comes out. That is a good sign, not a failure.
- Watch the edges. If they brown too fast, shield them lightly.
- Blind bake the crust properly. That gives the Apple Butter Pie a sturdier base and better texture.
- Use the right salt. Coarse kosher salt behaves differently than fine salt, so adjust if needed.
- Chill long enough. A fully cold pie cuts beautifully and tastes cleaner.
The biggest mistake with Apple Butter Pie is treating it like a pie that needs to look completely done in the oven. Custard pies finish as they cool. Trust the process.
Another important detail: the edges may puff a little before the center sets. That “soufflé” look tells you the Apple Butter Pie is close. The center should still jiggle gently, but it should not slosh.
Variations to Try
This Apple Butter Pie already tastes excellent as written, but a few changes can push it in different directions.
Try these ideas:
- Use a Biscoff crust for a deeper spiced-cookie flavor.
- Try a graham cracker crust if you want a softer, sweeter base.
- Add decorative pie crust cutouts on top for a holiday look.
- Serve it with extra cinnamon on top for more spice.
- Pair it with maple cream for a richer finish.
A festive garnish can turn Apple Butter Pie into a centerpiece dessert with very little extra effort. Small details matter when you are aiming for Holiday Desserts that look polished.
Best Ways to Serve Apple Butter Pie
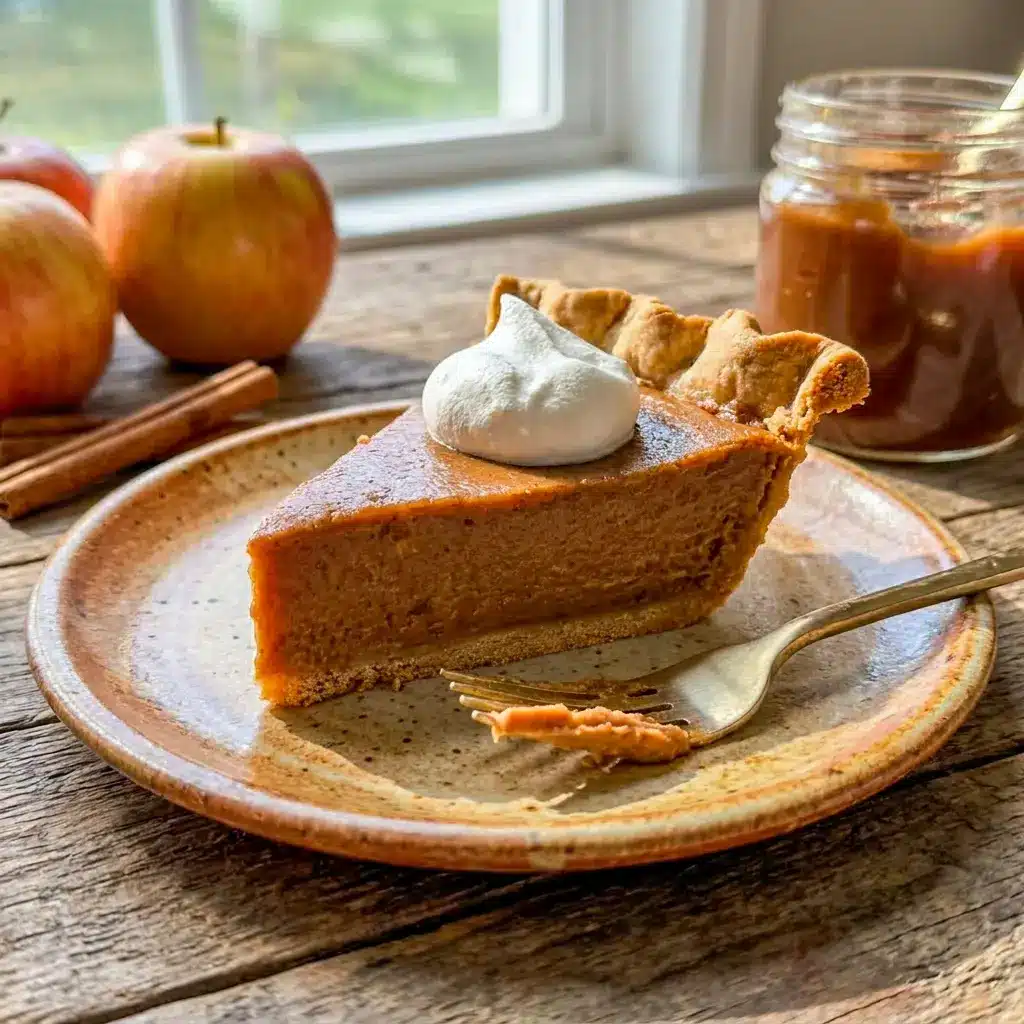
This pie tastes wonderful cold, which makes it easy to serve after a long meal. You can bring it out straight from the refrigerator or let it sit at room temperature for a little while if you prefer a softer bite.
The best topping is Maple Whipped Cream. It echoes the fall flavor without overpowering the pie. A small spoonful is enough to make each slice feel complete.
You can also serve Apple Butter Pie alongside coffee, hot tea, or a dessert board filled with Scones and other Sweets Treats. That combination works especially well for brunch, afternoon gatherings, or fall celebrations.
If you are building a dessert spread, Apple Butter Pie fits beautifully between classic fruit bars, cookies, and other Delicious Pies. It stands out without feeling too far off theme.
Storage and Leftovers
Apple Butter Pie keeps best in the refrigerator. Cover it well so it does not absorb other odors or dry out on top.
Here is the simple storage plan:
- Refrigerator: Store covered and serve within a few days for the best texture.
- Room temperature: You can let slices sit out for up to an hour before serving.
- Freezing: Freezing is possible, but the texture is best fresh and chilled rather than thawed after a long freeze.
The filling sets even more as it chills, so leftovers of Apple Butter Pie often slice even cleaner the next day. That is a nice bonus.
FAQs About Apple Butter Pie
Is Apple Butter Pie the same as pumpkin pie?
No. It can look similar, but Apple Butter Pie uses apple butter instead of pumpkin, so the flavor is much more apple-forward and slightly deeper.
Can I use homemade apple butter?
Yes. Homemade or store-bought both work well in Apple Butter Pie as long as the consistency is smooth and thick.
Why does the pie need to chill so long?
The custard needs time to fully set. A chilled Apple Butter Pie slices better and tastes more balanced.
What if the center still wiggles a bit after baking?
That is normal. It should have a slight wobble in the center when it leaves the oven. It will firm up as it cools.
Can I make this ahead of time?
Absolutely. In fact, this is a great make-ahead dessert because it needs refrigeration anyway.
Final Thoughts
Some desserts are loud. Apple Butter Pie is not one of them. It is confident, smooth, and quietly impressive. It does not need a long list of ingredients or a complicated technique to win people over.
That is what makes this recipe such a strong choice for fall gatherings. It tastes familiar enough to comfort everyone, but different enough to stand out from the usual lineup. It belongs on a table with your favorite Apple Recipes, your best Fall Baking projects, and every dessert spread that needs one more memorable slice.
This is the kind of dessert that people ask about after the first bite. They want to know what makes it taste so rich. They want the recipe. They want another piece.
And honestly, that is the whole point.
Follow me on Pinterest for daily new recipes.
Easy Apple Butter Pie Recipe for Cozy Fall Baking and Holiday Desserts
This Apple Butter Pie delivers a smooth, warmly spiced apple filling baked in a crisp whole-grain crust. It tastes elegant, comforting, and deeply seasonal, especially when topped with maple whipped cream.
- Prep Time: 15 minutes
- Cook Time: 1 hour 20 minutes
- Total Time: 1 hour 35 minutes
- Yield: 12 servings 1x
- Category: Dessert
- Method: Baking
Ingredients
- 1 (9-inch) spelt pie crust
- 1 ¾ cups prepared apple butter
- 1 cup heavy cream
- 3 large eggs
- ½ cup packed brown sugar
- 1 teaspoon ground cinnamon
- ½ teaspoon freshly grated nutmeg
- ¼ teaspoon coarse kosher salt
- Pinch ground cloves
Instructions
- Shape the crust.
Roll the pie dough into an 11-inch round. Lift it into a 9-inch pie plate and ease it into the corners and up the sides without stretching it. Trim or fold the excess as needed, then crimp the edge in any style you like. Use a fork to prick the bottom all over so trapped steam can escape during baking. Place the prepared shell in the freezer for 15 minutes so the dough firms up before baking. - Heat the oven and prepare the racks.
Preheat the oven to 375°F. Position one rack in the middle of the oven and another in the lower section. This setup helps the pie shell bake evenly and gives you better control during the blind bake. - Blind bake the crust.
Remove the pie shell from the freezer. Line it with a round of parchment paper, making sure the paper covers the bottom and reaches up the sides. Add pie weights, dry beans, rice, or lentils, and press them all the way toward the outer edges so the crust stays supported as it bakes. - Bake the shell in two stages.
Set the pie shell on the lower rack and bake for 20 minutes. Then carefully remove it from the oven, lift out the parchment and weights, and return the crust to the oven for 5 more minutes so the bottom can finish drying. Set the crust aside once it looks lightly baked and no longer raw. Reduce the oven temperature to 325°F. - Mix the filling.
Place the apple butter, heavy cream, eggs, brown sugar, cinnamon, nutmeg, salt, and cloves in a large mixing bowl. Whisk thoroughly until the mixture looks smooth and uniform with no streaks of egg or sugar remaining. The filling should feel loose but well emulsified. - Fill the baked shell.
Pour the apple butter mixture into the warm blind-baked crust. Use a spatula if needed to level the surface so the filling bakes evenly from edge to center. - Bake the pie gently.
Move the pie to the middle rack and bake for 45 to 55 minutes. The outer ring should puff slightly and look set, while the center still keeps a faint wobble. The pie is ready when it reaches a temperature above 180°F and no longer looks liquid in the middle. Do not wait for it to become completely firm in the oven. - Cool, then chill.
Set the pie on a wire rack and let it cool completely at room temperature. Once it is no longer warm, move it to the refrigerator and chill for at least 6 hours so the custard fully firms up before slicing and serving.
Notes
- This recipe was tested with Diamond Crystal coarse kosher salt. If you use Morton’s kosher salt or another fine salt, reduce the amount by about half.
- My favorite crust for this Apple Butter Pie is a Spelt Pie Crust because it handles well, has a mild sweetness, and gives the pie a wholesome, slightly rustic character.
- If you want a less whole-grain flavor, a Pâte Sablée, Pâte Sucrée, Biscoff Crumb Crust, or Graham Cracker Crust also works well.
- The spelt crust recipe makes a little extra dough, which is perfect for decorative cutouts. Roll the leftover dough, stamp or cut out your shapes, and transfer them to a parchment-lined baking sheet. Chill them before baking so they keep their shape.
- For a little shine and extra crunch, brush the cutouts with egg wash and sprinkle with coarse sugar before baking.
- You can also bake the decorative cutouts during the blind bake, but shorten the baking time to about 15 minutes at 375°F.
- Once the Apple Butter Pie has finished chilling, arrange the baked cutouts on top for a festive finish.