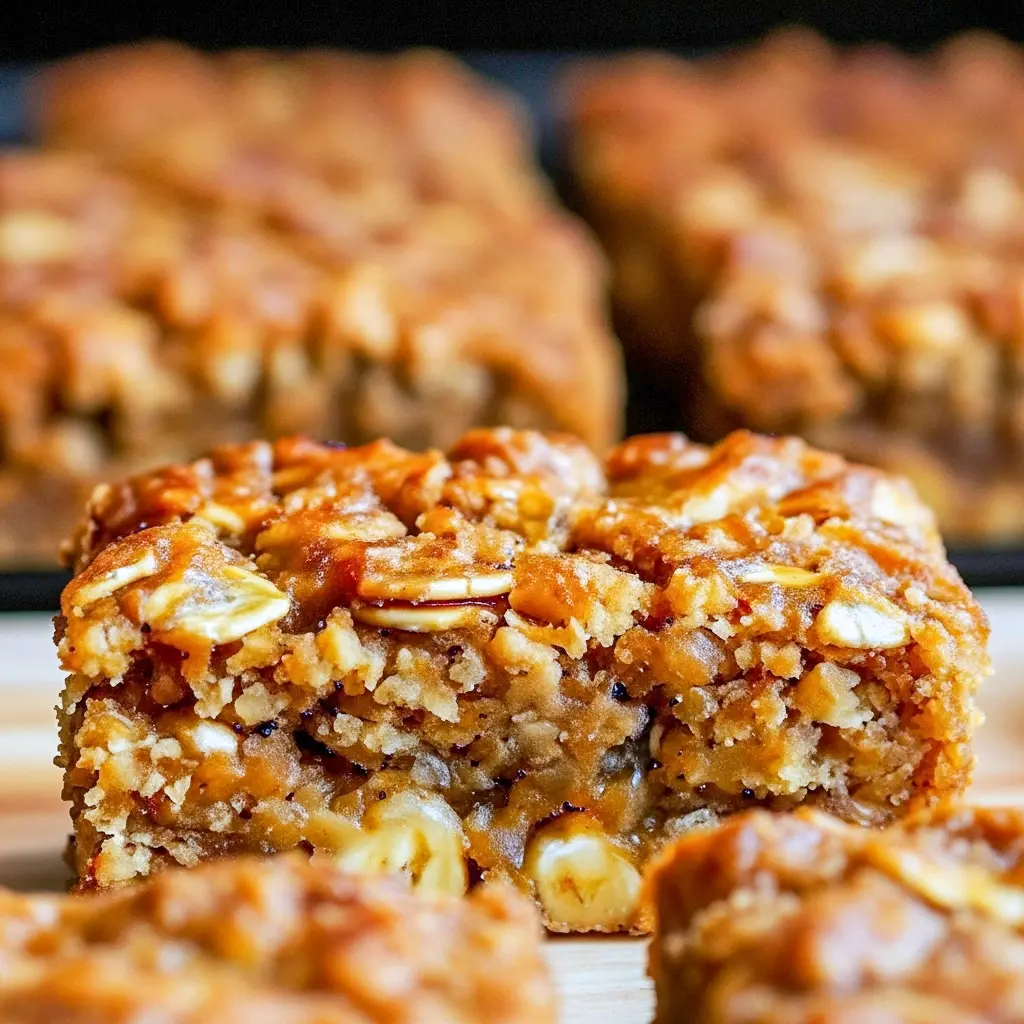
Wondering What To Do With Extra Bananas? Bake them into chewy, golden banana oatmeal bars that double as breakfast, snack, or dessert. These bars are easy to pull together, forgiving of substitutions, and exactly the kind of recipe that helps you win at life when the produce drawer looks sad.
Table of Contents
Brief introduction to the recipe
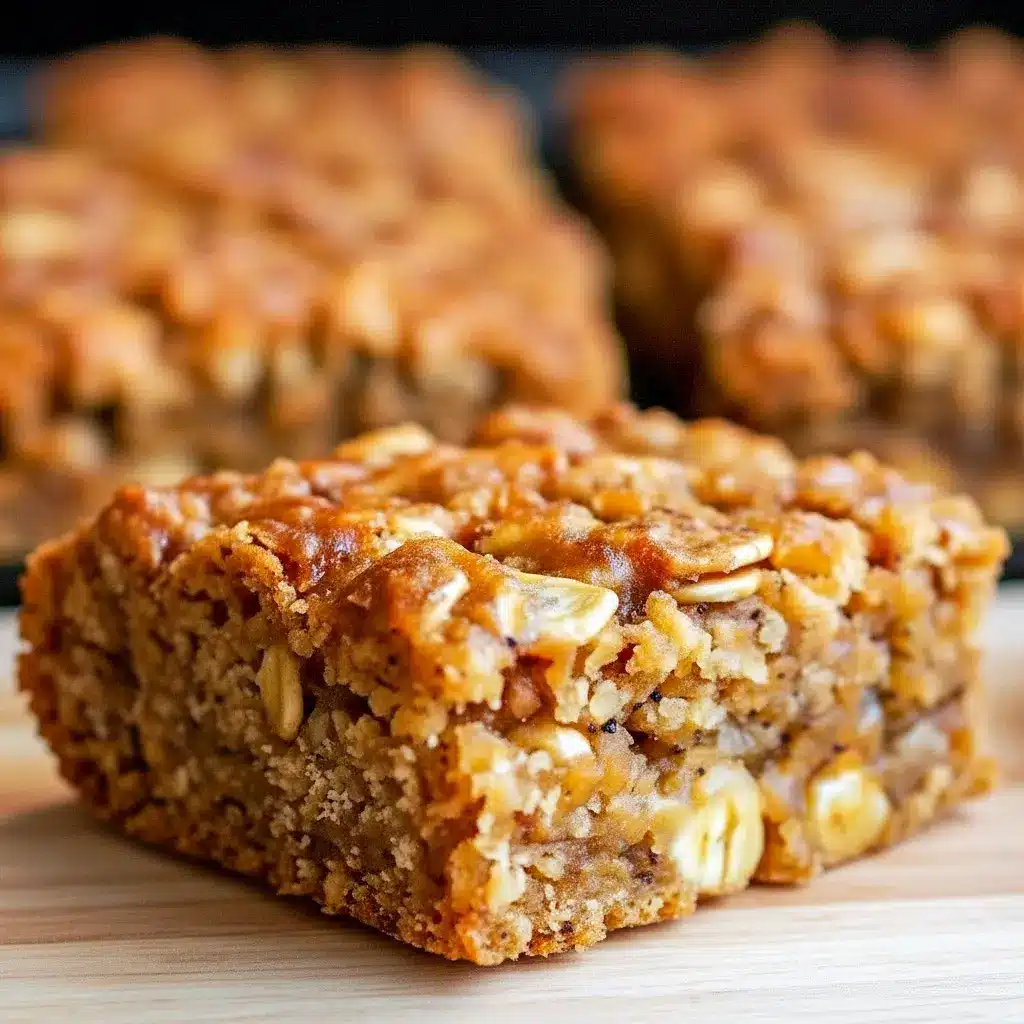
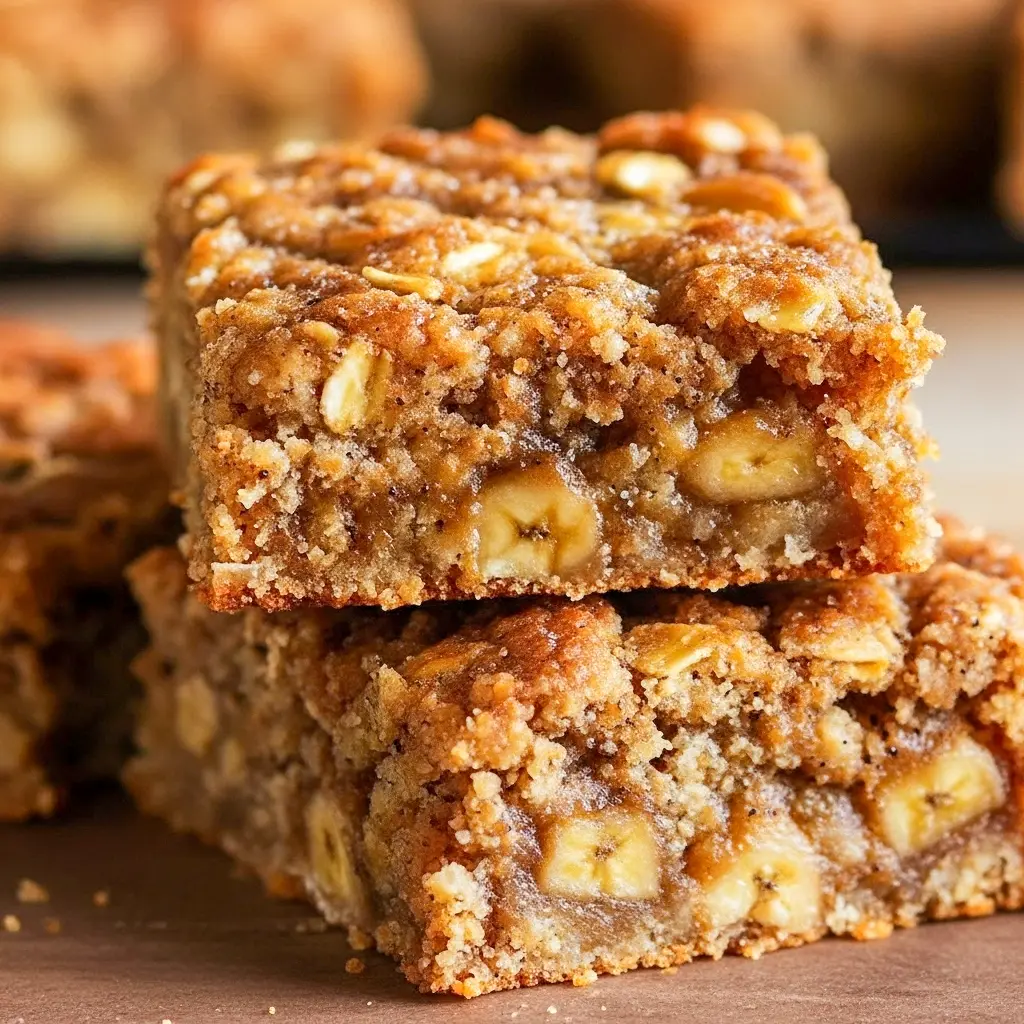
This recipe turns overripe bananas and pantry oats into soft, chewy bars with built-in sweetness and a lightly caramelized top. No fancy equipment, no fuss — just a single bowl, a spatula, and 30-ish minutes in the oven. They’re perfect when you need a quick fuel-up before a workout, a mid-afternoon pick-me-up, or a kid-friendly treat that won’t get you judged at snack time.
Why you’ll love these bars
- They come together in one bowl, so clean-up stays minimal.
- The bars balance natural banana sweetness with a hearty oat texture — satisfying and filling.
- They adapt easily: add chocolate, nuts, or dried fruit if you want to glam them up.
- They fit multiple roles: breakfast on the run, Mid Day Snack Ideas, or part of lunchboxes.
In short: they’re reliable, tasty, and kinder to your time than most pastries.
The Key Ingredients (and Why You Need Them)
Here’s a quick guide to the essentials and what each one brings to the party.
- Bananas (ripe) — sweetness, moisture, and flavor. Riper bananas give more natural sugar and deeper banana aroma.
- Rolled oats — structure and chew. Old-fashioned oats provide the best mouthfeel; they don’t turn to mush the way quick oats can.
- Eggs — bind and lift so the bars hold shape.
- Natural sweetener (honey or maple syrup) — mild sweetness with a hint of complexity; maple adds a warm note.
- Baking powder — a small amount gives a little rise and airiness.
- Vanilla — flavor amplifier; it smooths the banana edge and makes the bars taste more baked-goods-y.
- Optional mix-ins — chopped nuts, chocolate chips, dried fruit, or seeds for texture and interest.
Each ingredient keeps the bars wholesome and flexible — great for Healthy Food And Snack Ideas and an obvious entry in Oatmeal Bar Recipes Healthy lists.
How to Make It
Follow these tight, no-nonsense steps to get perfect bars every time.
- Preheat and prep. Heat the oven to 350°F (175°C). Line an 8×8 pan with parchment or lightly grease it for easy removal.
- Mash the bananas. In a mixing bowl, mash ripe bananas until mostly smooth. A few small lumps are fine — they add texture.
- Mix wet ingredients. Add your honey or maple syrup, eggs, and vanilla to the mashed bananas. Whisk until combined.
- Add the oats and raising agent. Stir in the rolled oats and baking powder until everything holds together. If you want cinnamon or a pinch of salt, add now.
- Fold in extras. Toss in any chocolate chips, nuts, or dried fruit you like. Don’t overdo it — keep the balance focused on banana and oats.
- Bake. Spread the batter evenly in the prepared pan and bake about 25–30 minutes until the top turns golden and a toothpick comes out with moist crumbs (not raw batter).
- Cool and cut. Let the pan cool for at least 10 minutes before lifting the parchment and slicing into bars; cooling helps them set.
That’s it. No complicated steps, no fussy timings — just warm bars and a happy counter.
Pro tips for perfect results
- Use very ripe bananas. The darker the banana skin, the sweeter and more flavorful the bars will be.
- Don’t substitute instant oats if you can avoid it — the texture changes. Old-fashioned rolled oats give the best chew.
- Let bars cool completely before slicing for neat edges and clean portions.
- Customize the sweetness. Taste the batter (safe because it contains no raw flour) and adjust maple or honey to your preference.
- For firmer bars, add a tablespoon of nut butter or a little extra flour/oats.
- To keep bars soft longer, store them in an airtight container with a slice of apple or a damp paper towel in the container top (weird but effective).
These small moves push the result from “good” to “actually great.” Chill the bars if you want a firmer texture for packing lunches.
Variations to try
Want variety? Here are simple riffs that keep the base formula intact.
- Chocolate chip banana oat bars — stir in dark chocolate chips for melty pockets.
- Nutty bars — add chopped walnuts or pecans for crunch and healthy fats.
- Seed boost — pumpkin, chia, or flax seeds up the fiber and add subtle texture.
- Spiced banana bars — cinnamon, nutmeg, or ginger for autumn vibes.
- Vegan swap — replace eggs with flax “eggs” (1 tbsp ground flax + 3 tbsp water per egg) and use maple syrup. This is a great Healthy Baking With Bananas option.
- Microwave mug bar — portion batter into ramekins and microwave for a single-serve fix.
Mix and match to suit taste and pantry; these bars are forgiving.
Best ways to serve
- Warm from the oven with a smear of nut butter and a drizzle of honey.
- Pack a bar with yogurt and fruit for a balanced, portable breakfast.
- Cut small squares and serve as Soft Snack Foods at parties — they pair beautifully with coffee or tea.
- Stack them in kids’ lunchboxes; they’re perfect as Healthy Baked Snacks For Kids because they feel like a treat but come loaded with oats and fruit.
Looking for a brunch-friendly plate? Cut thicker bars, top with yogurt and fresh berries, and call it “fancy” — guests won’t suspect how little effort you spent.
Quick tips for storage and leftovers
- Store bars at room temperature in an airtight container for up to three days.
- Refrigerate if you want them to last a week. They firm up nicely when chilled.
- Freeze individually wrapped bars for up to three months. Thaw at room temperature or pop them in the microwave for 20–30 seconds.
- For on-the-go mornings, keep a few frozen bars in the freezer and grab one as you run.
These bars are excellent for meal prep; they slot into busy routines easily and keep well.
FAQs
Can I use instant oats?
You can, but the texture becomes softer and less toothsome. For the best chew, use rolled oats.
Are these bars gluten-free?
Yes — if you use certified gluten-free oats. Oats themselves sometimes cross-contaminate, so check the label.
Can I make the bars nut-free?
Absolutely. Skip nut add-ins and use seed alternatives if you want extra protein.
How do I keep bars from drying out?
Store them airtight and consider a small slice of apple in the container to add humidity back into the bars.
Are these suitable for kids?
Definitely. They’re an excellent entry under Healthy Baked Snacks For Kids — portable, tasty, and wholesome.
Why this is a great solution for overflow bananas
Let’s be real: bananas brown fast and then become a guilt-inducing pile in the fruit bowl. Baking them into bars solves that problem and produces a snack that’s actually useful. These bars move banana from “soon-to-throw-away” to “meal prep hero.” They’re a smart answer to the perennial question: What To Do With Extra Bananas?
Nutritional note (short)
These bars deliver whole-grain energy from oats and natural sweetness from fruit, so they tend to be more satisfying than many store-bought snack bars. If you add nuts or seeds, you boost protein and healthy fats. They’re not a miracle diet food, but they’re a sensible, nourishing option compared with many processed alternatives — excellent for Healthy Food And Snack Ideas lists.
Make them kid- and pack-friendly
Want to please picky eaters? Use chocolate chips or a drizzle of peanut butter on top. Cut smaller portions for lunchboxes. These bars are a great way to hide extra fruit in a format kids will accept happily.
Final thoughts wrap-up
If you keep asking What To Do With Extra Bananas, this batch of banana oatmeal bars should become your go-to. They’re simple, adaptable, and reliably delicious. Whether you’re chasing Mid Day Snack Ideas, curating Soft Snack Foods for guests, or adding options to a Healthy Food And Snack Ideas board, these bars fit the bill. They also slot nicely into Oatmeal Bar Recipes Healthy collections and work beautifully for morning routines or afternoon crashes.
So next time your bananas look a bit too ripe, resist the trash bin. Mash, mix, and bake. You’ll end up with warm, wholesome bars that solve snack-time problems and taste way better than store-bought bars — and that, frankly, feels like a small but gloriously satisfying victory.
Follow me on Pinterest for daily new recipes.
What to Do with Extra Bananas? Try These Healthy Banana Oatmeal Bars
These banana oatmeal bars blend mashed ripe bananas with wholesome oats for a chewy, naturally sweet snack. They’re simple to mix in one bowl and versatile enough for breakfast, an afternoon bite, or a grab-and-go treat. Toss in extras if you like — nuts, seeds, or chocolate bits all work.
- Prep Time: 10 minutes
- Cook Time: 30 minutes
- Total Time: 40 minutes
- Yield: 12 bars 1x
- Category: Snack
- Method: Baking
- Cuisine: American
- Diet: Gluten-Free, Vegetarian
Ingredients
- 3 very ripe bananas (about 1½ cups mashed)
- 2 cups old-fashioned rolled oats
- ⅓ cup honey or pure maple syrup
- 2 large eggs
- 1 teaspoon baking powder
- 1 teaspoon pure vanilla extract
Instructions
- Preheat the oven to 350°F (175°C) and prepare an 8×8-inch baking pan by greasing it or lining it with parchment.
- In a large bowl, mash the bananas until mostly smooth.
- Stir in the oats, honey or maple syrup, eggs, baking powder, and vanilla. Mix until the ingredients form an even batter.
- Transfer the batter to the prepared pan and spread it into an even layer.
- Bake 25–30 minutes, or until the top takes on a light golden color and a toothpick inserted near the center comes out with moist crumbs.
- Let the bars cool in the pan for about 10 minutes before lifting them out to slice into squares.
Notes
- For extra texture, fold in ½ cup chopped nuts, seeds, or dark chocolate chips before baking.
- Store cooled bars in an airtight container at room temperature for up to three days or refrigerate to extend freshness.
Nutrition
- Serving Size: 1 bar (50g)
- Calories: 150
- Sugar: 8g
- Sodium: 25mg
- Fat: 2g
- Saturated Fat: 0g
- Unsaturated Fat: 1g
- Trans Fat: 0g
- Carbohydrates: 29g
- Fiber: 3g
- Protein: 4g
- Cholesterol: 30mg