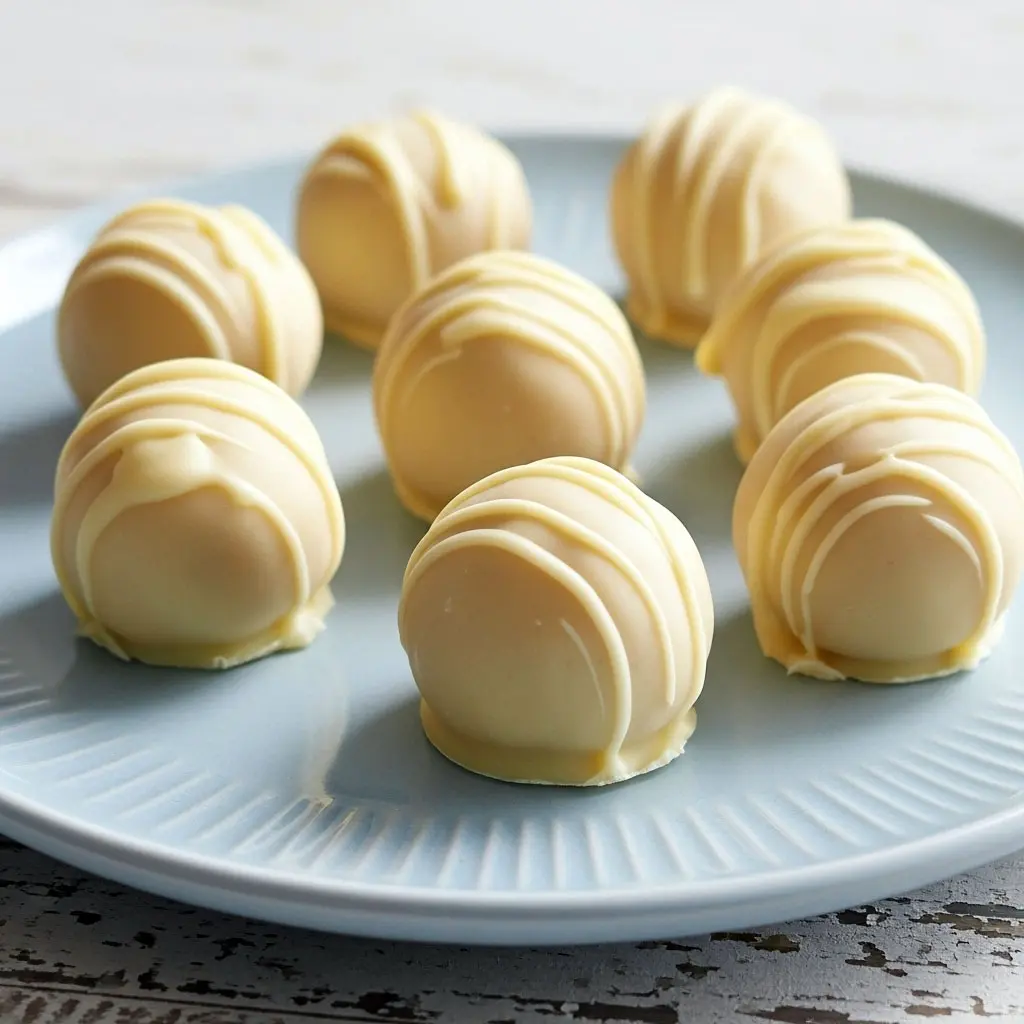
Ohhh, my lemon-loving heart can hardly stand this one. 🍋 If sunshine could be rolled into a bite-sized ball and drizzled in creamy white chocolate — this would be it. These No Bake Lemon Truffles are bright, zesty, and sweet in all the right ways. They’re like your favorite lemon drizzle cake… but without the oven, the mess, or the “did I just burn that again?” panic. You just blitz, roll, dip, chill, and bite into pure lemony bliss.
This recipe isn’t just another truffle—it’s one of those Healthy Easy Sweets that somehow tastes too good to be true. Think of it as the dessert you can feel good about eating—no refined sugar overload, no heavy flour, just clean, fresh ingredients that actually make you feel energized after snacking. Plus, they double as the perfect Gourmet Snack Ideas for when you want to impress without trying too hard.
Let’s get into it before I start drooling on my keyboard.
🍋 What Makes These Lemon Truffles So Irresistible
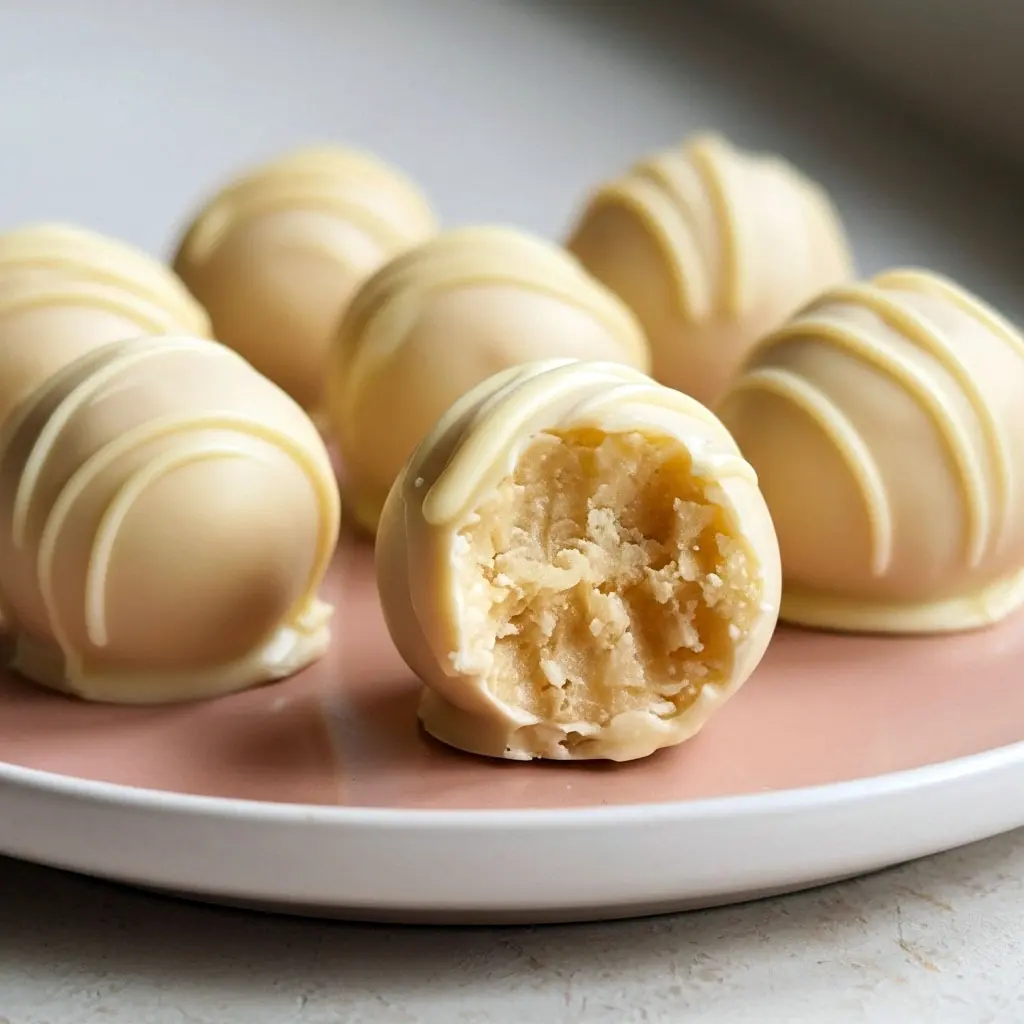
You know how some desserts claim to be “healthy” and end up tasting like cardboard sadness? Not these little wonders. These Desserts That Are Healthy are moist, creamy, and just the right amount of tangy. Each truffle has this melt-in-your-mouth texture with a bright pop of citrus that wakes up your taste buds faster than your morning coffee.
Here’s why you’ll fall head over spatula for them:
- No baking required – because who wants to preheat an oven for snacks?
- Packed with good stuff – almonds, coconut, and lemon juice make them full of healthy fats and fiber.
- Vegan and gluten-free – so you can serve them to basically everyone at brunch and look like the considerate hero you are.
- Meal-prep friendly – one batch can keep you snacking happy all week.
Basically, they’re the dessert version of a spa day—refreshing, rejuvenating, and a little indulgent.
🌿 Ingredients You’ll Need (and Why They Matter)
Let’s break down what makes these zesty little treats tick. Spoiler alert: everything here plays an important role.
- Ground Almonds (or Almond Flour): The backbone of our truffles. They give that soft, crumbly texture and a warm nutty base that balances the lemon.
- Desiccated Coconut: Adds a light chewiness and subtle flavor that keeps each bite interesting.
- Refined Coconut Oil: This is what holds everything together once chilled—solid gold (literally and figuratively) for no-bake treats.
- Fresh Lemon Juice + Zest: The stars of the show! They bring brightness, acidity, and that irresistible lemony punch.
- Maple Syrup: Just a touch for natural sweetness and to keep everything nicely moist.
- Vanilla Extract: Adds depth and warmth so your lemon doesn’t overpower the show.
- White Chocolate (Vegan Optional): The creamy, sweet shell that turns these truffles into dessert royalty.
- Pinch of Salt: Never skip it—it makes the lemon flavor pop.
Together, these ingredients are a perfect storm of sweet, tangy, and creamy goodness.
👩🍳 How to Make the Best Lemon Truffles (Step-by-Step)
Honestly? This might be the easiest recipe in the Bake Easy Recipes universe. You’ll feel like a pastry chef even though your oven stays off the whole time.
Step 1: Blitz the Coconut
Pop your desiccated coconut into a blender and give it a quick spin until it’s fine and fluffy—like snow, but edible and way more fun.
Step 2: Mix the Base
In a mixing bowl, combine the ground almonds, blitzed coconut, and a pinch of salt. Melt the coconut oil, pour it in, and then add your lemon juice, zest, maple syrup, and vanilla. Stir it all up until the mixture sticks together slightly when you press it.
Step 3: Roll Into Balls
Scoop out little portions and roll them into bite-sized balls. Pro tip: grease your hands lightly with coconut oil—it’ll make the rolling process smoother and less sticky. Place the truffles on a parchment-lined tray.
Step 4: Chill Out
Literally. Slide that tray into the freezer for about 15–20 minutes. This helps the truffles firm up before you coat them in that dreamy white chocolate.
Step 5: Make the White Chocolate Magic
Melt your white chocolate in a makeshift bain-marie (aka, a bowl over a pot of simmering water). Add a tiny bit of coconut oil if you want a thinner, softer coating.
Step 6: Dip and Set
Grab your chilled truffles, dip each one into the melted chocolate, let the excess drip off, and set them back on the tray. Chill again until the coating sets—usually about 10–15 minutes.
And that’s it! You’ve got a batch of perfectly zesty Healthy Easy Treats ready to devour or share (if you’re feeling generous).
💡 Pro Tips for the Perfect Lemon Truffles
- Too dry? Add a few extra drops of lemon juice or maple syrup.
- Too sticky? Chill the mixture longer or dust your hands with coconut.
- Flavor too mild? Add more zest. (Always zest more than you think you need—it’s the secret to vibrant lemon flavor.)
- Coating not sticking? Warm the truffles in your hands slightly before dipping.
And IMO, don’t skip the white chocolate coating. It’s the difference between “oh these are nice” and “holy citrus heaven, what is this magic?!”
✨ Variations to Try
One of my favorite things about these truffles is how customizable they are. Once you master the base, the possibilities are endless.
- Coconut Bliss Balls: Skip the chocolate and roll them in shredded coconut for a more tropical vibe.
- Lemon Poppyseed Version: Add a teaspoon of poppy seeds for a fun texture and bakery-style twist.
- Protein-Packed: Stir in a scoop of vanilla protein powder for a post-workout treat that feels like dessert.
- Orange Sunshine Balls: Swap lemon for orange zest and juice if you’re feeling wild.
These are great Snack Ideas To Make when you’re short on time but still want something that looks (and tastes) like effort.
🍽 Best Ways to Serve
These beauties are incredibly versatile. Serve them:
- As part of a brunch spread next to coffee or tea.
- With a little yogurt or fresh berries for a Light And Healthy Desserts vibe.
- After dinner when you need a sweet bite without feeling heavy.
And if you’re entertaining? Stack them in a glass jar or small dessert tray—they’ll look like fancy confectionery from a boutique patisserie. Instant Gourmet Snack Ideas status.
🧊 How to Store & Freeze
Here’s the scoop on keeping your truffles fresh and fabulous:
- At room temp: 2–3 days in an airtight container.
- In the fridge: Up to 10 days—they actually taste even better slightly chilled.
- In the freezer: Up to 3 months! Just thaw a few at a time when the craving hits.
Seriously, these are the Best Make Ahead Desserts you’ll ever prep. Perfect for parties, snacks, or emergency sugar situations.
⚡ Troubleshooting Common Issues
Too dry? Add a touch of coconut oil or lemon juice.
Too sticky? Chill before rolling or use greased hands.
Too tart? Add more maple syrup or a touch of vanilla.
Coating cracking? You probably dipped while the chocolate was too hot—cool it slightly next time.
Remember, no recipe is ruined—only in need of a small rescue mission.
🍋 FAQs
Q: Can I use honey instead of maple syrup?
A: Absolutely! Just keep in mind honey’s thicker texture may make the mixture a bit stickier—adjust with a little extra almond flour if needed.
Q: Can I skip the chocolate coating?
A: Totally. The truffles will still be delicious, just less rich and indulgent.
Q: Do they taste like coconut?
A: Slightly, but the lemon flavor shines through beautifully—especially if you use refined (odorless) coconut oil.
Q: Can I make them nut-free?
A: Yep! Try swapping the almonds for oat flour. You’ll lose a bit of that nutty flavor, but the texture still holds up.
💛 Final Thoughts
If you’re after something fresh, tangy, and sweet but still wholesome enough to count as “snack fuel,” these Lemon Truffles are your new go-to. They check every box: they’re pretty, portable, customizable, and unbelievably delicious.
These truffles perfectly blend that treat yourself vibe with the I’m making smart choices reality. Whether you call them dessert, snack, or edible sunshine, they’re one of those Easy Simple Food Ideas that’ll have everyone asking for the recipe.
So grab your lemons, roll up your sleeves, and get ready to make a batch of these Healthy Easy Sweets that taste as good as they look. FYI — they also make a fantastic edible gift… if you can resist eating them all first. 😋
PrintEasy Lemon Truffles Recipe – Healthy Easy Sweets You’ll Love!
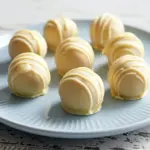
Got a craving for that tangy lemon drizzle cake flavor but can’t be bothered turning the oven on? These no-bake lemon truffles have your back. They’re bright, zesty, and melt-in-your-mouth creamy — basically sunshine disguised as dessert. Think of them as bite-sized lemon clouds with a silky white chocolate shell. Simple, wholesome, and downright addictive.
- Prep Time: 20 minutes
- Total Time: 20 minutes
- Yield: 8 truffles 1x
- Category: Dessert
Ingredients
For the Truffles:
- 1 cup ground almonds (or almond flour) – this gives our truffles structure and a soft, cake-like texture.
- ¾ cup desiccated (or shredded) coconut – adds that dreamy chewiness and subtle tropical flavor.
- 3 tablespoons refined coconut oil, melted – helps everything stick together once chilled; refined means no strong coconut flavor.
- Juice of 1 lemon – our tart, citrusy hero.
- ½ teaspoon lemon zest – extra zestiness for a flavor punch.
- 1 teaspoon vanilla extract or paste – gives warmth and balances the tang.
- ¼ cup maple syrup – just the right touch of natural sweetness.
- A pinch of salt – because even sweet things need a little contrast.
For the White Chocolate Coating:
- 100 g white chocolate (vegan or regular – your call!)
- 2 teaspoons coconut oil (optional but helpful) – makes the coating smoother and easier to dip.
Instructions
- Blitz That Coconut
- Grab your blender or food processor and pulse the desiccated coconut until it’s fine and floury, kind of like almond meal. This helps the truffles hold their shape better.
- Mix It All Together
- Transfer the ground coconut and almonds into a medium bowl. Toss in the salt and give it a quick stir.
- Now pour in the melted coconut oil, lemon juice, lemon zest, maple syrup, and vanilla extract. Stir everything until it starts to form a sticky, dough-like consistency. If it’s too dry, add a splash more lemon juice. Too wet? Sprinkle in a touch more almond flour.
- Roll ‘Em Out
- Scoop up a tablespoon of the mixture and roll it between your palms to form little balls. They should be bite-sized — perfect for a mid-afternoon pick-me-up or post-dinner treat.
- Arrange them on a parchment-lined plate or tray (something that fits in your freezer) and pop them in there for 15–20 minutes. This helps them firm up before dipping.
- Melt the Chocolate
- Time to give those truffles their irresistible outer shell!
- Melt your white chocolate gently using a Bain Marie (aka a heatproof bowl over a pot of simmering water). You can also zap it in the microwave in short bursts — just stir between each one so it doesn’t burn.
- Add a touch of coconut oil to make the chocolate extra smooth and glossy.
- Step 5: Dip, Drip, and Chill
- Take your chilled truffles from the freezer and dip each one into the melted chocolate. A fork and spoon combo works great for this — one for dipping, one for helping it drip off.
- Place each coated truffle back on the lined tray and let them set in the fridge for about 30 minutes.
- Once they’re set, they’re ready to devour.
Notes
- Too crumbly? Add a few drops of lemon juice or maple syrup until it comes together.
- Too sticky? Chill the mixture before rolling or lightly grease your hands with coconut oil.
- Want a deeper flavor? Use pure vanilla bean paste instead of extract.
- Prefer more zing? Up the zest or add a few drops of lemon extract.